- TOSIZE.ie
- Do it yourself
- DIY Projects
IKEA hack: DIY play table with oak panels, by Patrick
IKEA hack: DIY play table with oak panels, by Patrick

Create this project yourself with sheet material cut to size by TOSIZE.ie!
P.M
Very easy
3 minutes
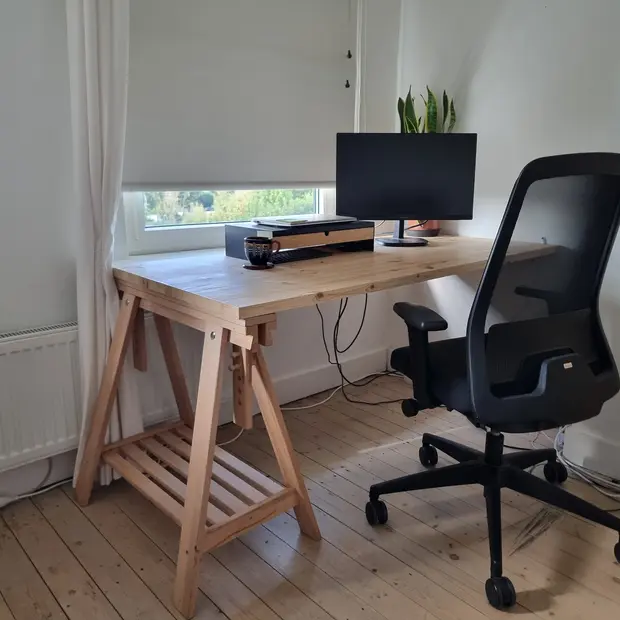
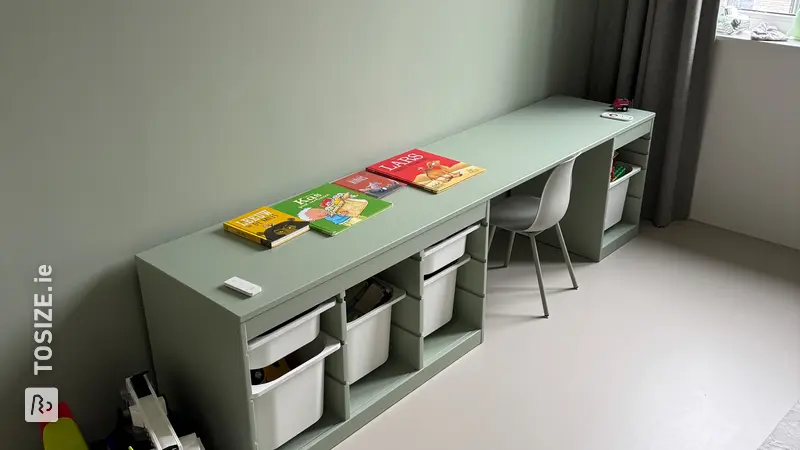
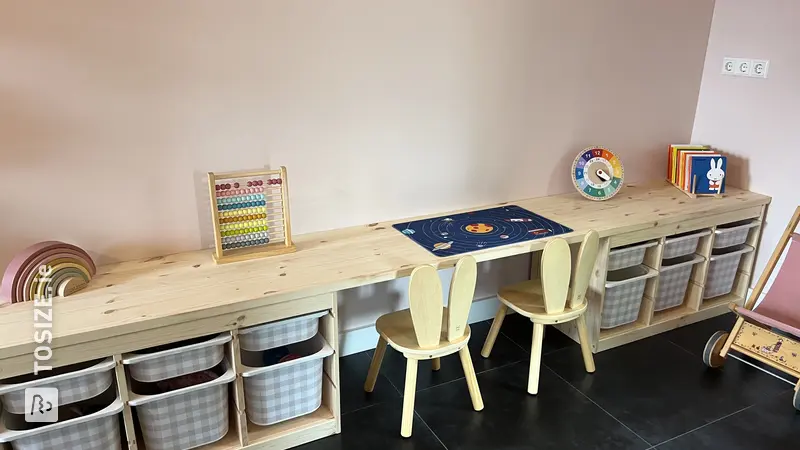
Are you also looking for a children's desk with storage space for your children, so that they have their own play area? Patrick has found a solution for this by making a children's desk for the toy box. This makes it easier for his children to store their toys and his living room is tidier. A real win-win situation!
Description by Patrick
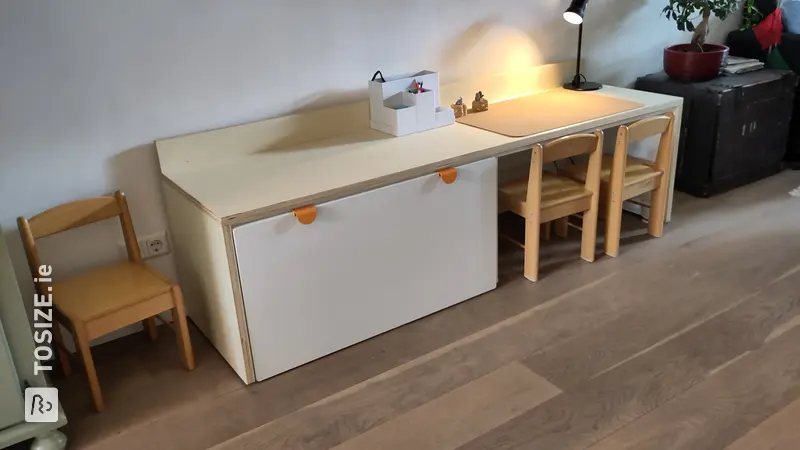
Storage space and a nice play area in the living room, that was desperately needed! My children have collected quite a few toys over the years and are now increasingly playing with their own toys. My son really loves his cars and trains, while my daughter plays with all kinds of toys and also likes to do crafts. So they needed a nice play area in the living room with plenty of space to store toys!
Make your own custom children's desk furniture
Looking for something beautiful! /
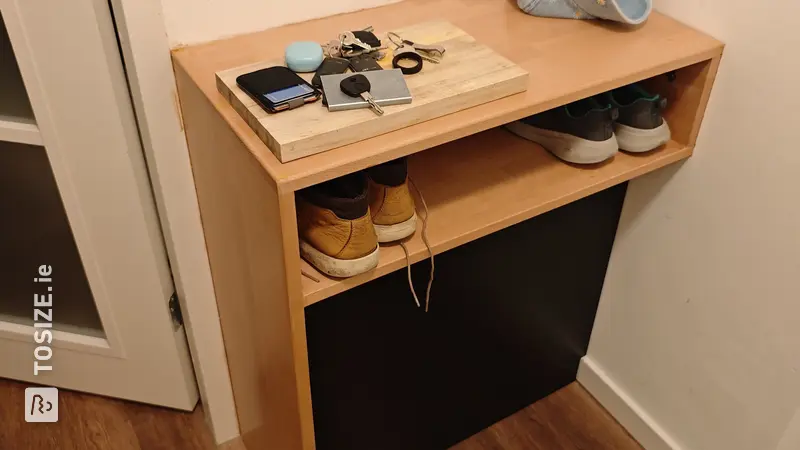
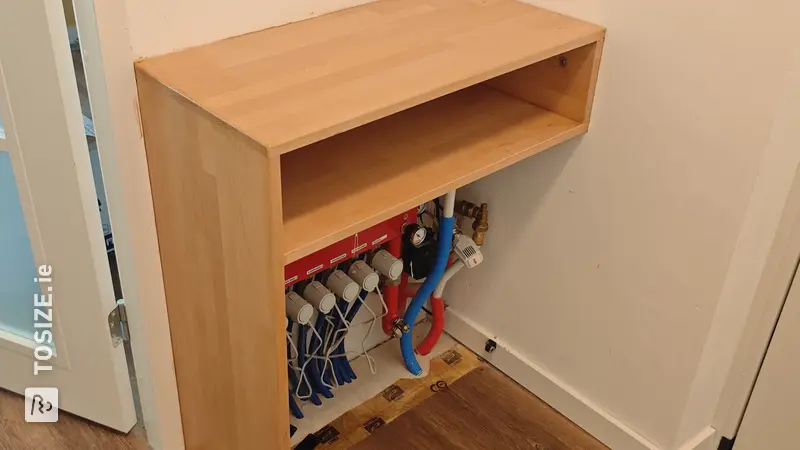
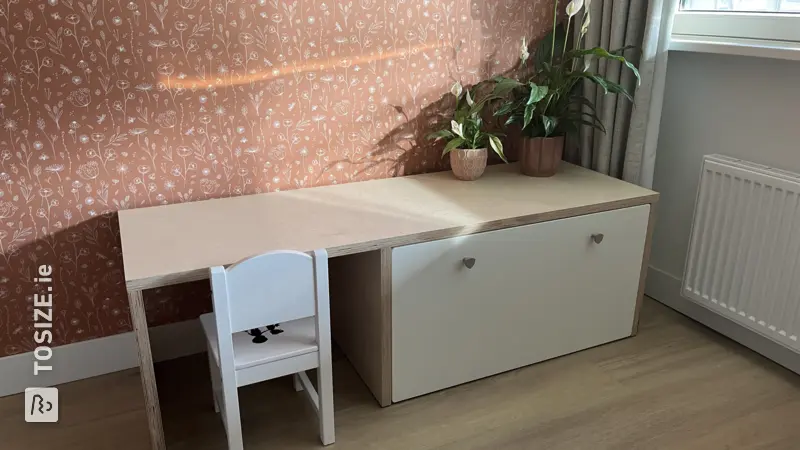
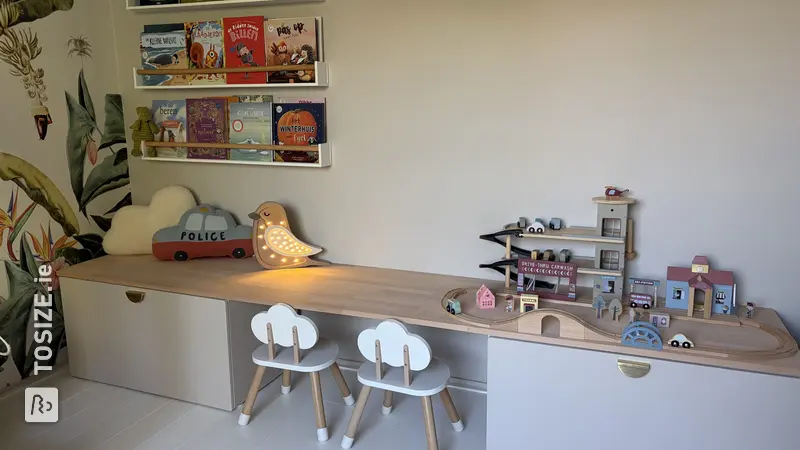
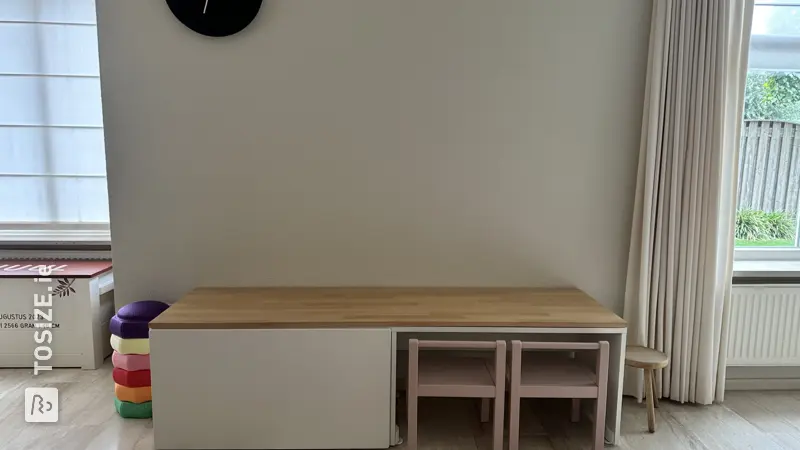
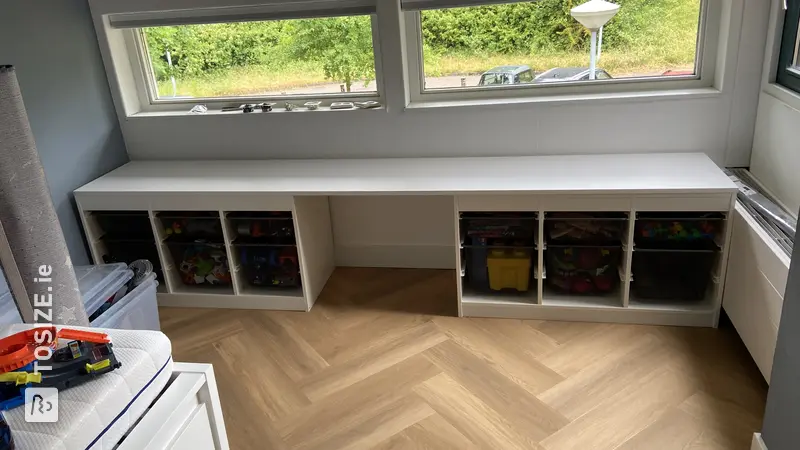
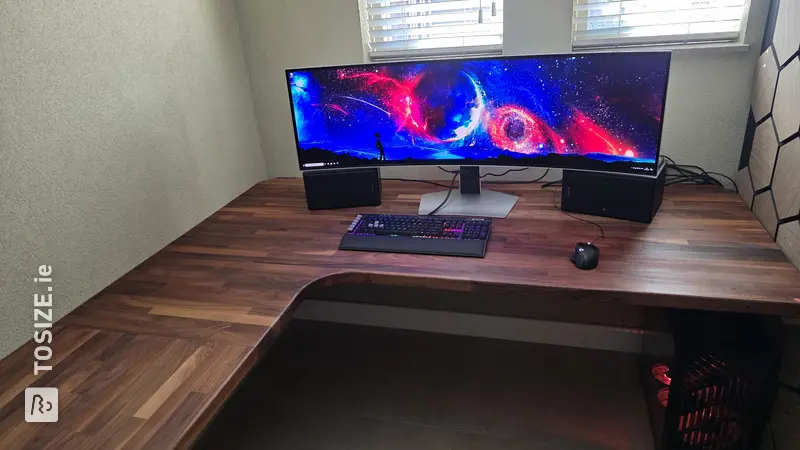
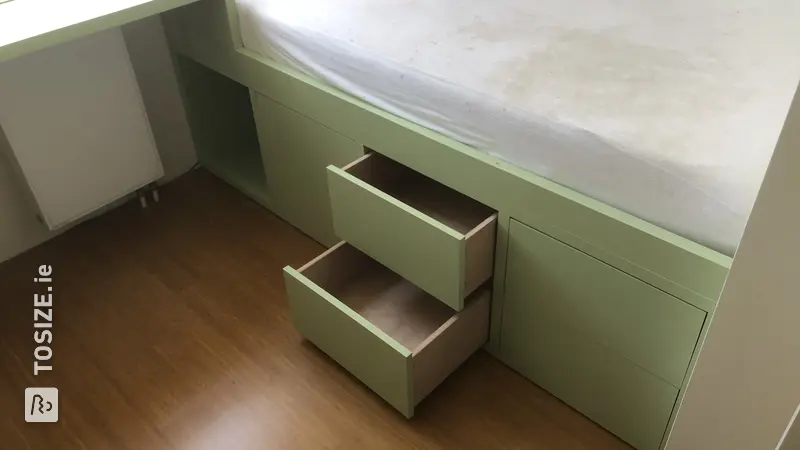
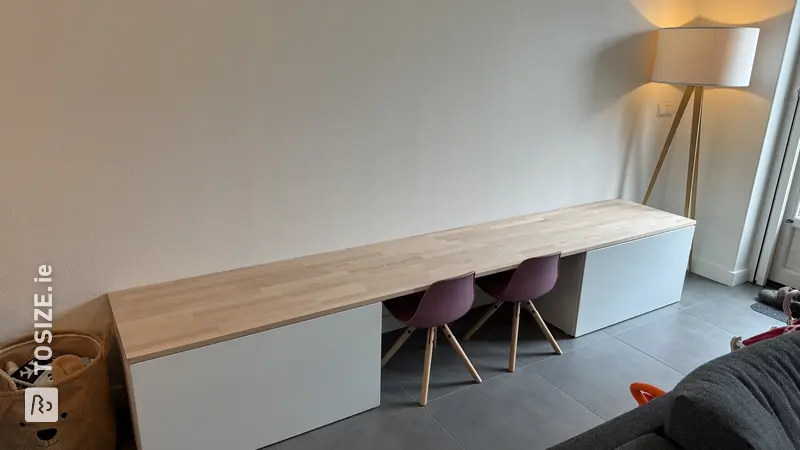
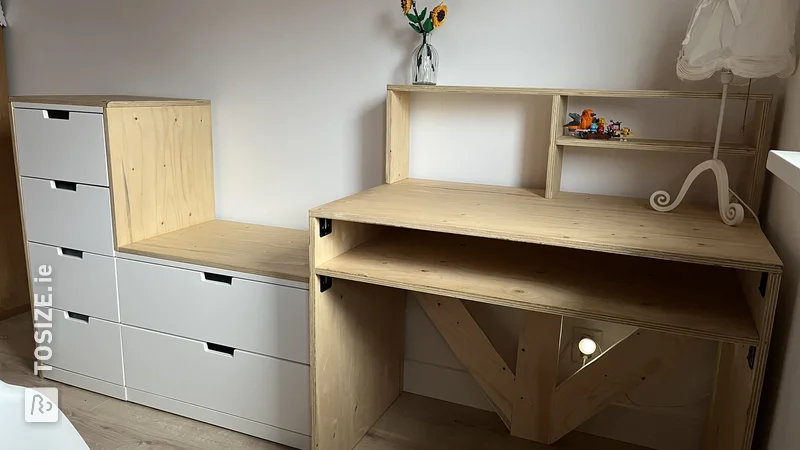
So we looked for a piece of furniture with storage space and a nice spacious worktop. We found the Småstad toy box at Ikea with a nice large drawer on wheels to store all the toys and thought of combining it with a spacious play/work surface. Because we also wanted to leave enough space around the dining table, this became a custom top. We ordered this from TOSIZE.ie. Here you can order all kinds of wood sawn to size. Really super handy, because I can never get it that neat myself! And because it is a piece of furniture for children, I also liked that you can have the edges rounded. It is a bit less sharp when they hit it.
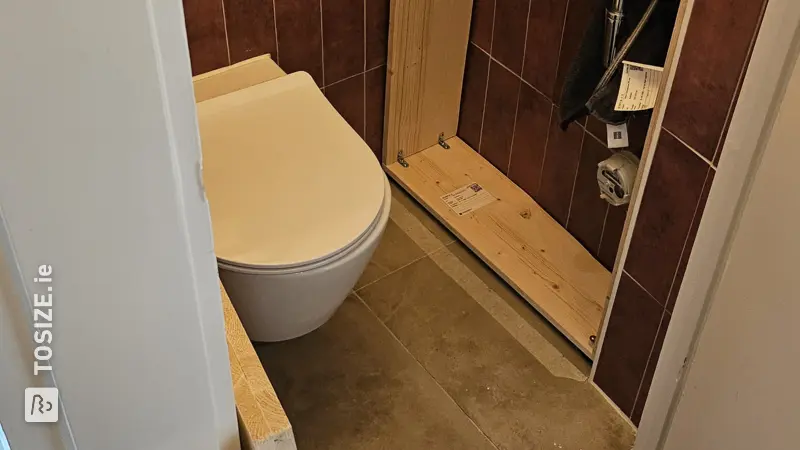
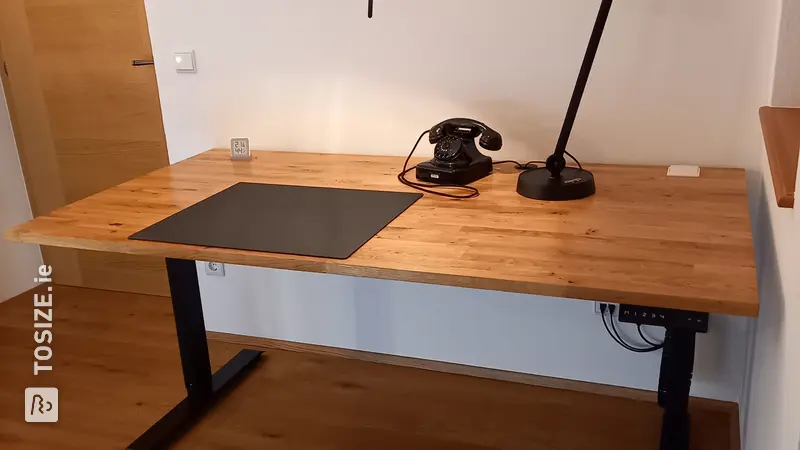
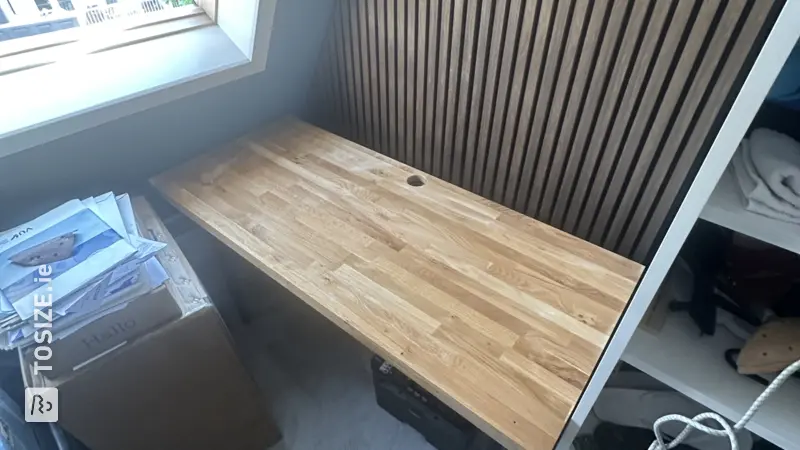
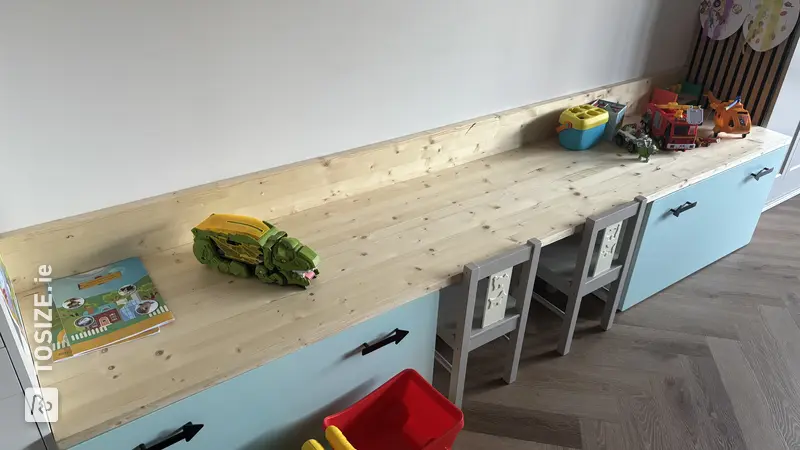
We chose an oak carpentry panel
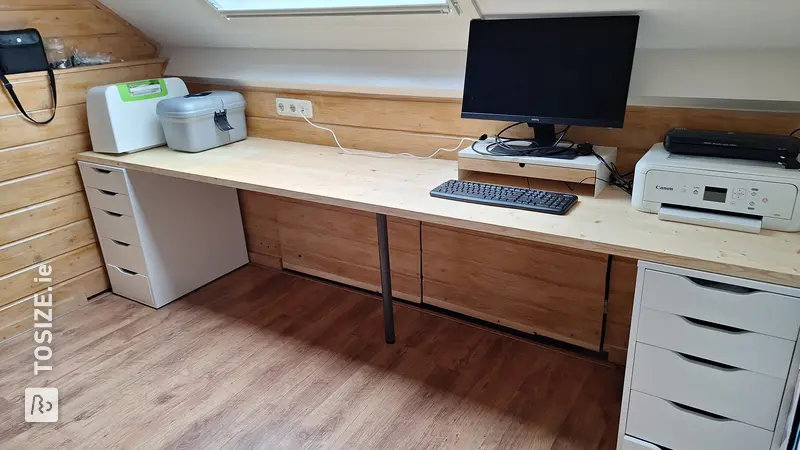
For the worktop we chose an oak carpentry panel of 26 mm thickness and the panel on the left side front 19 mm. We screwed both of these to the IKEA furniture from the inside. On the right side, the top rests on two legs that we made ourselves from scaffolding tubes with scaffolding tube base plates. We bought these at the hardware store and sawed them ourselves. We stuck a piece of felt to the base plates that are on the ground to prevent scratches. Finally, we added leather loops as handles, for a cool look.
A new, fresh look!
There used to be a play kitchen in this corner, but we have that for now. moved upstairs. The kitchen has not been played with as much in the living room for a while, but now that it is in Abby's room it is suddenly fun again! We also gave the wall in the living room a new color and this immediately makes the living room look completely new. I'm very curious to know what you think!
Supplies
- Smastad toy box
- Leather Loops
- Scaffolding tube (custom-made yourself) sawn)
- Scaffolding base plate
- Screws, wood drill & screwdriver
Dimensions of my DIY project
Approx.: 151.9 × 53.5 × 50.2 cm (LxWxH)
Tip! Also check out our handy DIY tips!
What now?
Want to make this DIY project? Check out P.M's saw list and complete your order easily.
€324.24
All materials used
View all sheet materials