- TOSIZE.ie
- Do it yourself
- DIY Projects
TV cabinet made of cherry wood furniture panel, by Frans
TV cabinet made of cherry wood furniture panel, by Frans

Create this project yourself with sheet material cut to size by TOSIZE.ie!
Frans
Average
2 minutes
On this page you can read the DIY story of Frans who made his own TV cabinet from cherry wood furniture panel. Frans shares his experience and the steps he took to build this beautiful cabinet. He describes how he measured, sawed and assembled the wood to create a sturdy and stylish TV cabinet. Frans gives useful tips for finishing and adding functional details. With his homemade TV cabinet, Frans has created a unique piece of furniture that fits perfectly with his interior. Follow his guide and make your own TV cabinet from cherry wood furniture panel.
Description by Frans
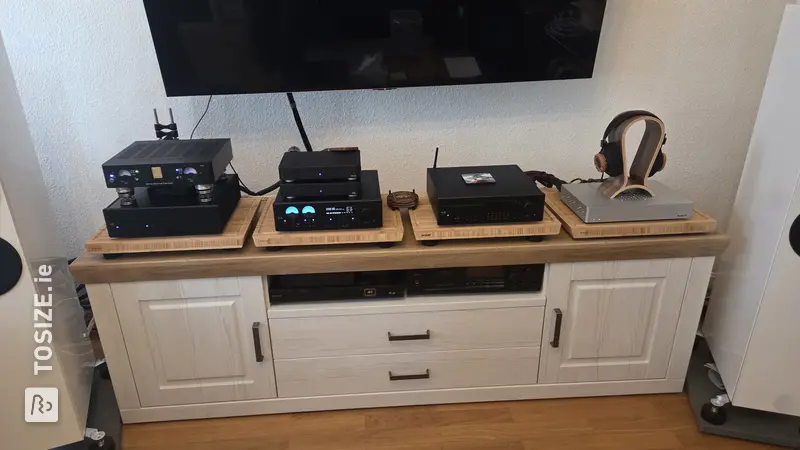
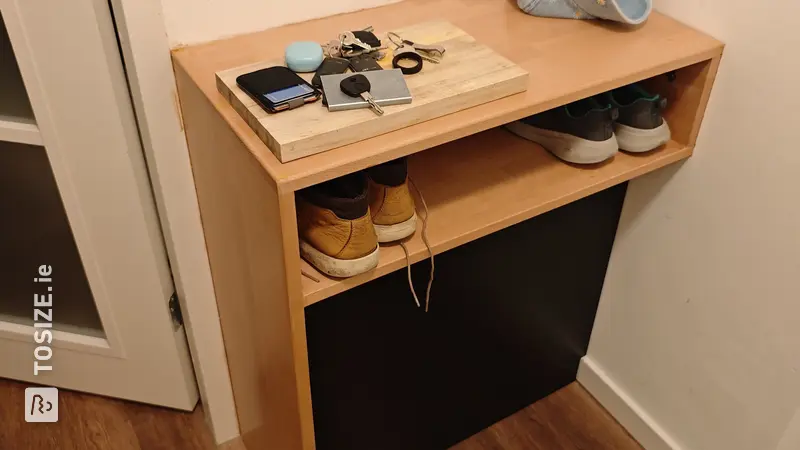
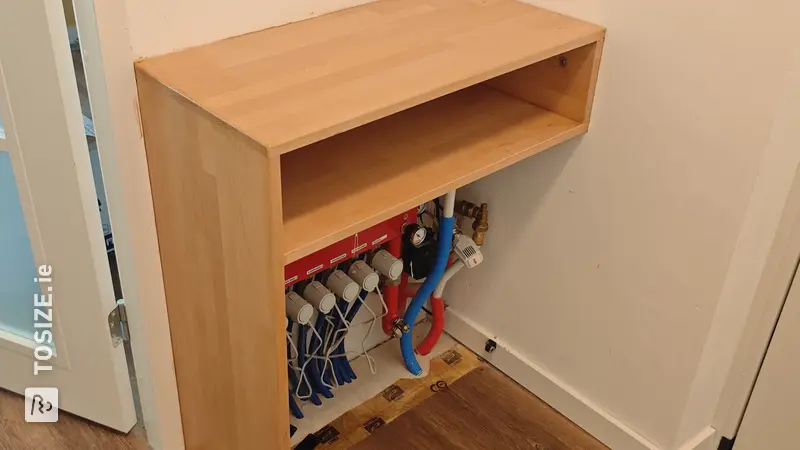
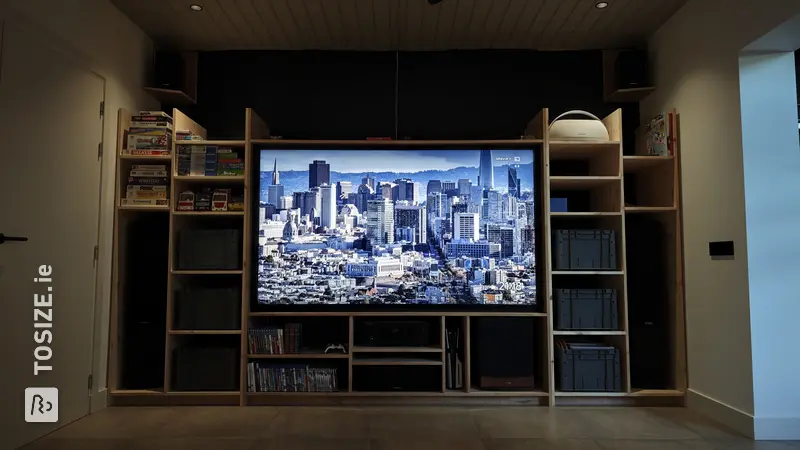
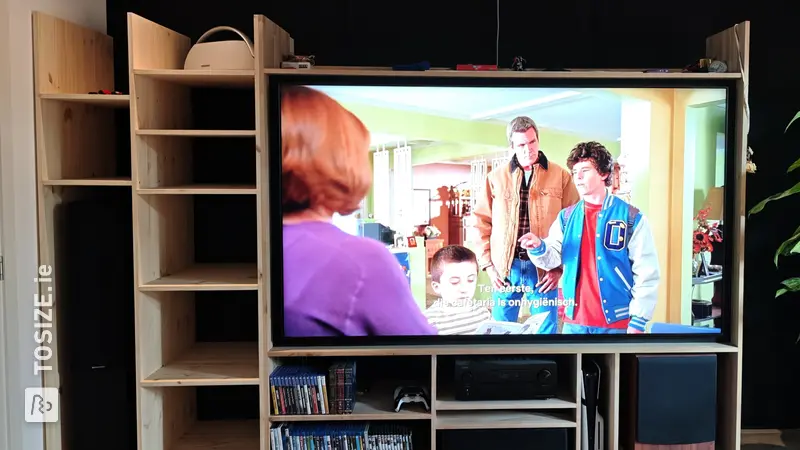
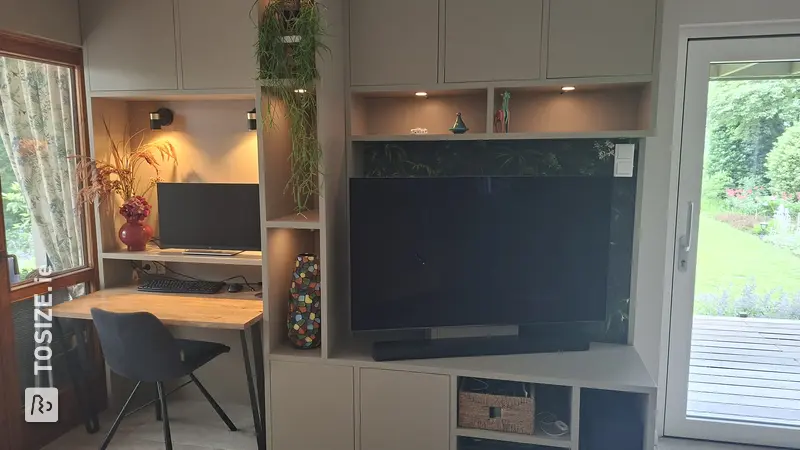
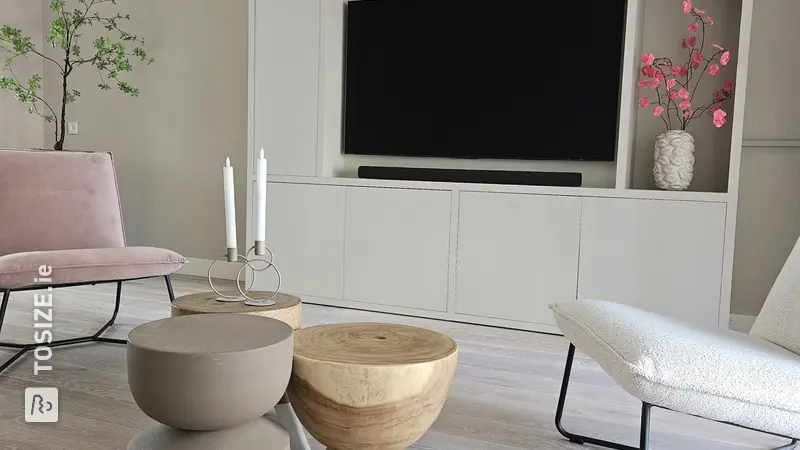
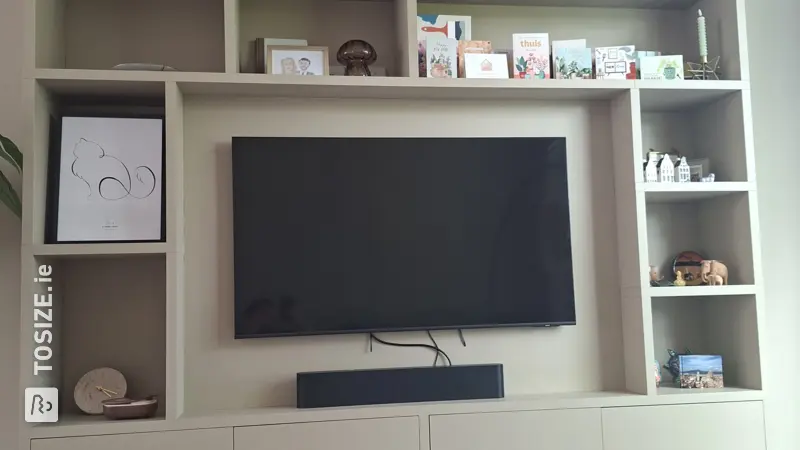
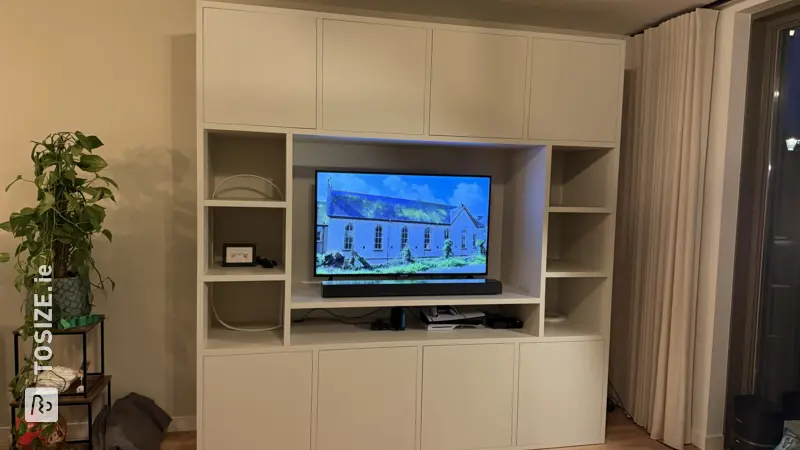
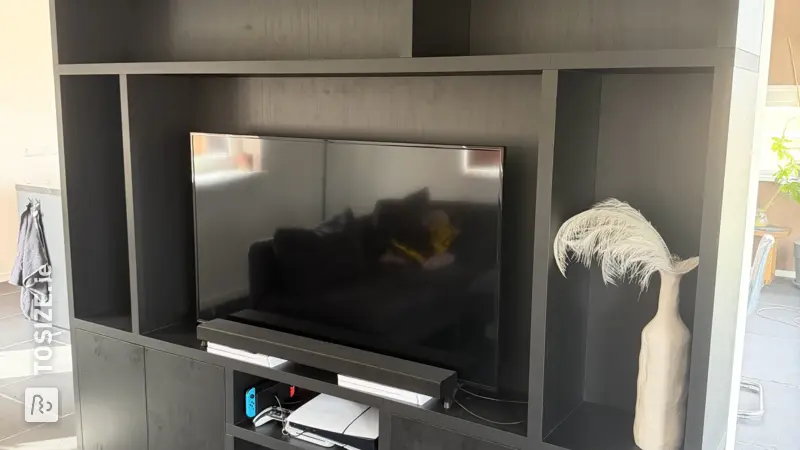
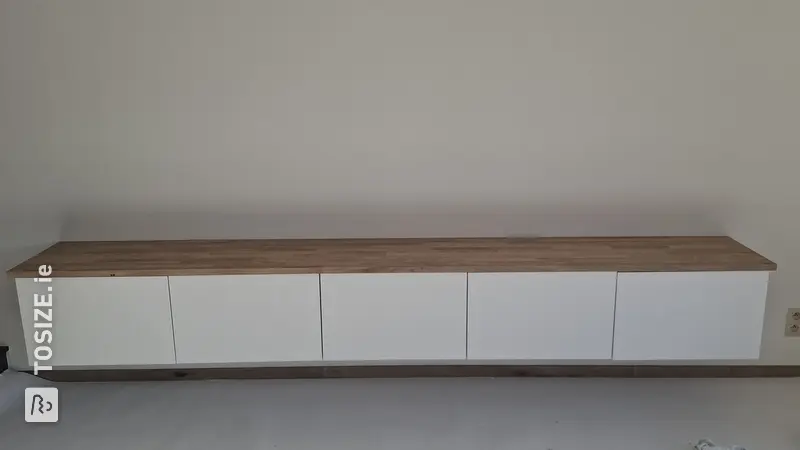
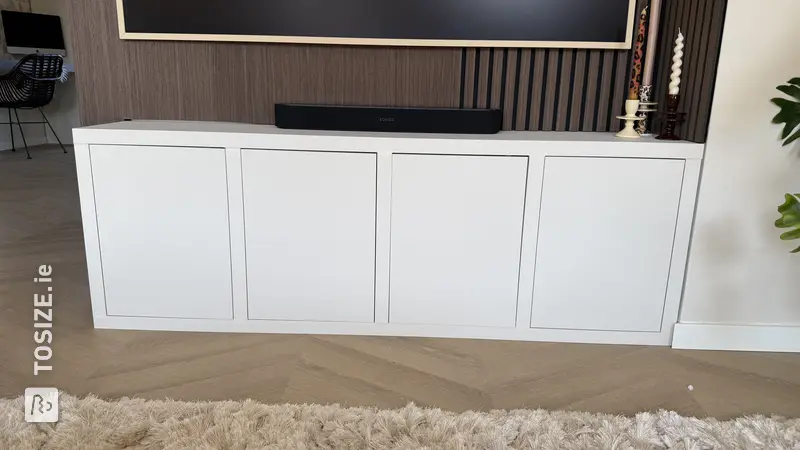
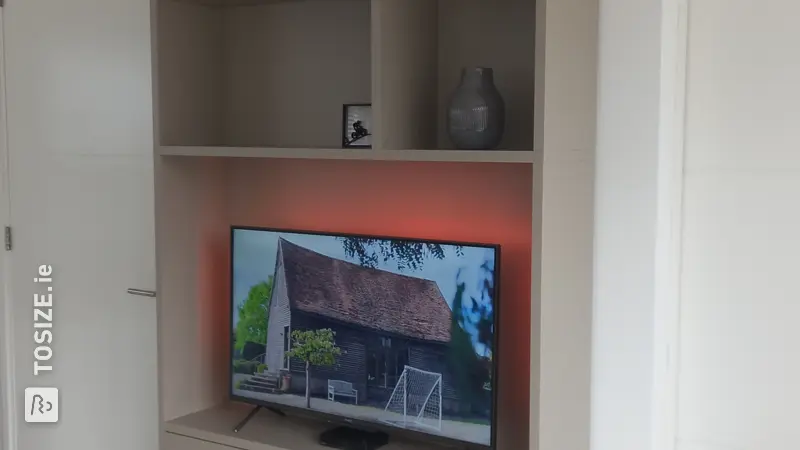
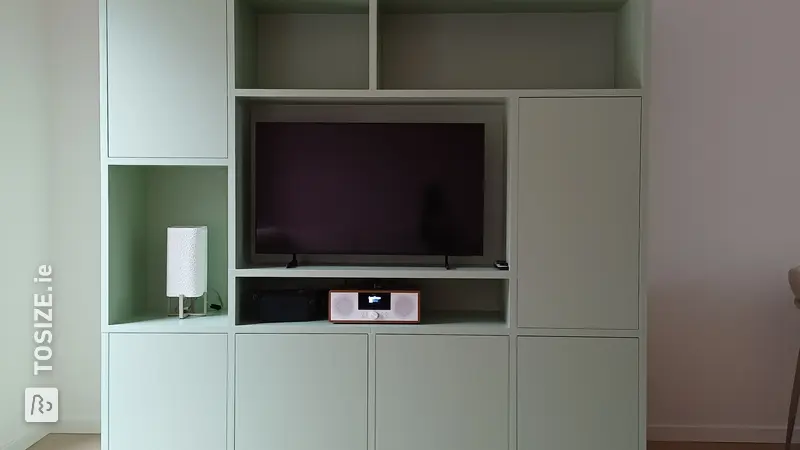
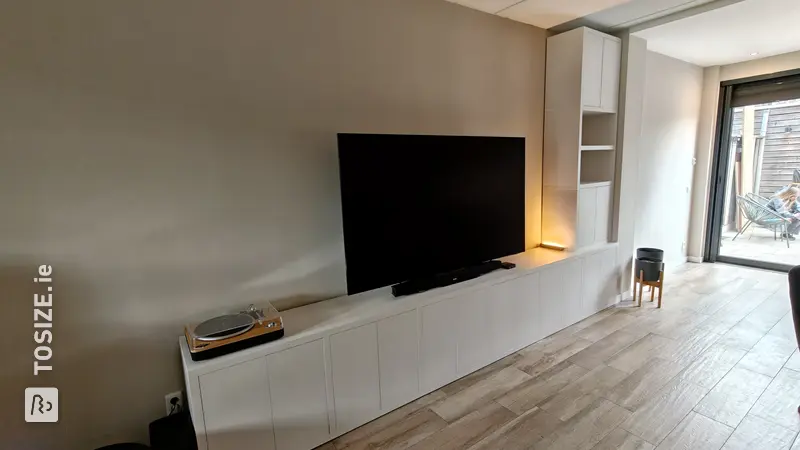
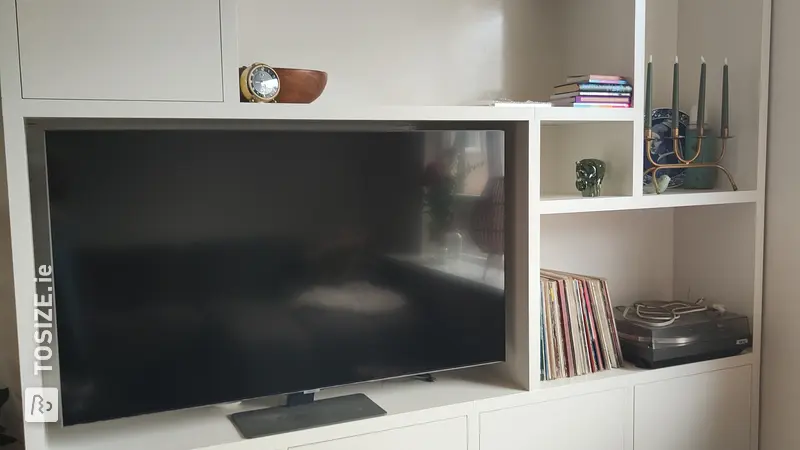
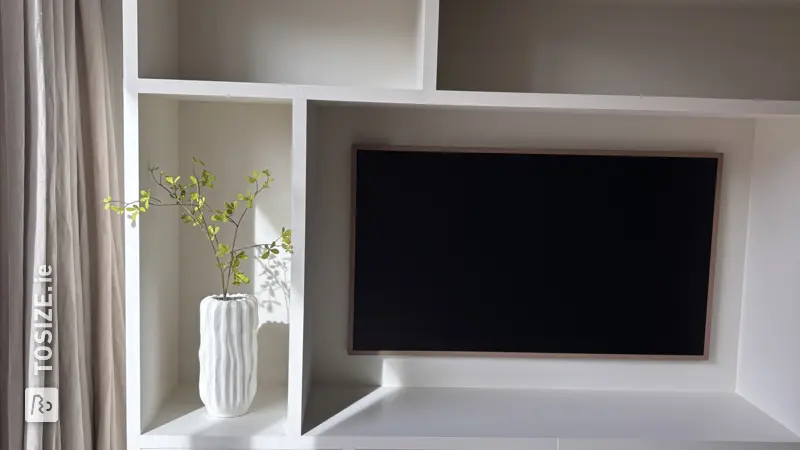
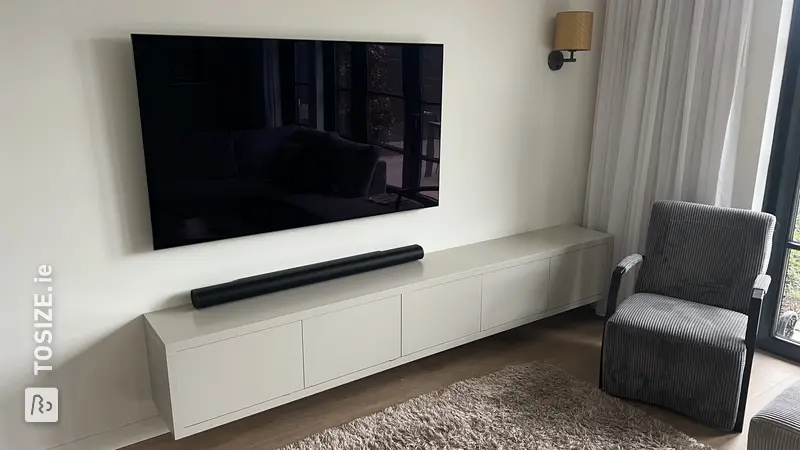
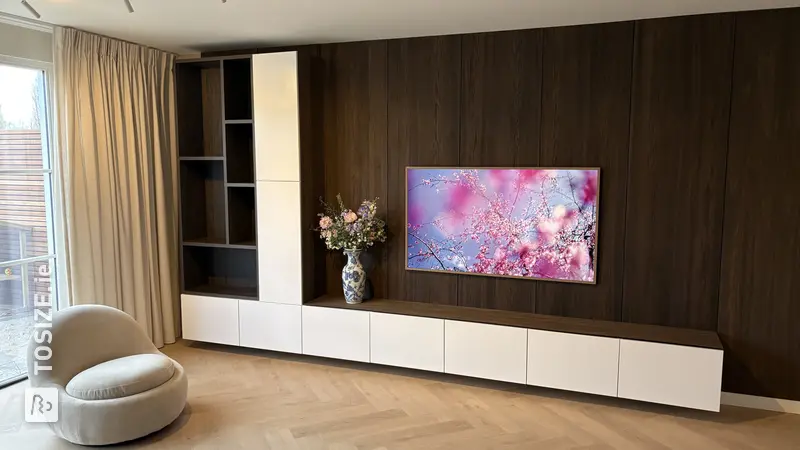
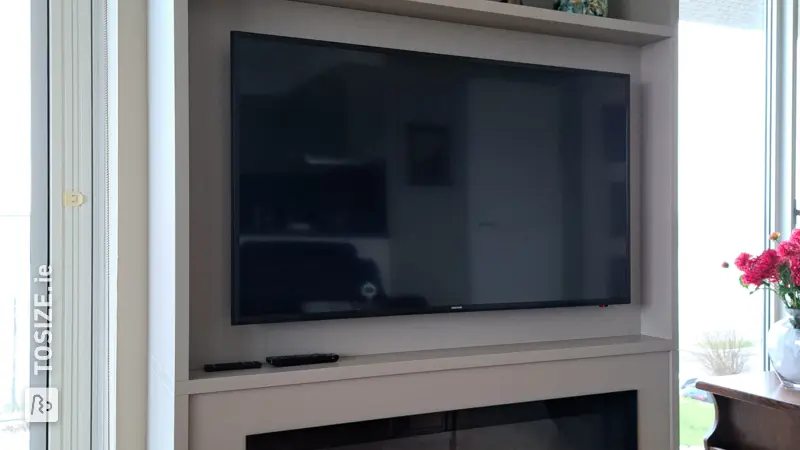
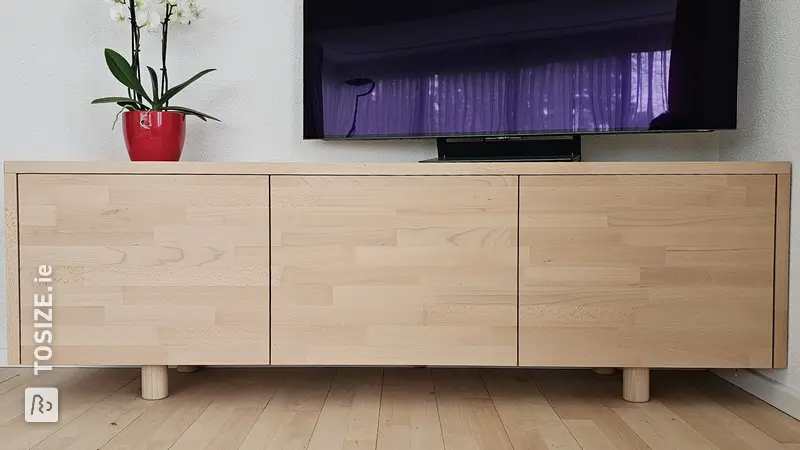
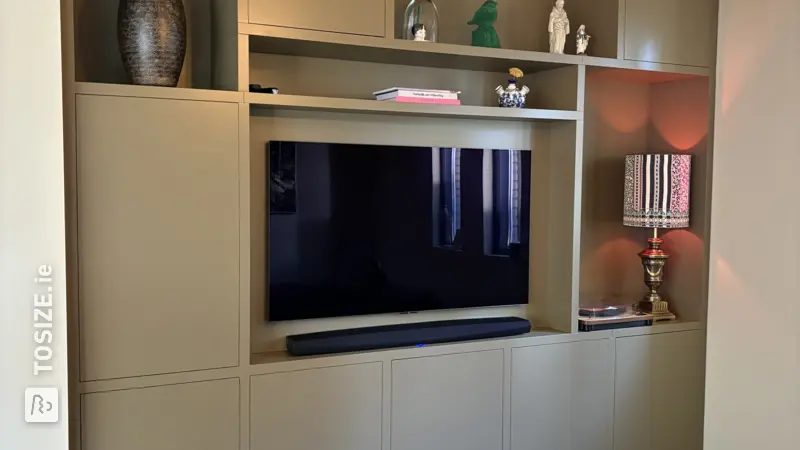
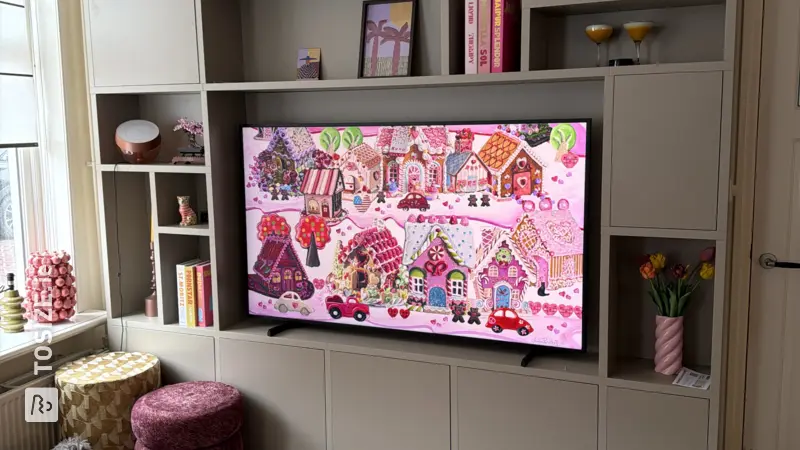
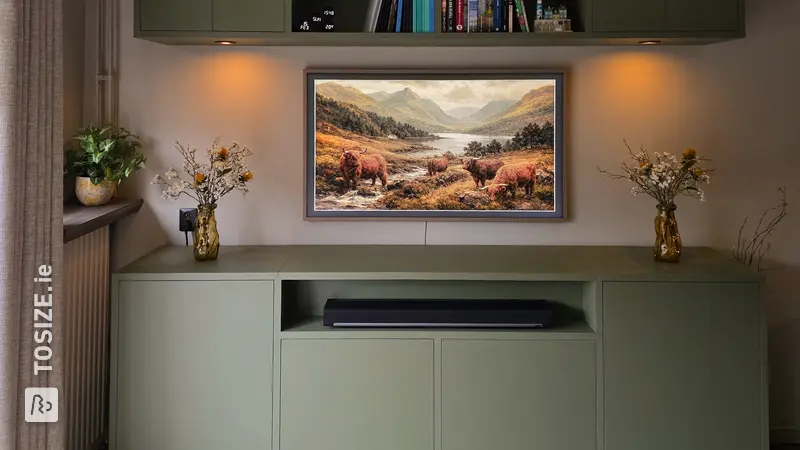
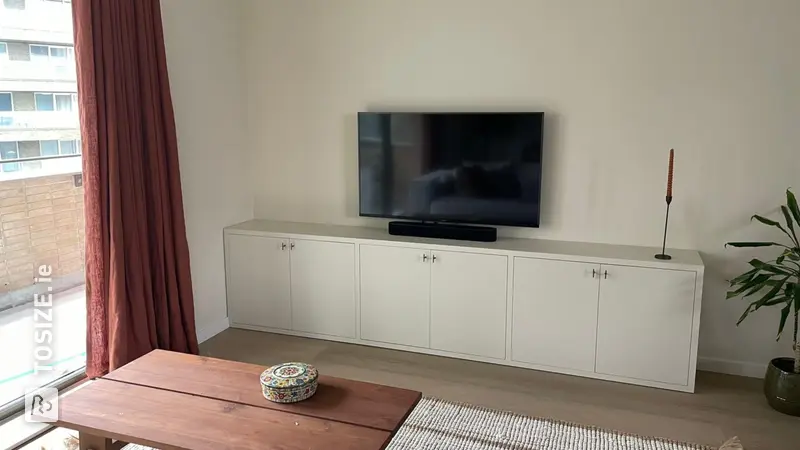
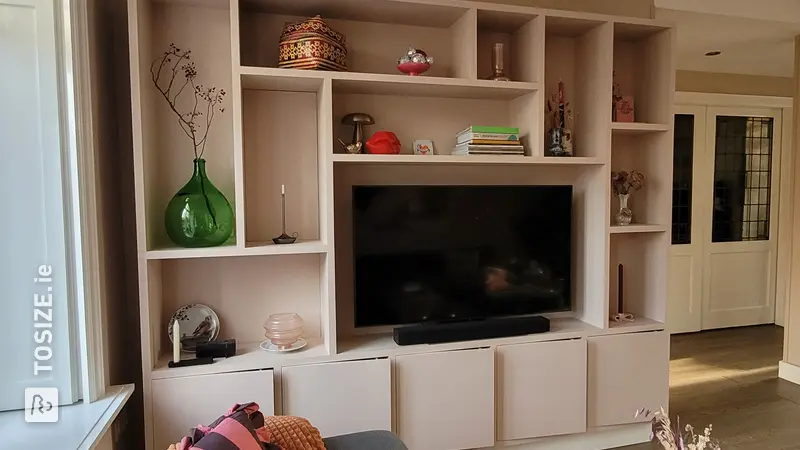
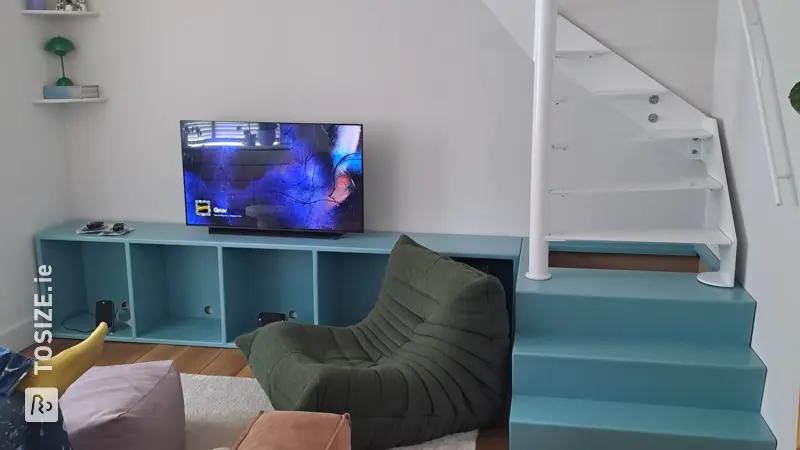
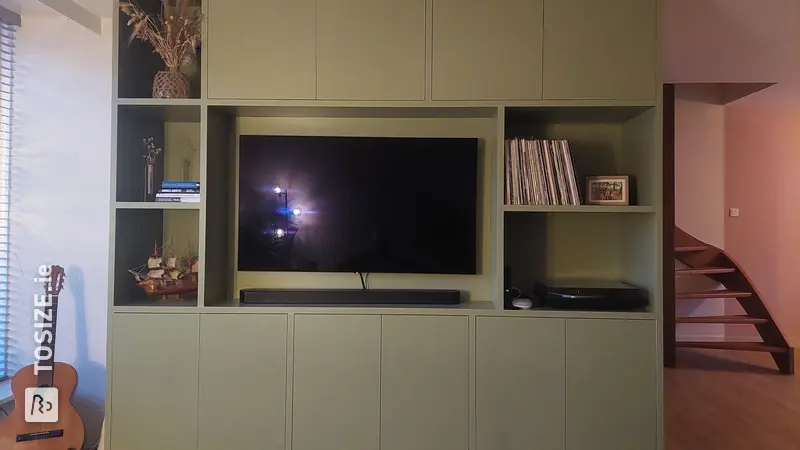
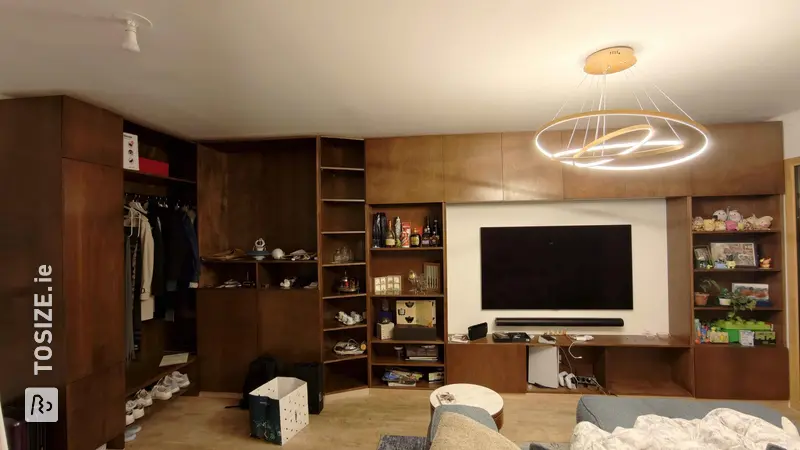
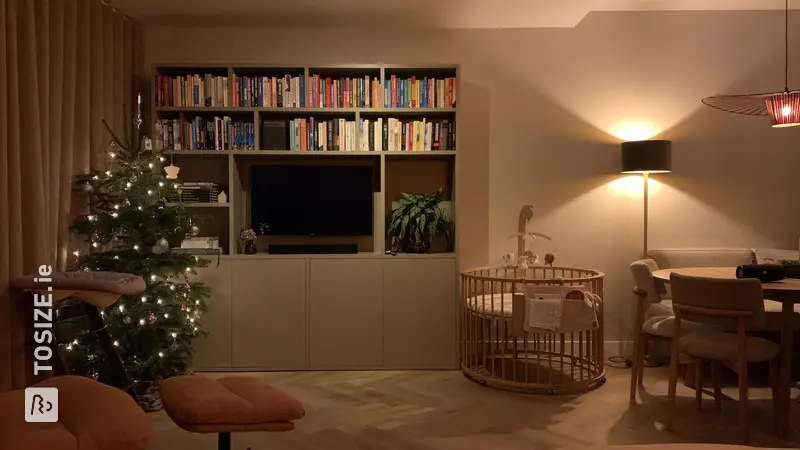
New "TV cabinet" after a reorganization of the living room. Equipment can be placed out of sight behind the TV. Planks are placed around a protruding wall to mask the wall. Drop-off point to put nice things down. Cherry wood furniture board taken because a number of furniture are made of cherry wood.
How I made this project
- Have the shelves and upright cut to size from 26 mm thick cherry wood furniture board
- li>
- mold made of 10 mm thick MDF to properly mark the protruding wall. The mold has been made slightly wider at the wall in order to be able to properly measure the wall in relation to the mold. The wall is not that tight in terms of dimensions. Each plank is therefore slightly different
- Furniture connectors made of cherry wood
- Stand equipped with 5 furniture connectors that are mounted with 10 mm dowels. Planks secured to the furniture connectors with Directa screws from Hettich so that the shelves do not tilt.
- Directa screws from Hettich used to mount furniture connectors on the wall. First, 10 mm holes were made in the wall, plugs were placed, and drill holes were marked on the furniture connectors with the center points of a dowel set. Here too, the planks were secured against tilting with Directa screws.
- All screws slightly recessed and covered with a wood-colored plastic plate
- Unable to make blind installation due to lack of professional tools
- After complete assembly, the "TV cabinet" dismantled again to complete, sand and paint everything. Applied 3 layers of Glitsa furniture lacquer. Apply the first coat with a brush and the other two coats with a roller. Dilute the lacquer with 5% water to create a thin layer of lacquer three times. Then the "TV cabinet" reassembled.
Dimensions of my DIY project
132.0 x 245.0 cm
Tip! Also check out our handy DIY tips!
What now?
Want to make this DIY project? Check out Frans's saw list and complete your order easily.
€1,351.06
All materials used
View all sheet materials