- TOSIZE.ie
Wood and sheet material
Wood and sheet material
Delivered within 3 working days
View our range of products available for immediate delivery
View our range
Wide range
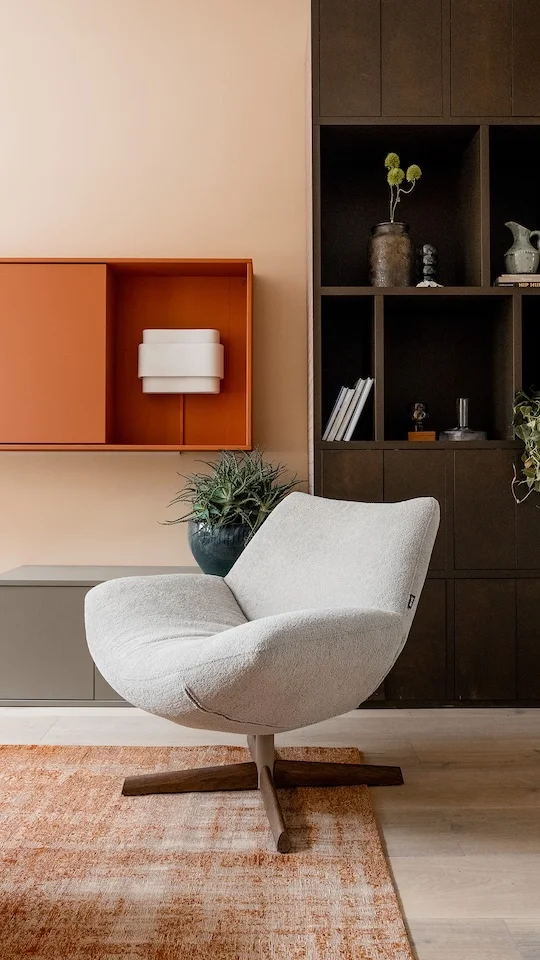
We cut any type of wood to size with millimetre precision, perfect for your DIY projects. Choose from MDF, furniture boards, plywood or timber panels. Order your cut-to-size wood sheets easilty online.
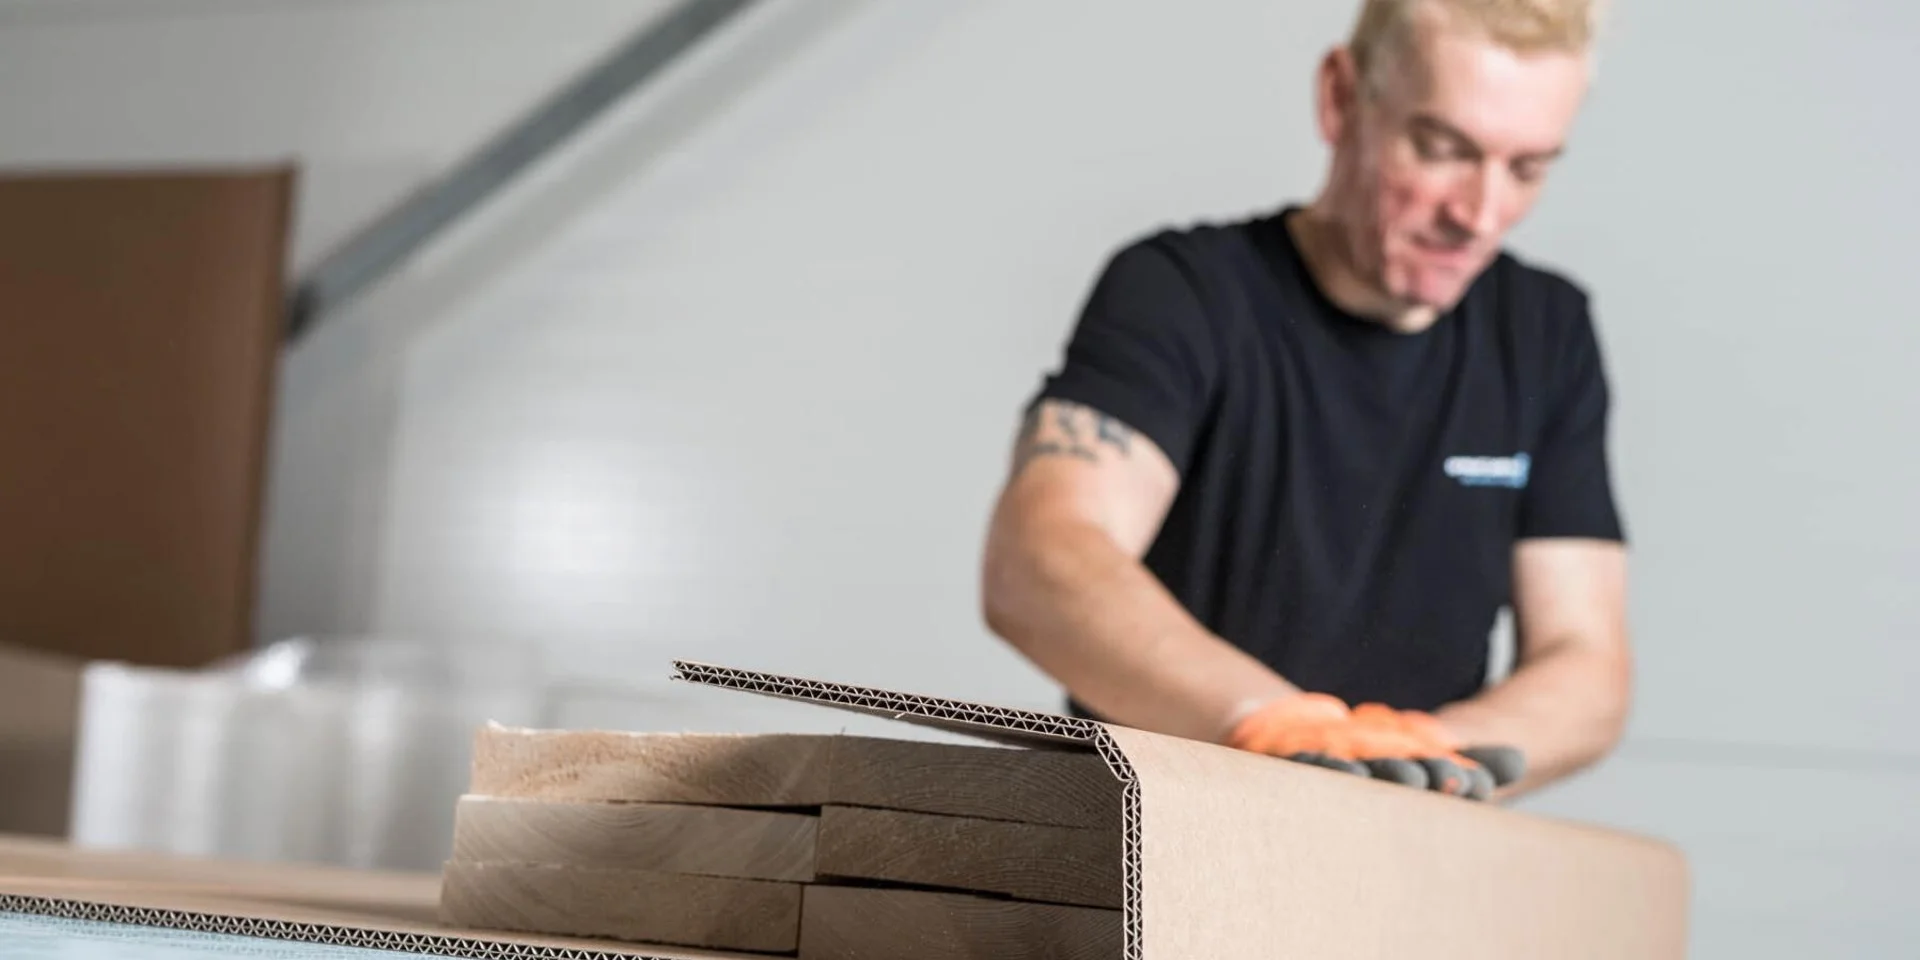
Professional saw work for everyone
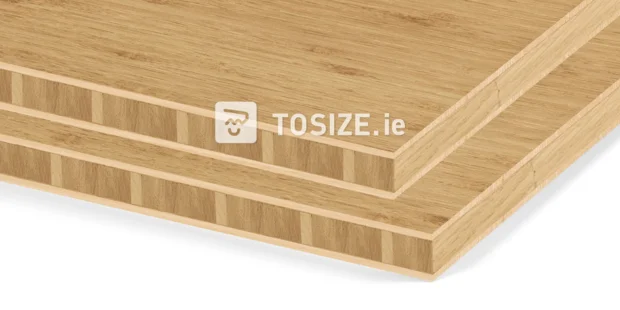
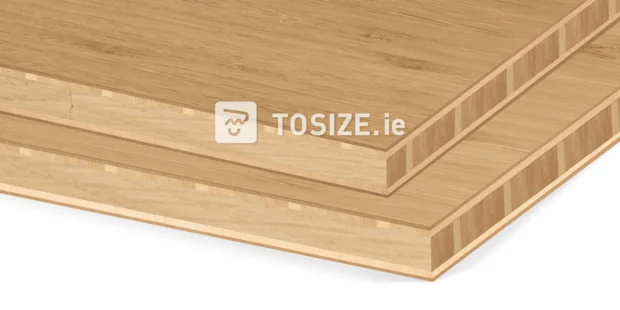
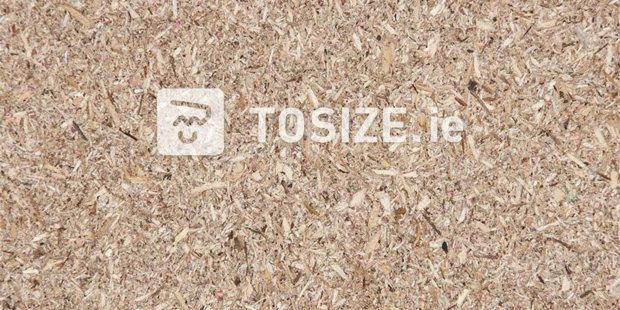
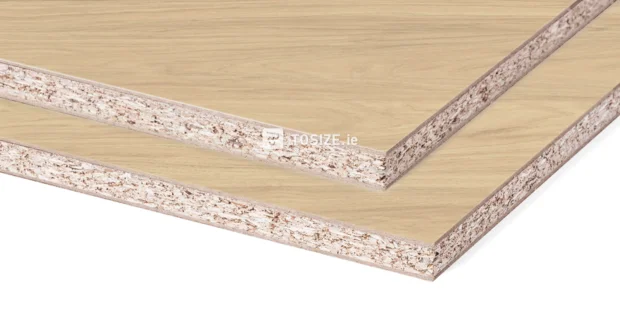
Wood sheets are sheets made of materials such as solid wood or wood veneer. The wood-like material is glued together and processed into large sheets that come in various sizes. These may not be finished with a surface layer or veneer layer.
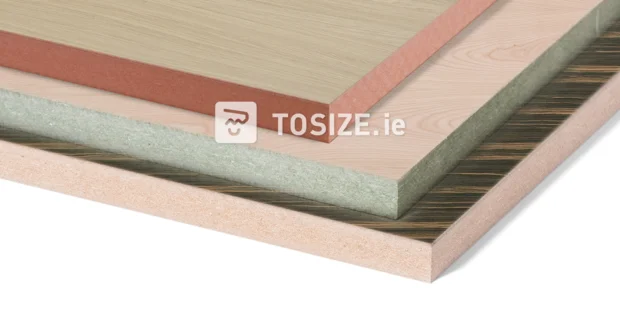
There are many types of wood and sheet materials, each with their own unique properties and appearance. In addition to finishing work, sheet material is also extremely suitable for making furniture such as tables and cabinets. Wood sheets come in various thicknesses and can be processed easily, so the possible applications are endless.
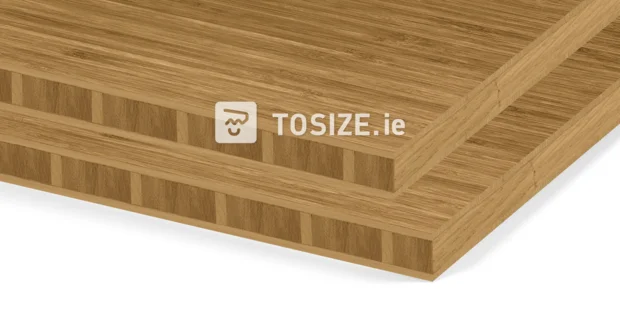
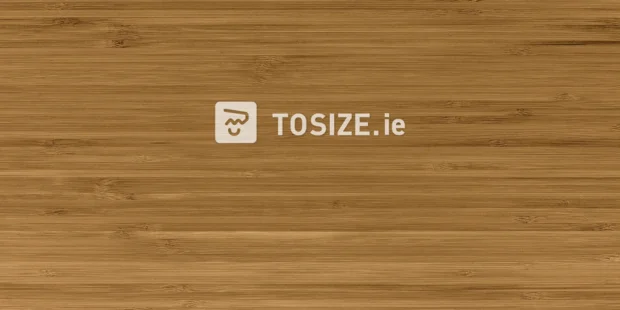
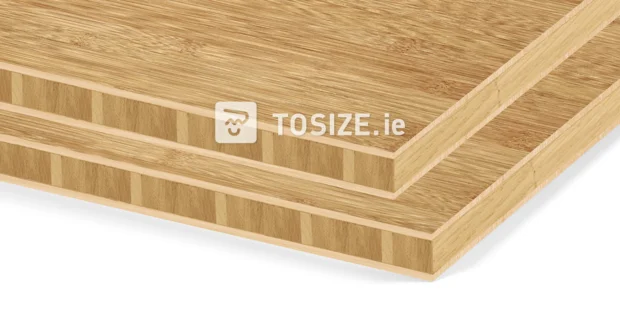
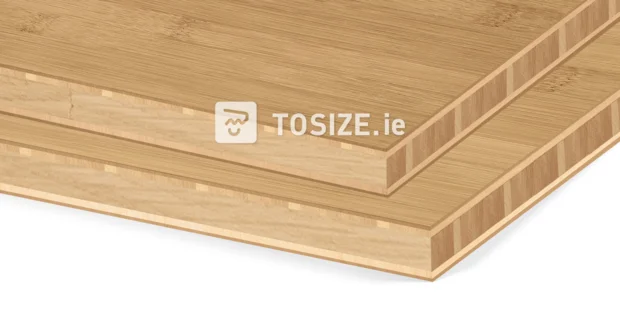
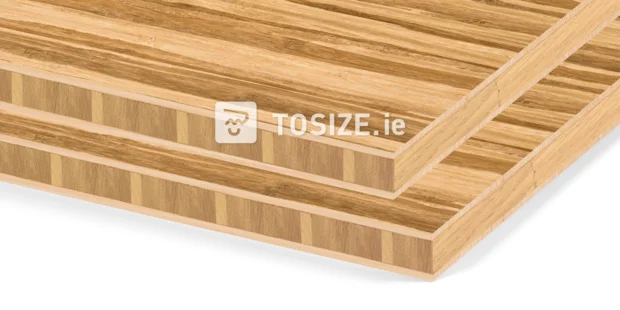
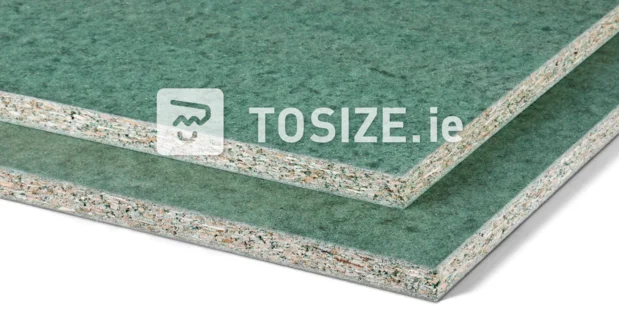
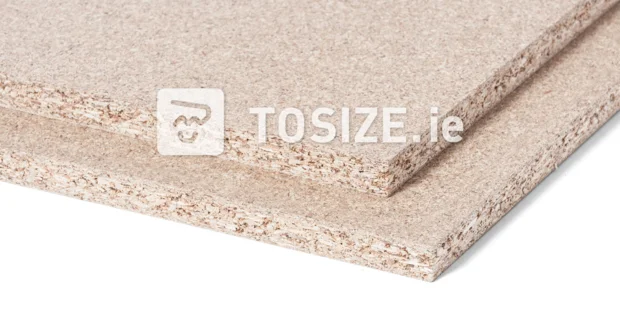
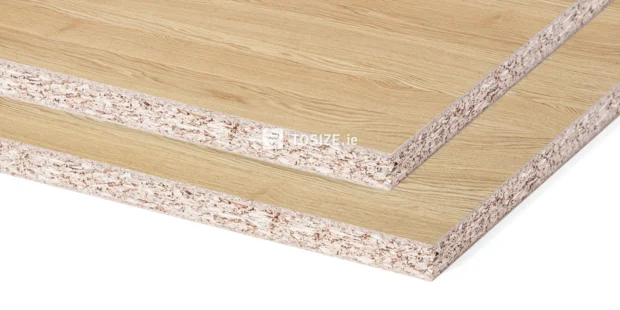
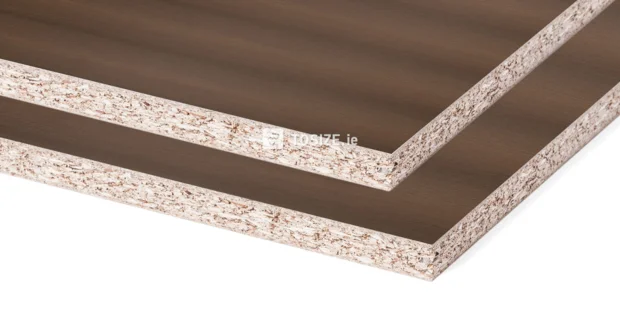
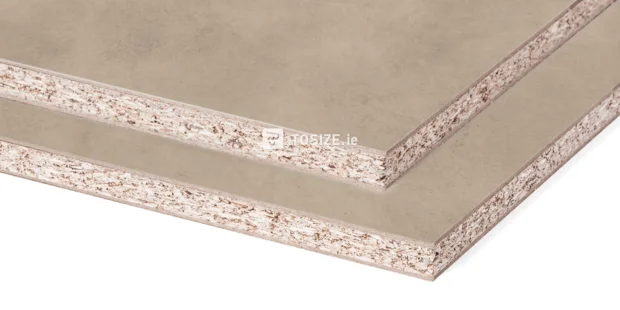
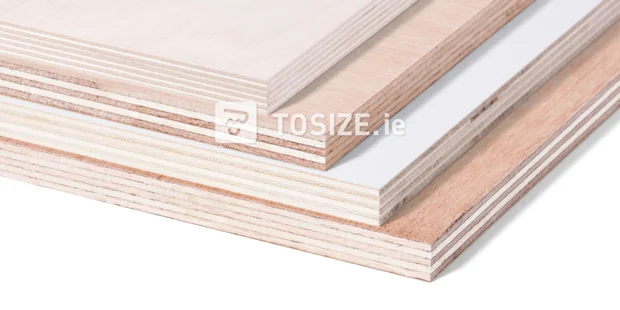
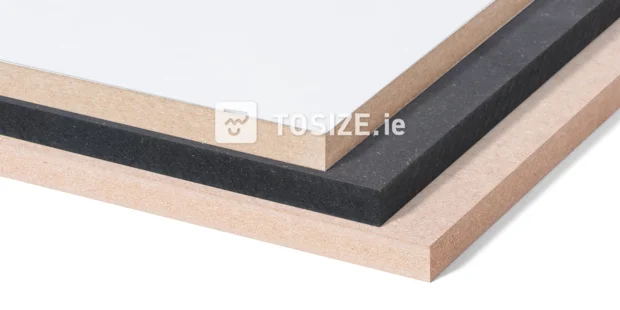
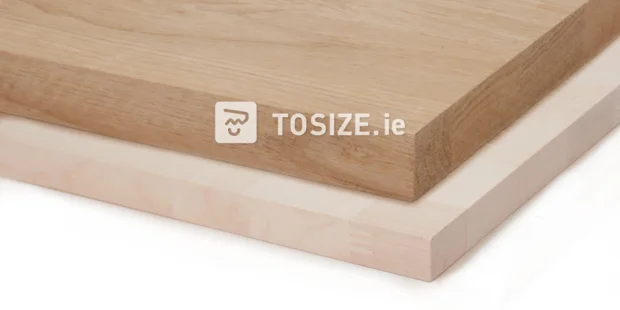
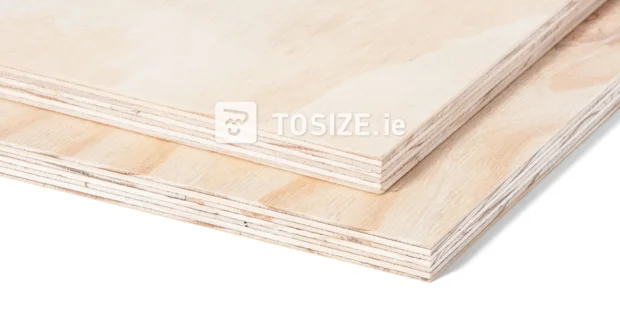
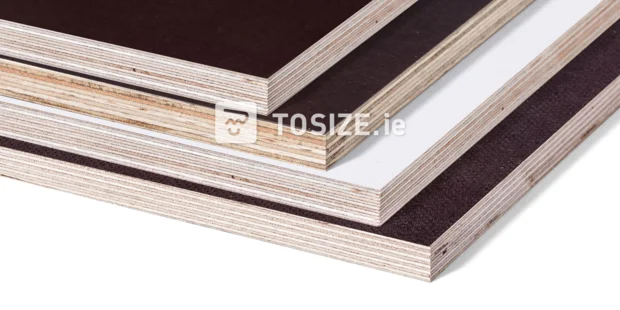
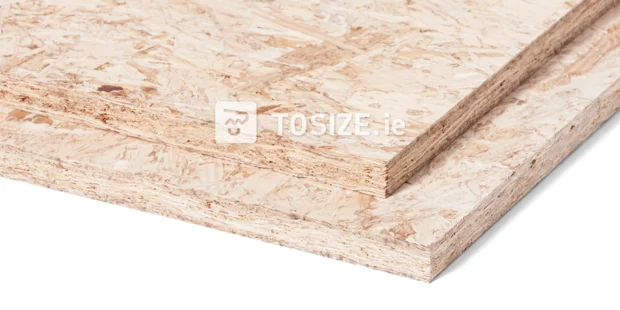
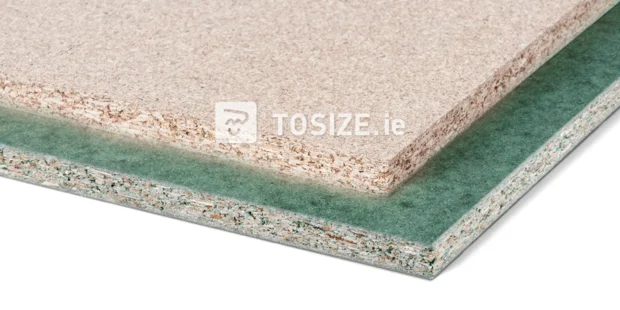
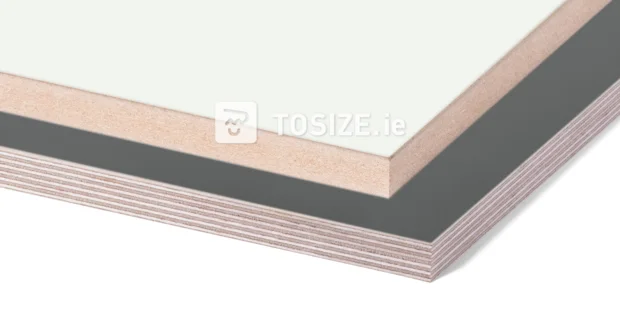
We offer a wide range of cut-to-size wood sheets. Our selection includes MDF, plywood, chipboard and various boards, as well as phenolic plywood, OSB and underlayment. We also have furniture boards and solid wood panels in our range.
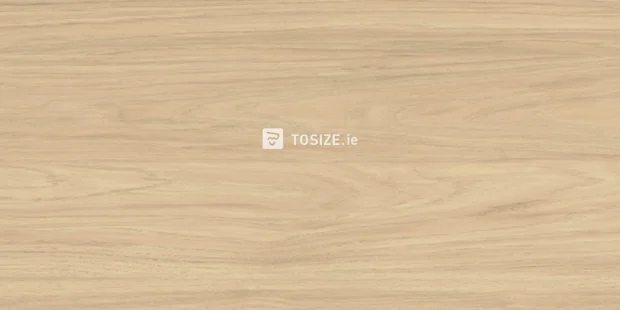
Types of wood and wood sheets
Complete your project with our wood range. Whether you need wooden beams and battens or wood sheets for a fun DIY project, you can easily order your desired wooden sheets online.
Our range includes the following types of wooden sheets:
In our online store, you can order them all cut to size in different thicknesses, shapes and finishes.
Special shapes
In addition to rectangles and squares, you can also order a variety of shapes online, including circular, hexagonal or rectangular woord sheets with bevelled edges. Perfect for making a corner table or desk! Explore all the options here and get creative.
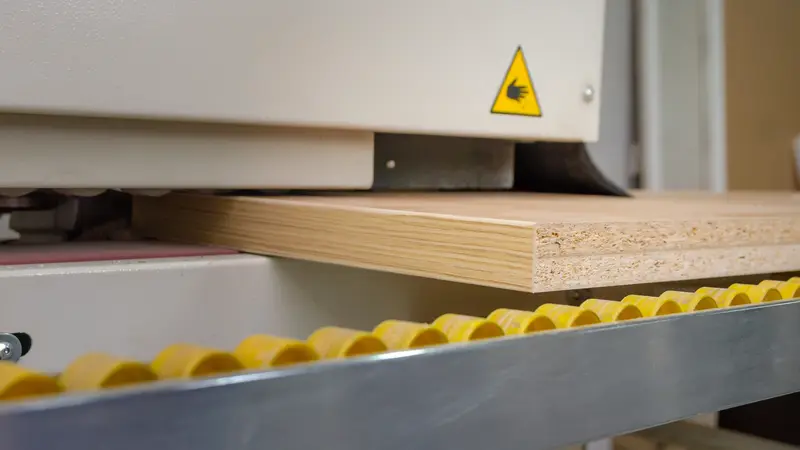
Finish wood sheets with a milling edge
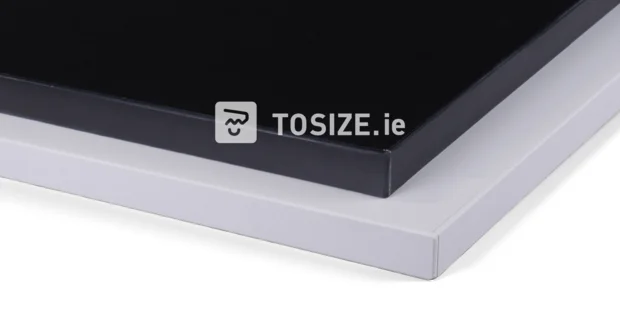
You can easily make a custom-made round table with cut-to-size wood sheets. Select a decor, such as MDF Black Water-resistant, and choose from rounded, bevelled or machined finishes. If you want to finish chipboard with ABS tape, our expert team is ready to help with your project. We offer proffesional sawing and milling work, so you can complete your project quickly and easily. See all avaibalbe finishes here.
Applications of wood and wood sheets
The wooden sheets in our range can be used for various applications, both indoors and outdoors. Options include structural or decorative wooden sheets. You don't need to be a carpenter to work with wooden sheets. MDF is easy to assemble and finish. With the help of our extensive wood expertise and our professional sawmill, you can have wood and wood sheets cut to size to create your dream project.