- TOSIZE.ie
- Do it yourself
- DIY Projects
Homemade speaker stands for a recording studio, by Florian
Homemade speaker stands for a recording studio, by Florian

Create this project yourself with sheet material cut to size by TOSIZE.ie!
Florian
Challenging
2 minutes
Description by Florian
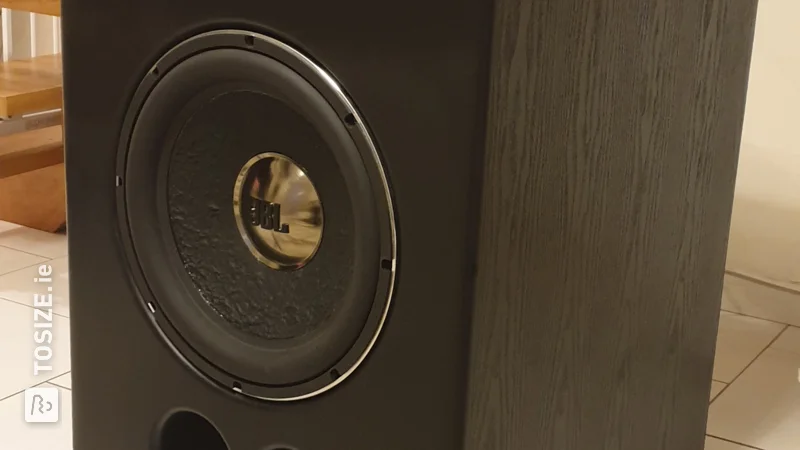
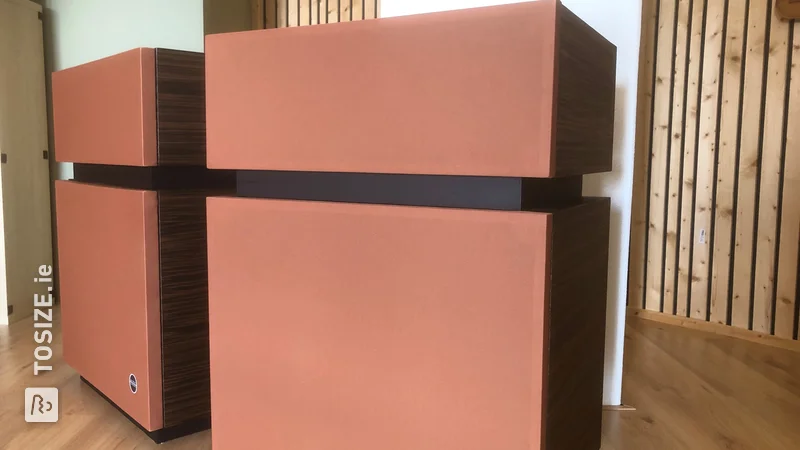
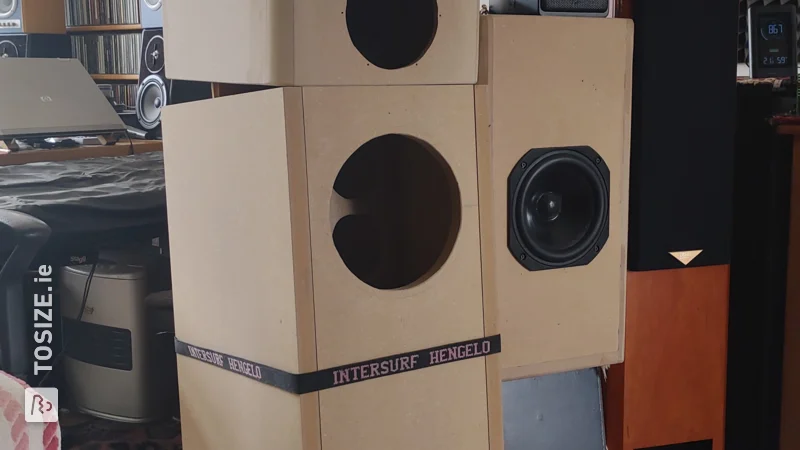
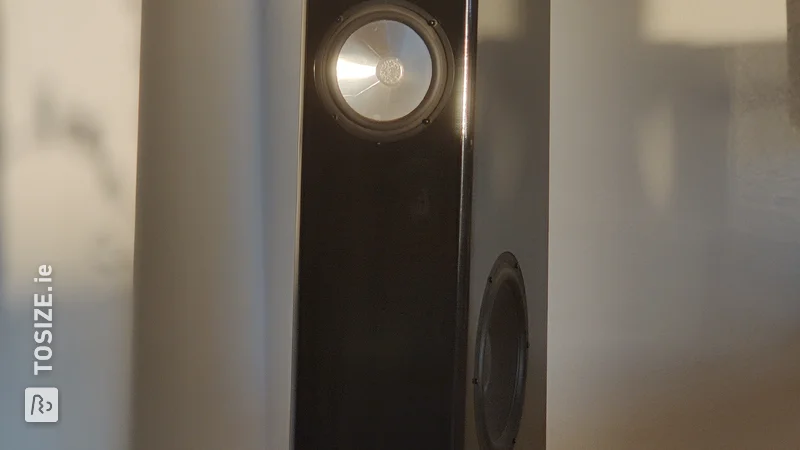
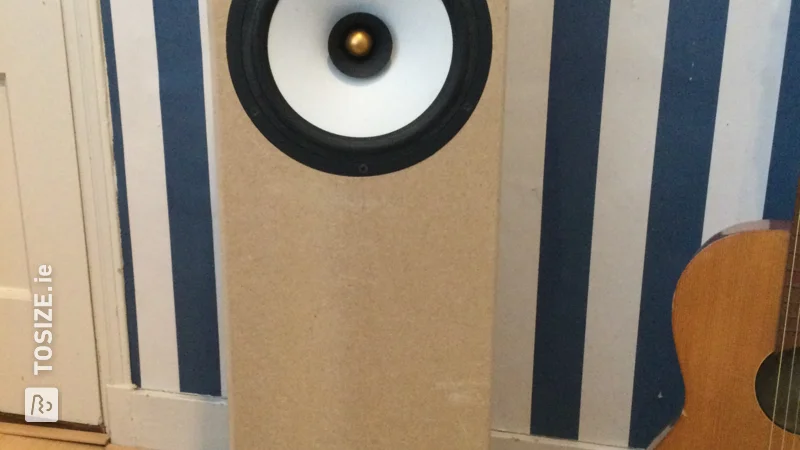
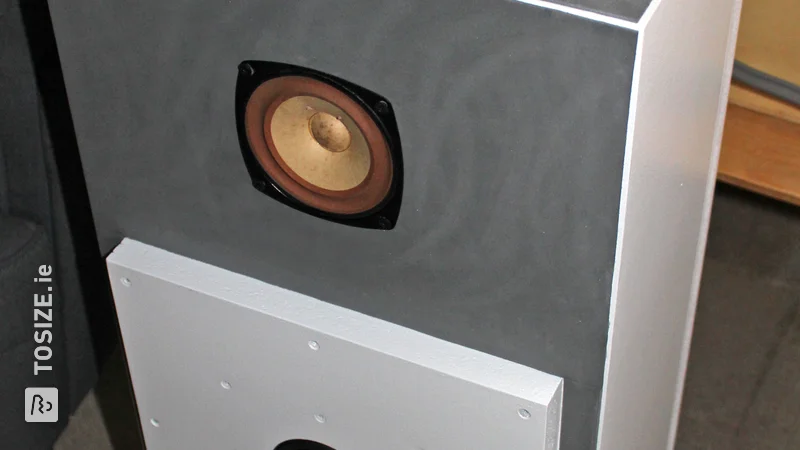
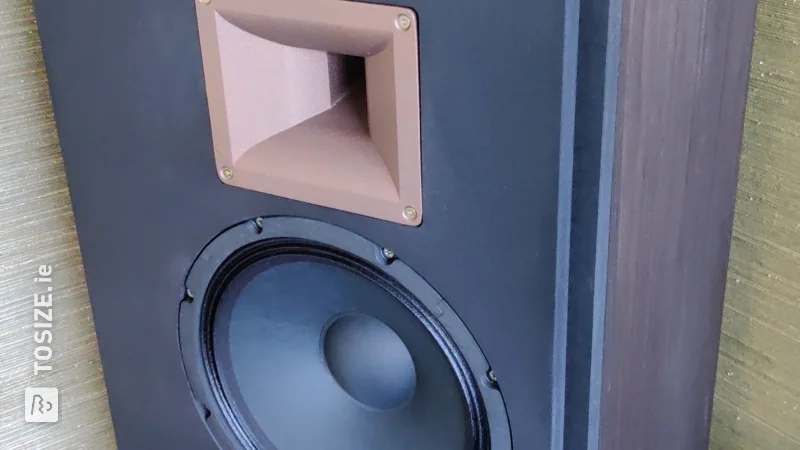
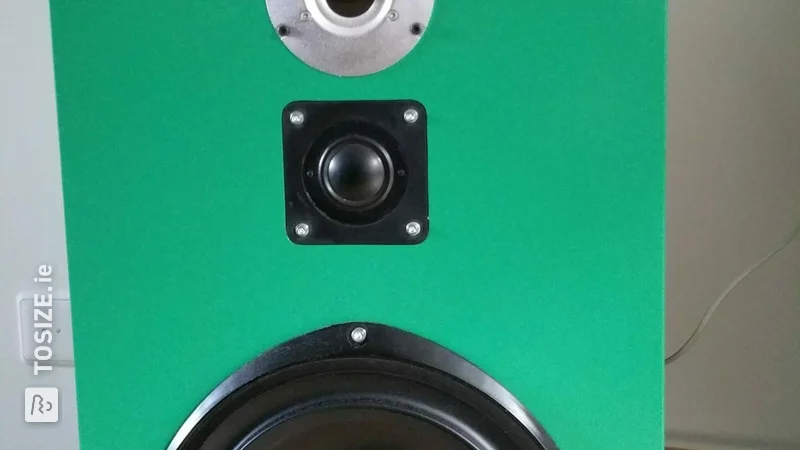
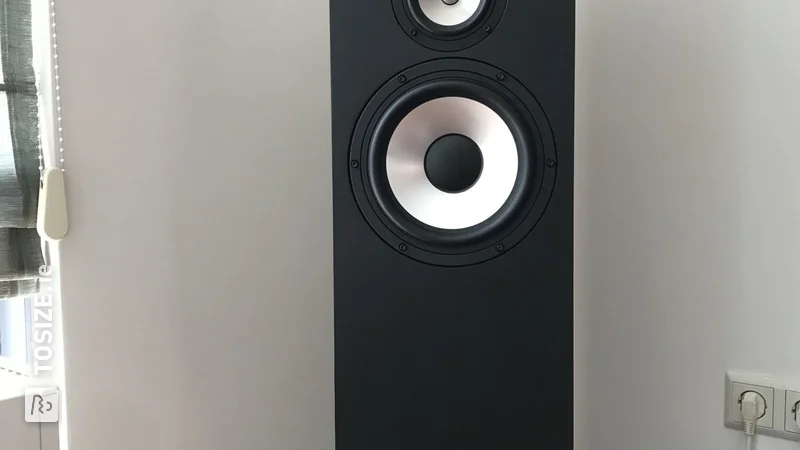
Two speaker stands that can be filled with sand for professional recording studios or home cinemas. The stands consist of a column over which an attachment is placed. By placing the column over the top, the height of the stand can be adjusted, as additional spacer plates can easily be placed in between. Essentially, the column is assembled first, then the base plate is mounted and finally the attachment that can be placed over the top is assembled. A stand can hold around 25kg of quartz sand (hardware store quality). A triangle would be ideal as a base plate, but it takes up more space. That's why I decided on a square, rounded the sides with a radius of between 8 and 12cm and mounted normal furniture feet so that the stand could be adjusted horizontally. A connection with special speaker feet from the hi-fi sector is not necessary, as the weight and the sand prevent the stand from vibrating.
How I made this project
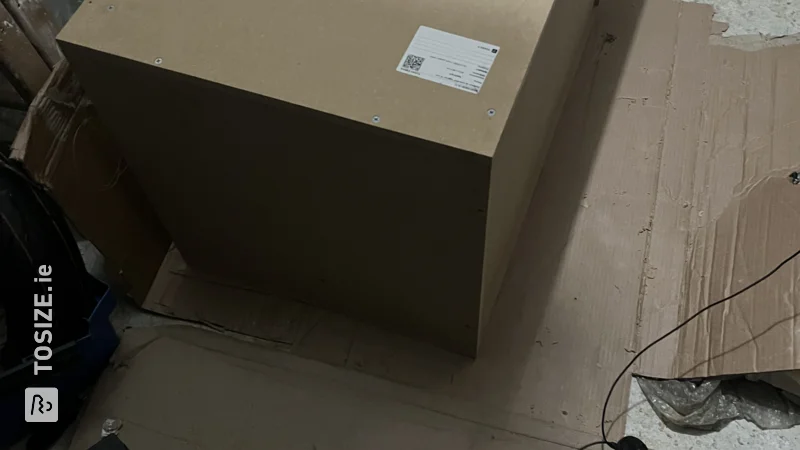
With a lamello milling machine, flat dowels and screws. First, all of the parts have to be prepared with the lamello router and the adapter pieces for the base and lid have to be provided with ramp sleeves. Then they are glued together, piece by piece. Finally, the base plate and lid are mounted on the attachment, on which the studio monitor will ultimately stand. The attachment is put over the tripod after the column has been filled with sand. Assembly sequence for the column:
- Base plate on rear wall
- Left side wall
- Metal bracket between rear wall and left side + floor
- Center strut
- Metal bracket between rear wall and M-strut + floor
- Right side wall
- Metal bracket between rear wall and right side + floor
- Front + Screw the center strut from below
- Adapter plate cover
- Insert dowel tips and drill spacer plates
Dimensions of my DIY project
Height 96.8cm Adjustable depending on the adapter plates
Tip! Also check out our handy DIY tips!
What now?
This is a project for inspiration. Because our assortment has changed, (some of) the products are no longer available.
View all sheet materials