- TOSIZE.ie
- Do it yourself
- DIY Projects
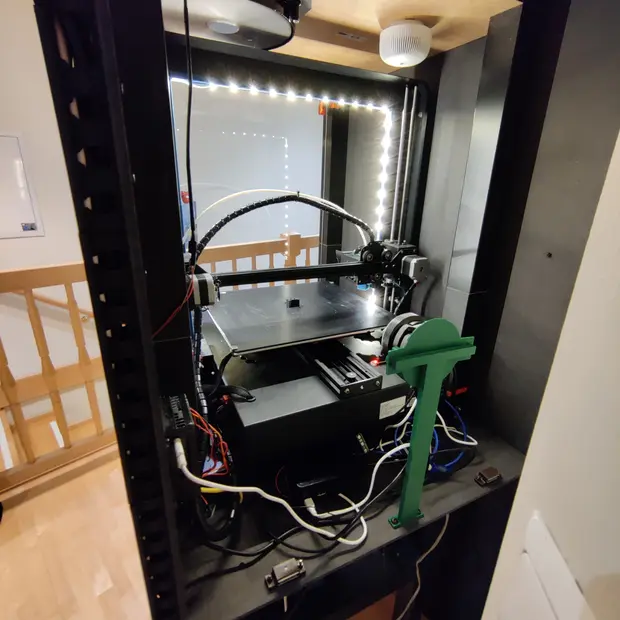
A custom housing for a 3D printer made of sawn plywood okoume, by Marco
A custom housing for a 3D printer made of sawn plywood okoume, by Marco

Create this project yourself with sheet material cut to size by TOSIZE.ie!
Marco
Easy
2 minutes
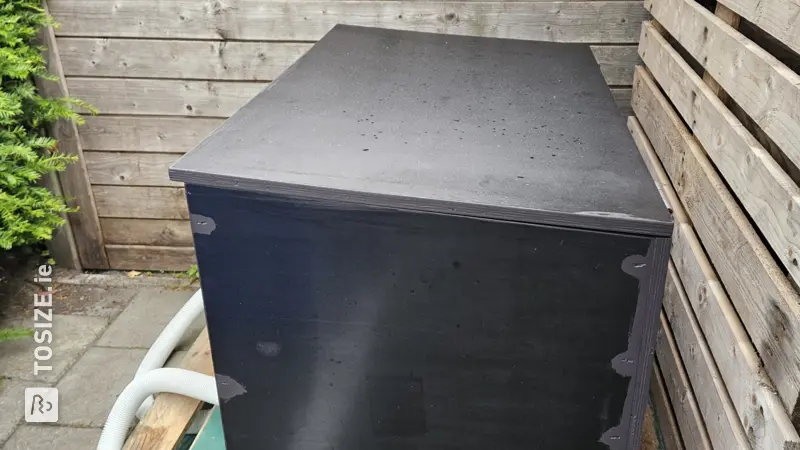
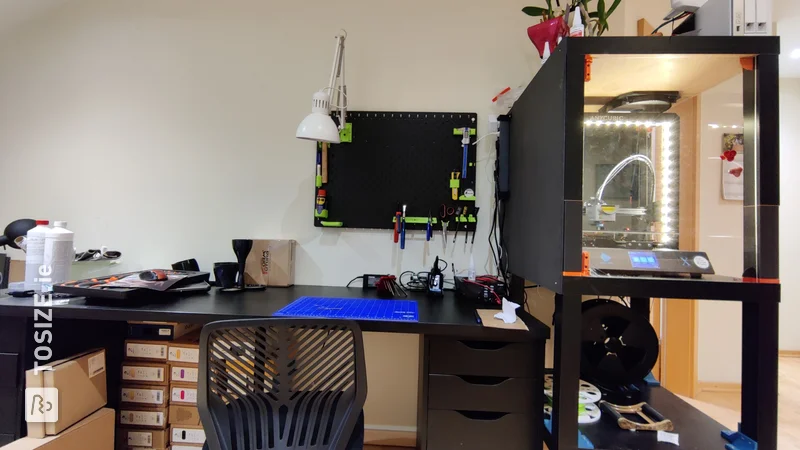
In this DIY project, Marco shows how he made a custom housing for his 3D printer. For this kiss he ordered various thicknesses of plywood okoume waterproof made to measure. This way he can start immediately. Read more about his approach and experience below.
Description of Marco
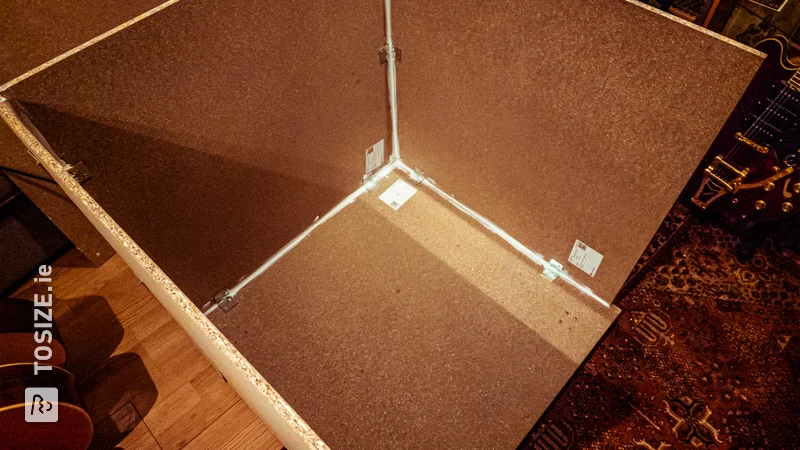
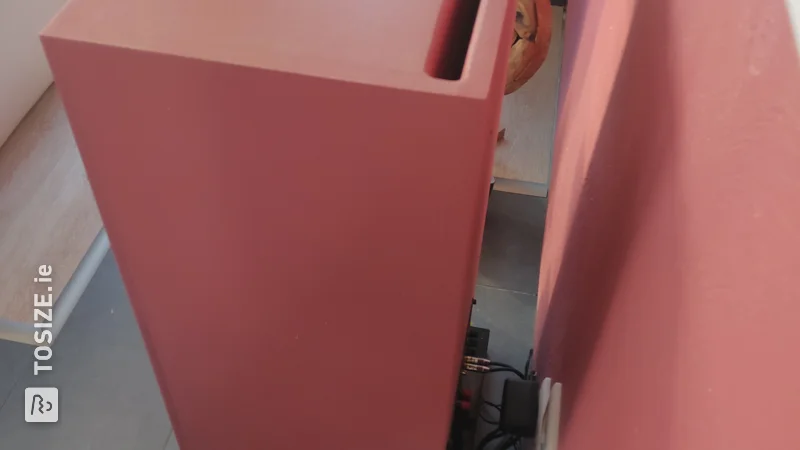
There are all kinds of options to make a housing for a 3D printer, but I wanted something that is also beautiful to to look at, hence the chosen plywood (also expands little when heated). I wanted to make a housing with extraction because the VOC (Volatile Organic Compounds) and the ultra-fine dust released by 3D printing are not really healthy. The dimensions had to be correct to avoid gaps in the housing.
How I made this project
The panels were neatly sawn to size by this online sawmill, I only removed the inner part of the top frame myself with a hole saw and jigsaw. For bottom, top frame and wall 22 mm for strength, other parts 12 mm. Acrylic plate in between for a view of the interior. And of course 3D printed elements such as hinges and cable transit! The plywood was easy to screw, even when attaching panels to the end of another panel, I had no problems with splitting.
Dimensions of my DIY project
70.0 cm x 68.0 cm x 68.0 cm
Tip! Also check out our handy DIY tips!
What now?
Want to make this DIY project? Check out Marco's saw list and complete your order easily.
€219.21
View all sheet materials