- TOSIZE.ie
- Do it yourself
- DIY Projects
Utility Room Transformation with a Hidden Meter Box, by Gerrie
Utility Room Transformation with a Hidden Meter Box, by Gerrie

Create this project yourself with sheet material cut to size by TOSIZE.ie!
Gerrie
Average
2 minutes
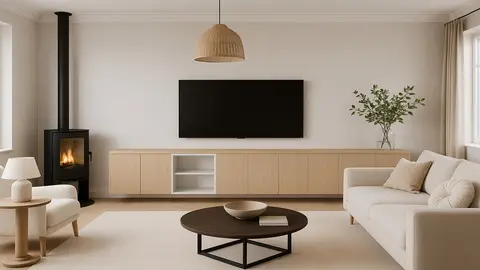
Utility Room Transformation: Gerrie's Smart Solution
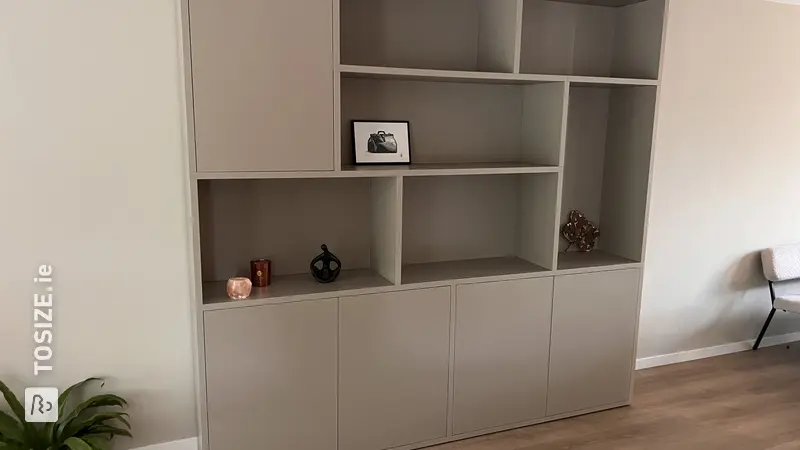
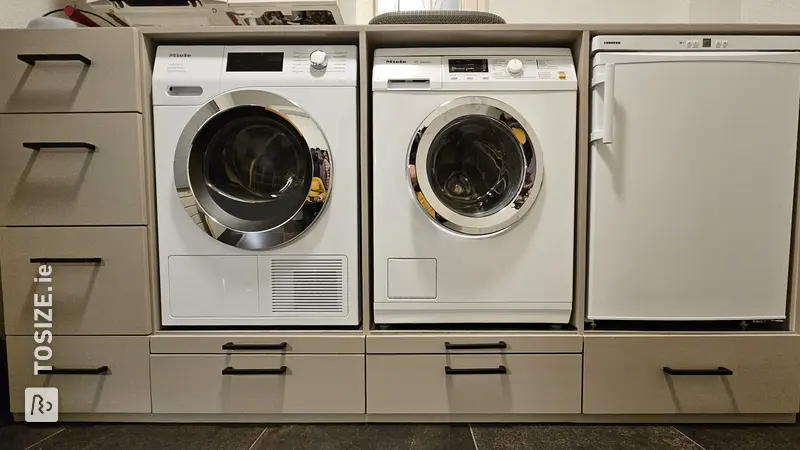
Gerrie has transformed a traditional utility room into a multifunctional space that's both stylish and practical. The utility room is often a neglected space, but Gerrie shows you how to make the most of it with a thoughtful approach.
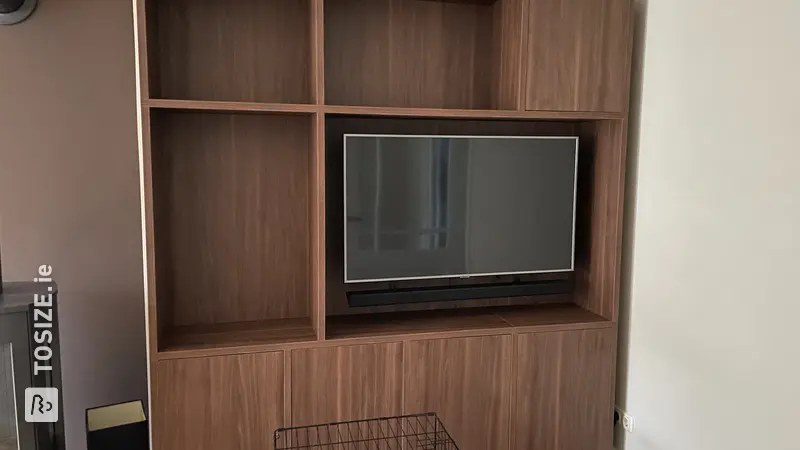
One Stylish Solution for All Your Storage Problems
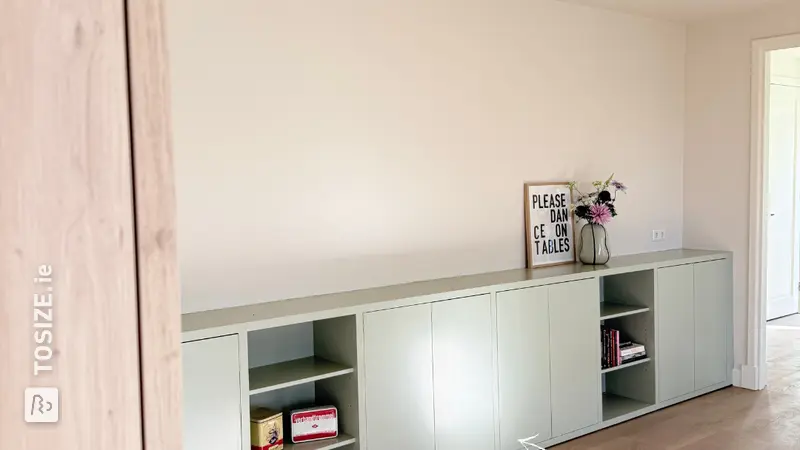
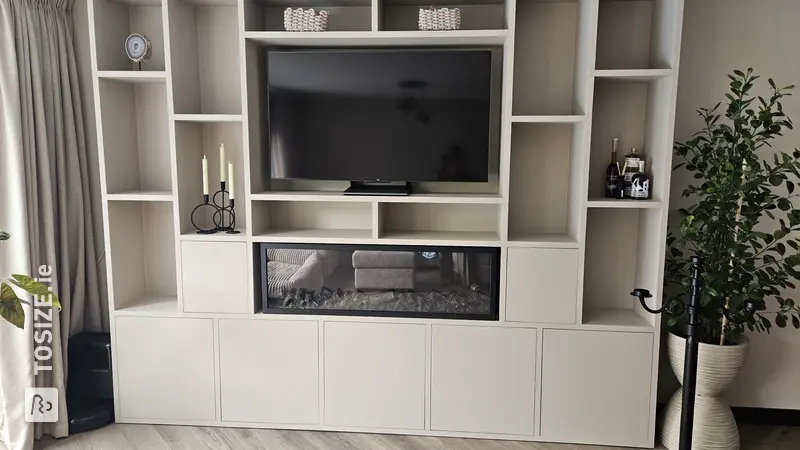
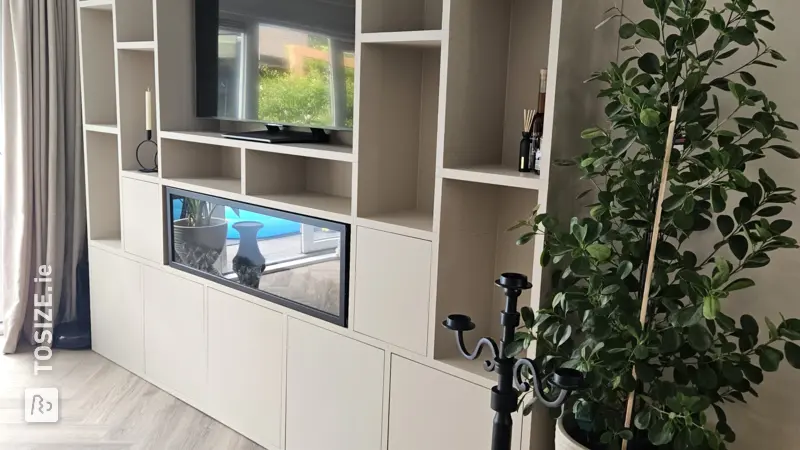
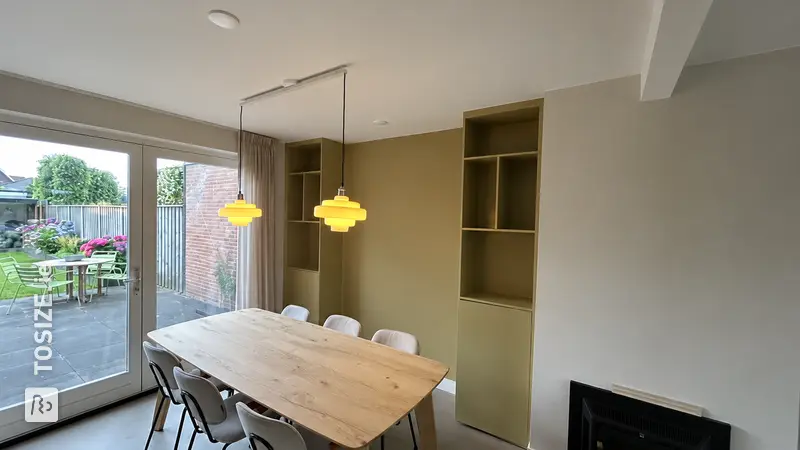
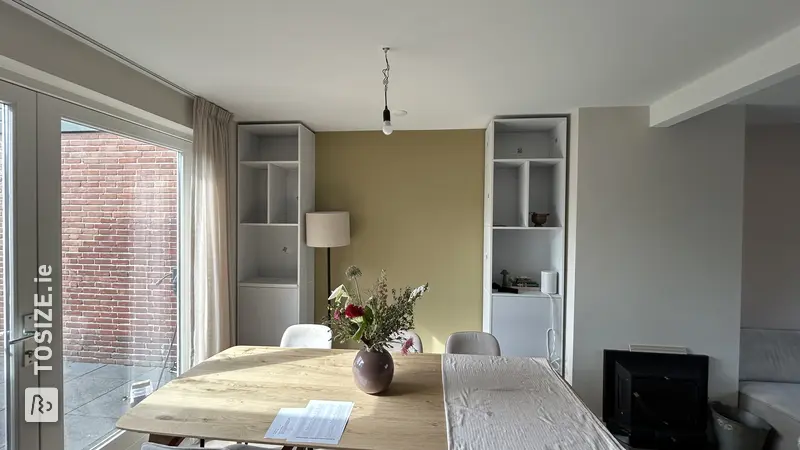
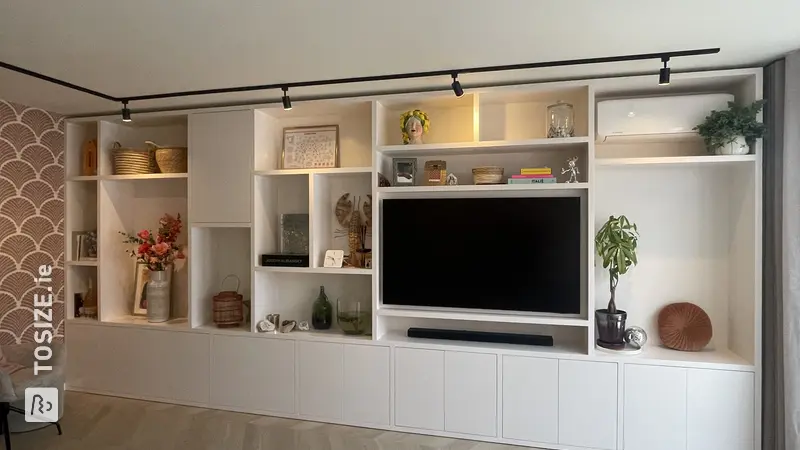
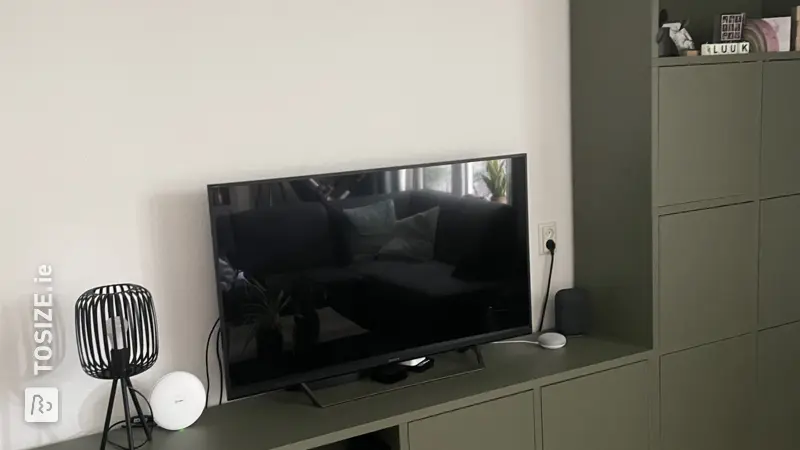
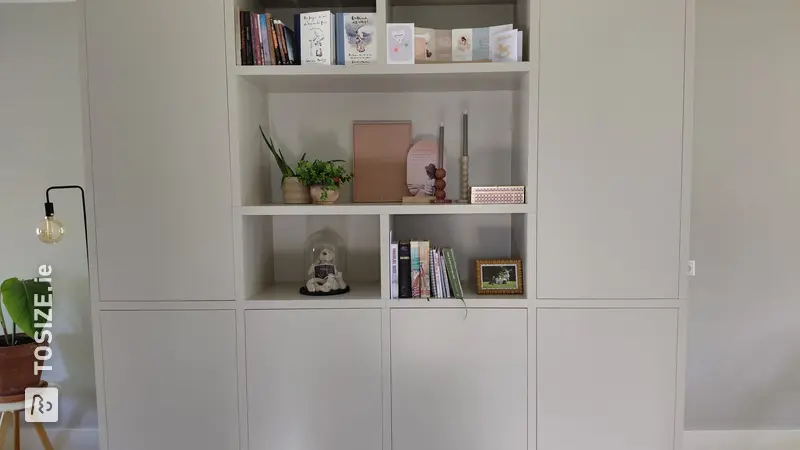
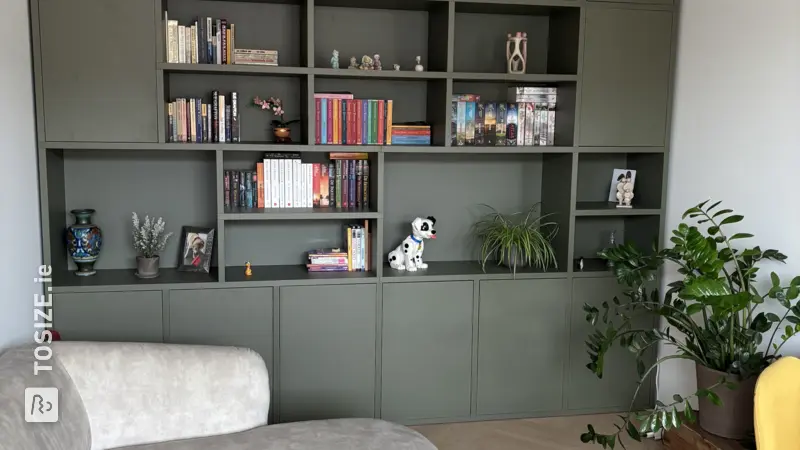
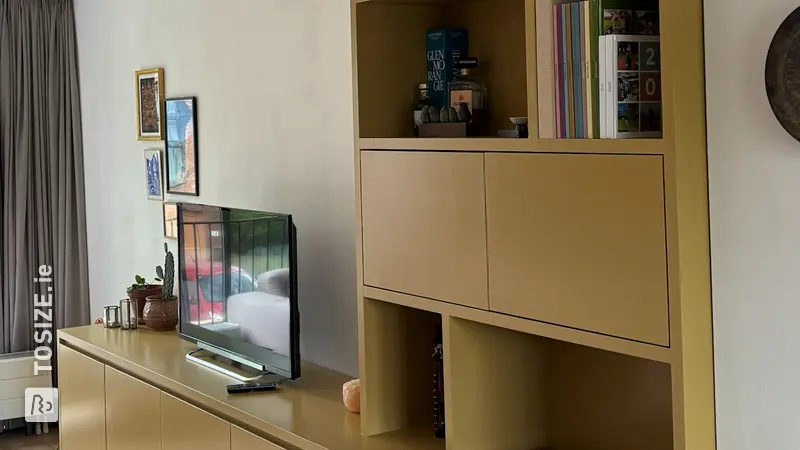
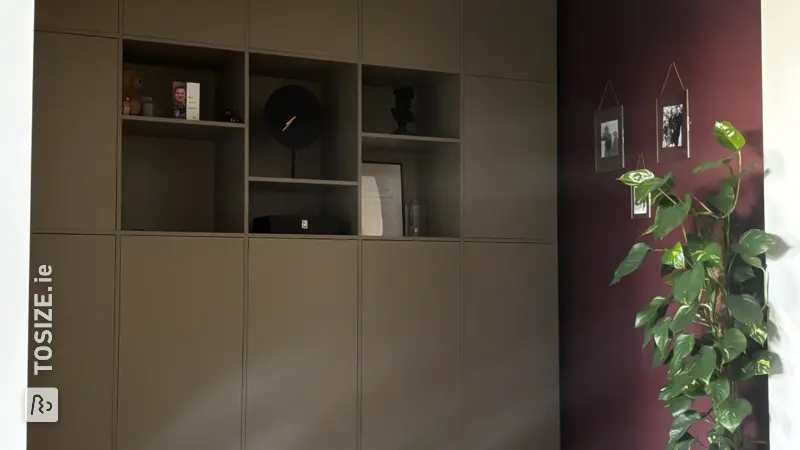
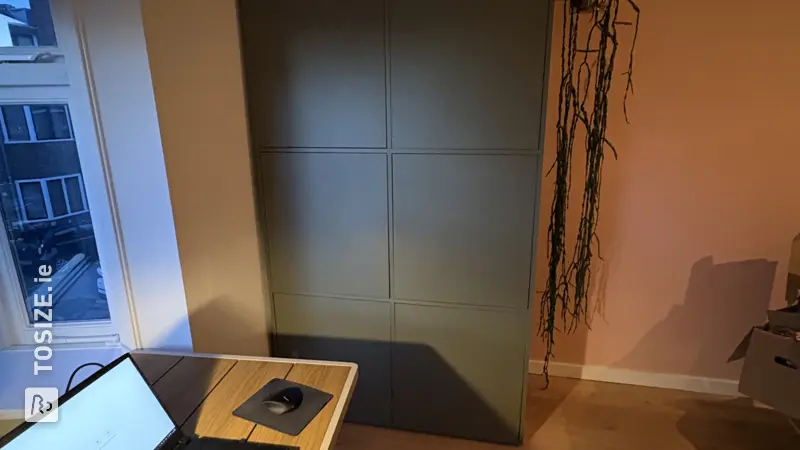
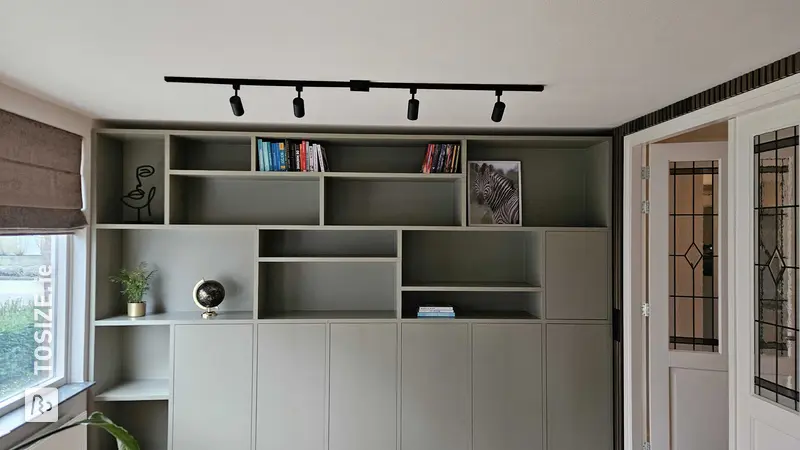
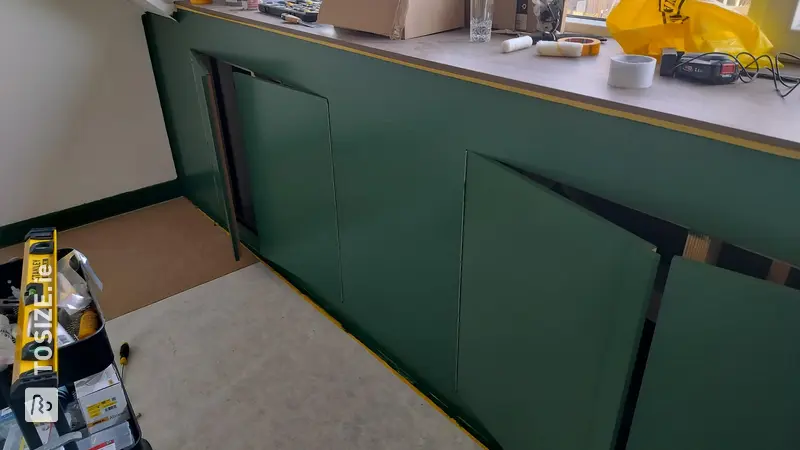
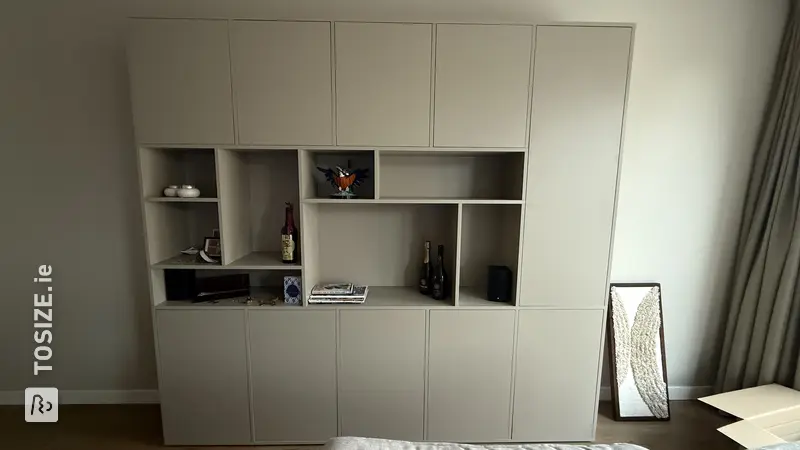
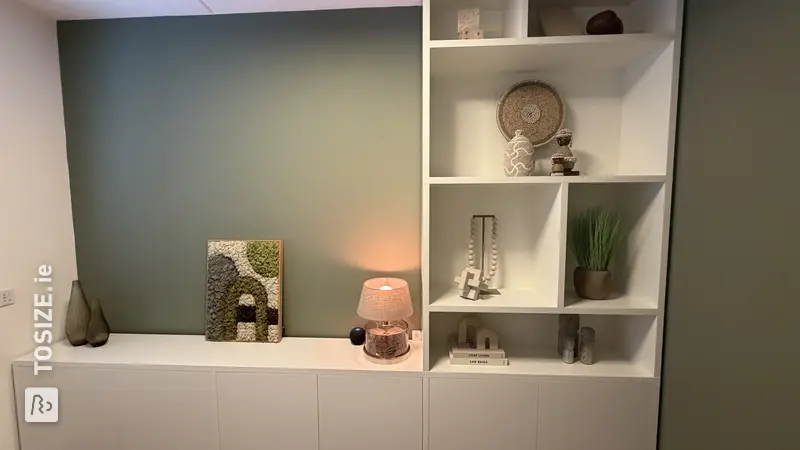
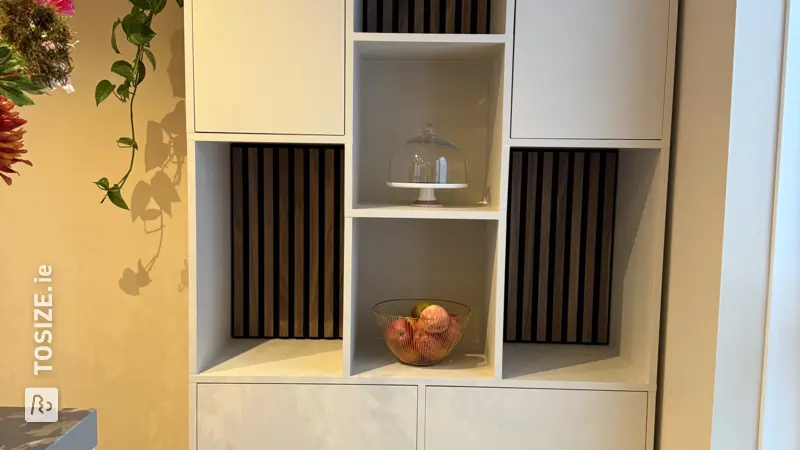
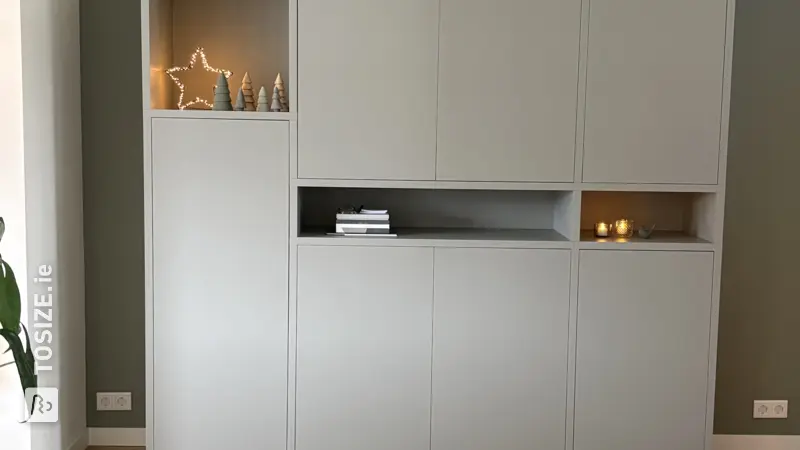
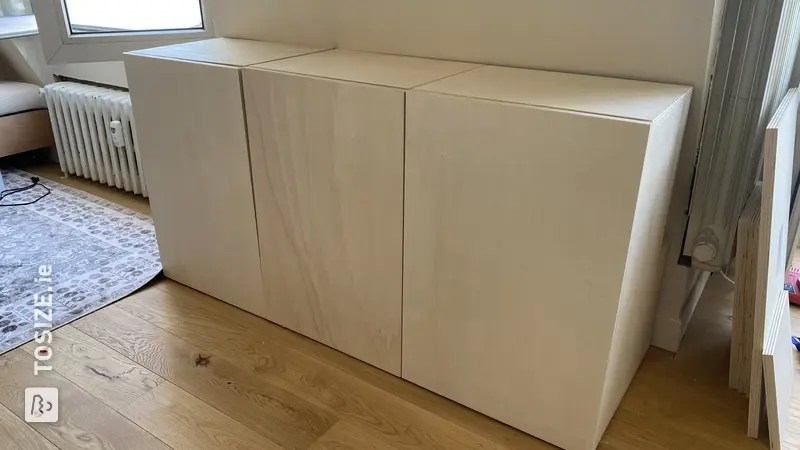
This DIY project is a fantastic combination of storage and aesthetics. The custom-made cabinets conceal the utility cupboard while also providing ample space for coats. The green color scheme gives the space a fresh and modern look, perfectly in keeping with current interior design trends.
Unique Design, Unity and Functionality
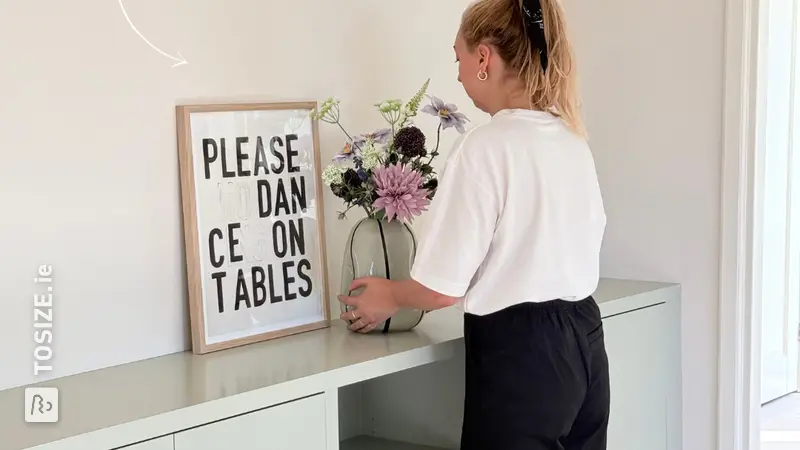
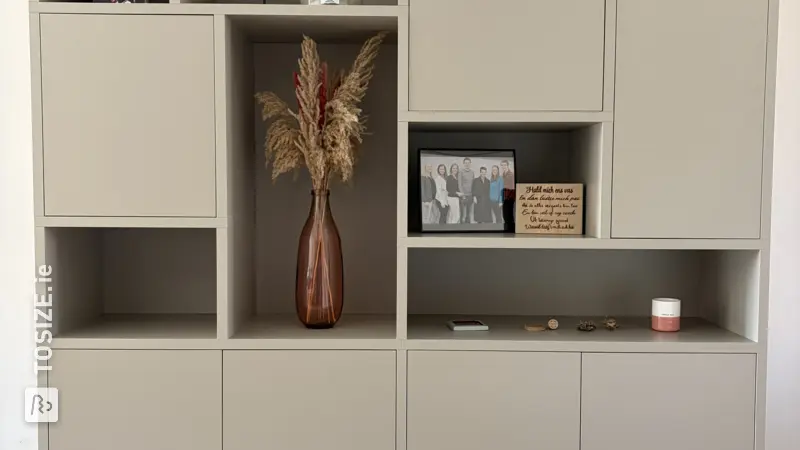
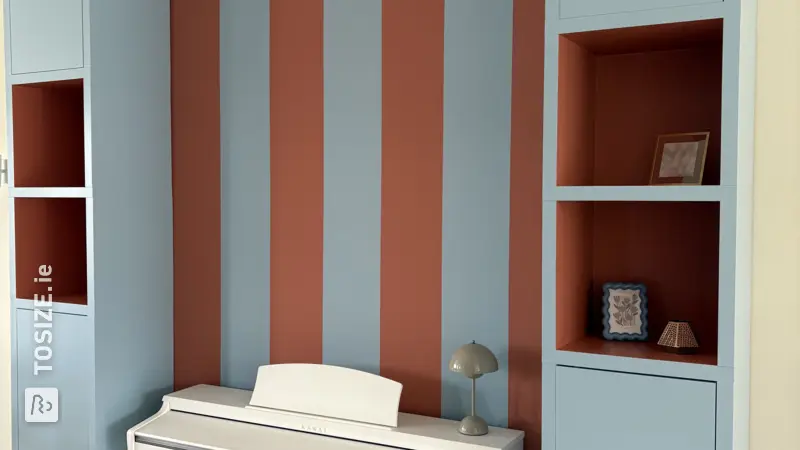
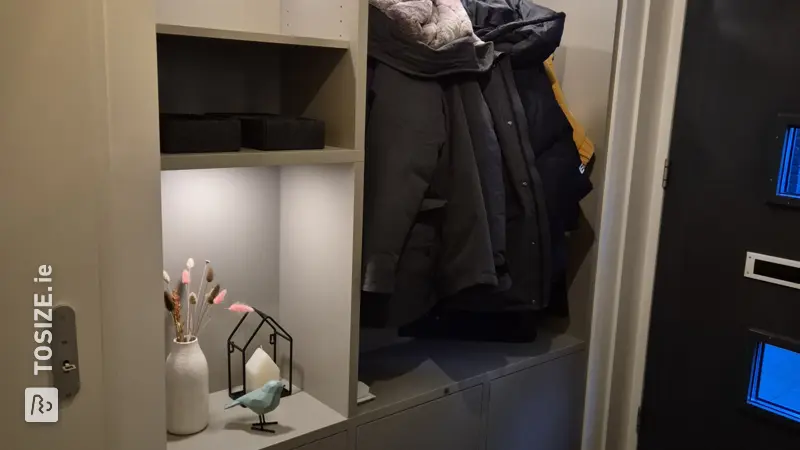
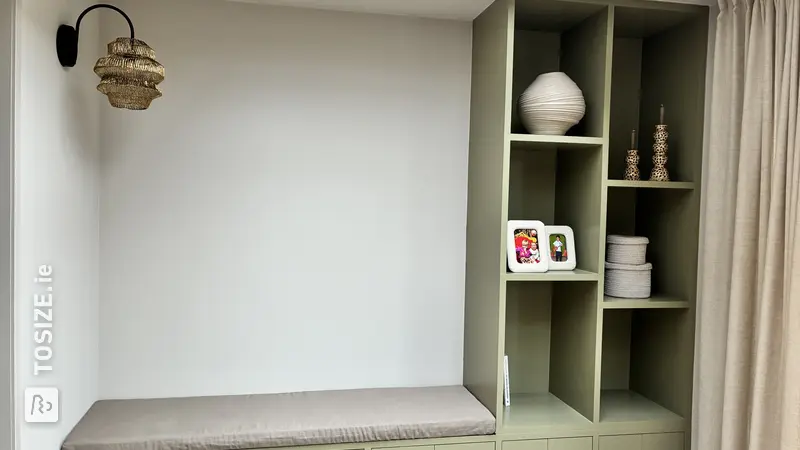
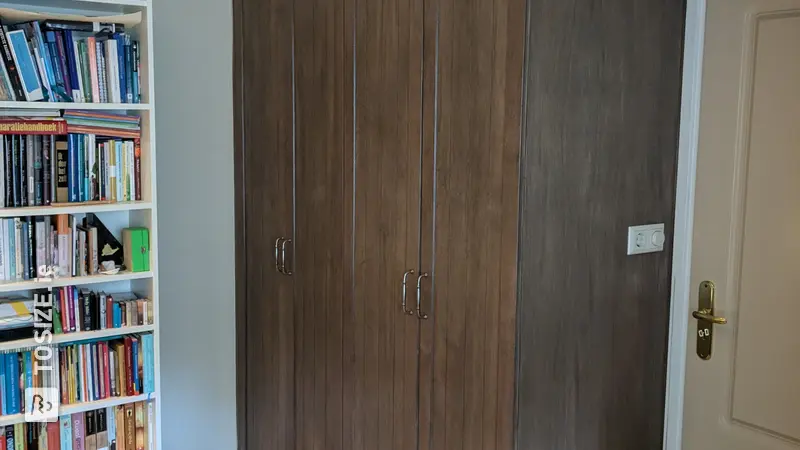
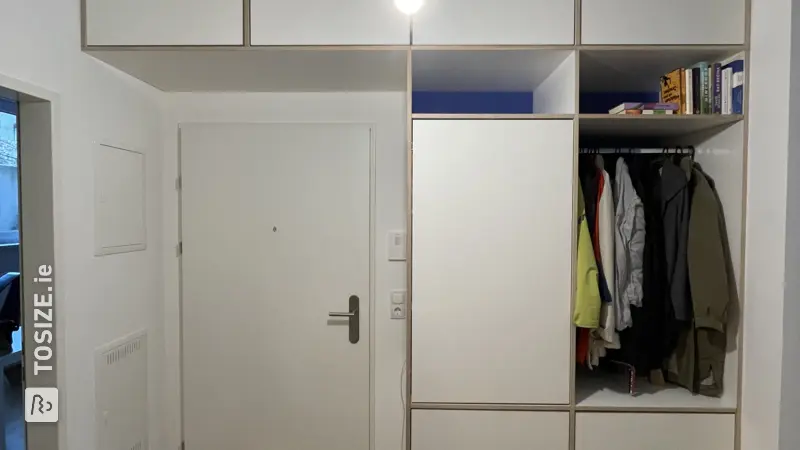
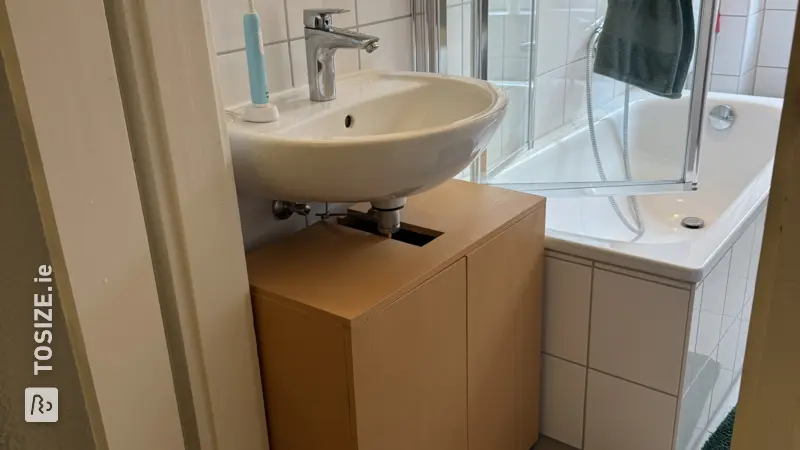
The project features tall cabinets flanking a practical bench, ideal for putting on shoes or storing bags. The wooden seat adds a warm accent to the clean lines of the green cabinets.
Why This Approach Is Perfect For Your Utility Room
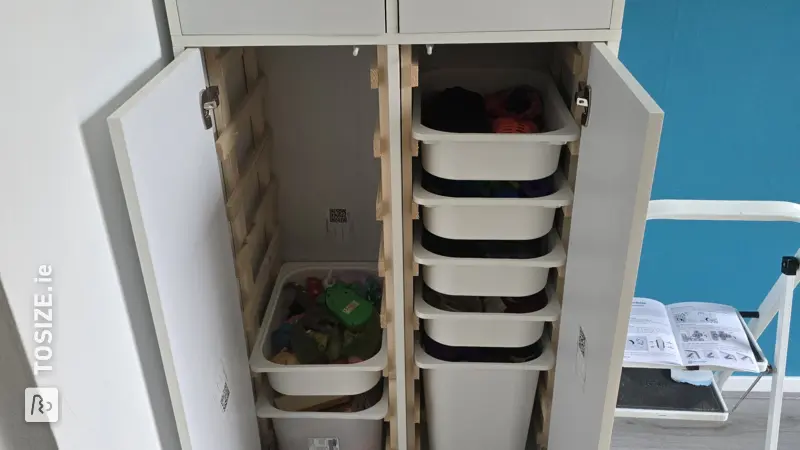
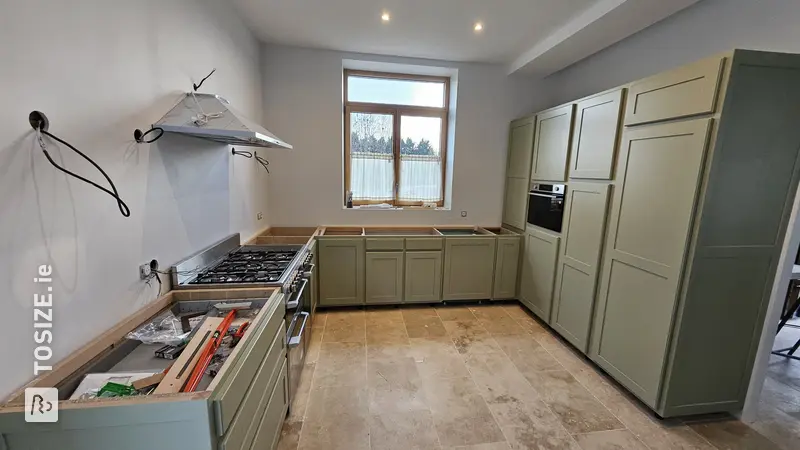
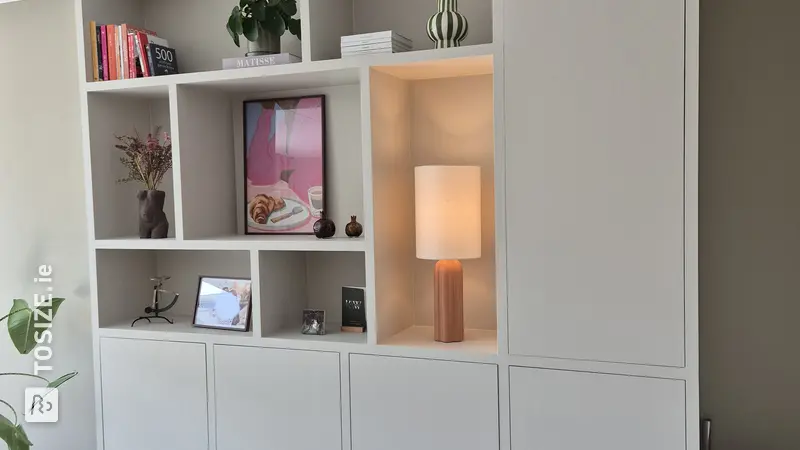
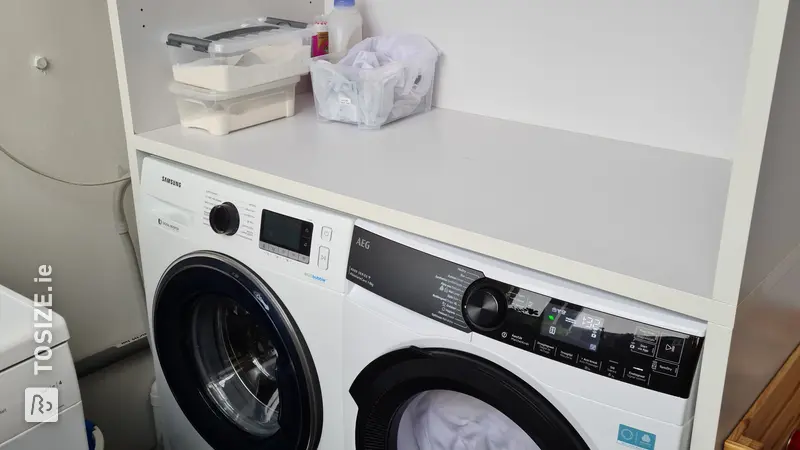
The chosen location, by the window, provides natural light, making the room even brighter. The cabinets offer ample storage for various items, while the meter cupboard is neatly hidden from view.
Build Your Own Unique Style
With the support of TOSIZE.ie, Gerrie was able to have the wood cut to size. This allowed her to completely customize the design, which is not only satisfying but also cost-effective.
Modern Country Style
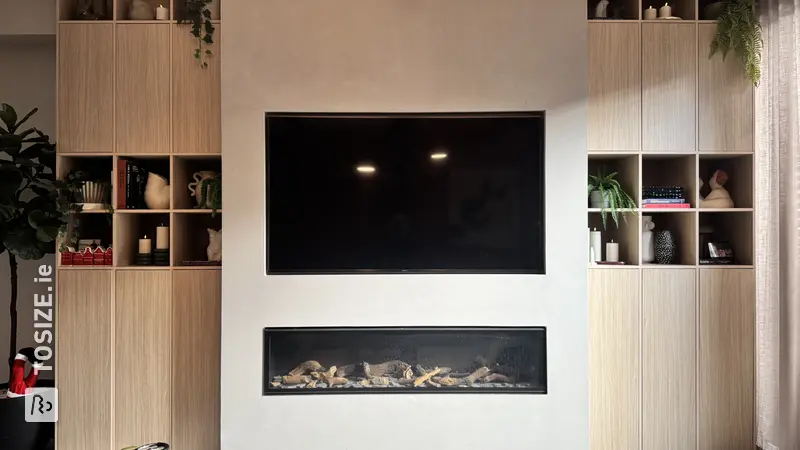
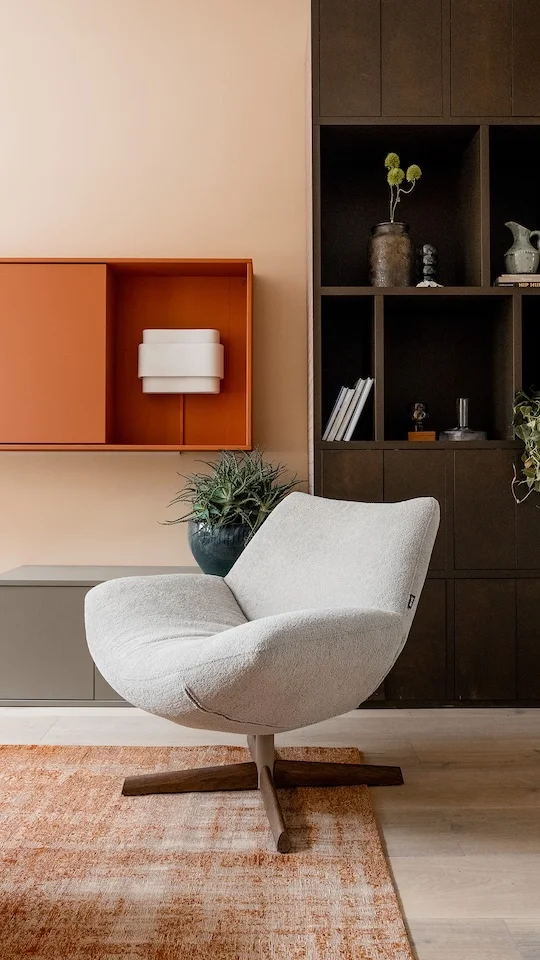
The green tones and wooden accents bring a modern, country-style feel to the utility room. This makes the space feel warm and inviting, while the modern design keeps everything neat and tidy.
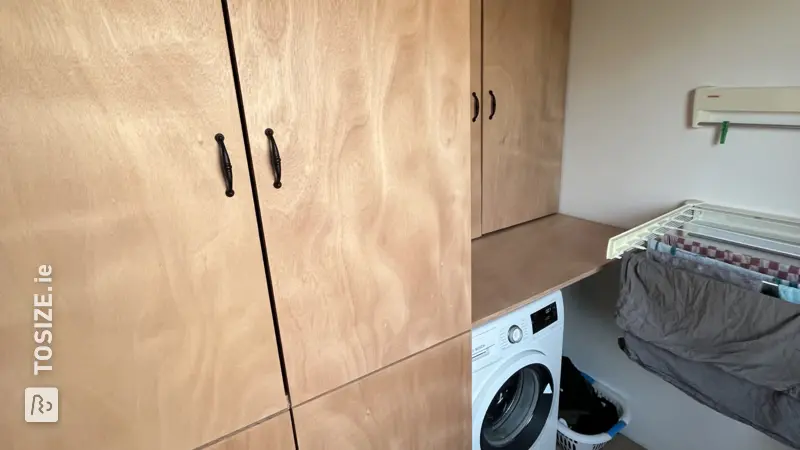
Wood Types That Offer Style and Durability
The cabinets are made using . is known for its smooth finish and versatility. It's ideal for painting and fits perfectly in both modern and classic interiors.
DIY Tips for a Perfect Finish
A helpful tip is to assemble the cabinets before painting them. This helps ensure an even coat and prevents drips. Also, make sure you have the right hinges and handles to complete the look and ensure everything continues to function smoothly and stylishly.
This project shows how anyone, with the right planning and materials, can create a functional and attractive space in their own home!
Tip! Also check out our handy DIY tips!
Step by step guide
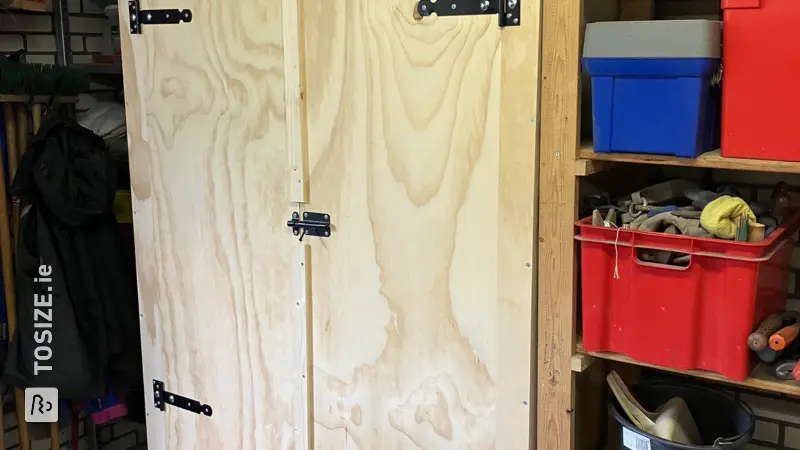
Preparation
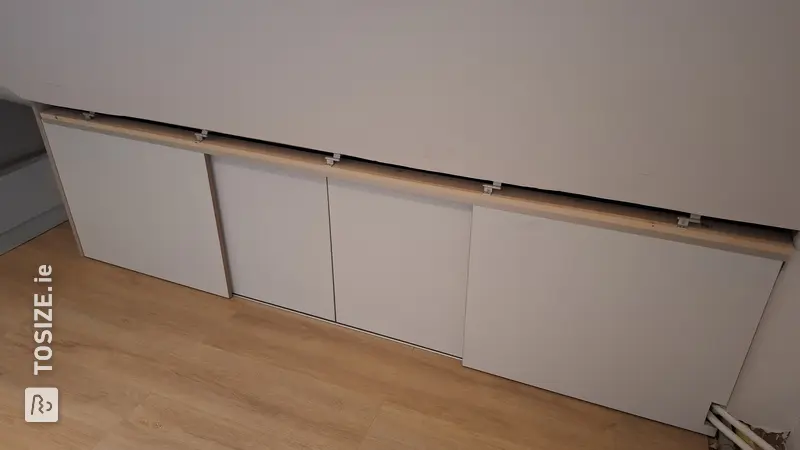
- First made the frame, then a door with hinges on test and then measured and checked three times
Montage
- Worked extensively with jigs, particularly for hinges. Where sawing is required, ensure razor-sharp tools are used. Assemble and adjust everything.
- Reassemble, put on the handles and proudly enjoy the end result
Finish
- Remove the doors again because painting while lying down (no drips)
- Apply several layers of topcoat
- Corpse paint here and there
- Review inclullen
What now?
Want to make this DIY project? Check out Gerrie's saw list and complete your order easily.
€427.88
View all sheet materials
My experience with TOSIZE.ie
Order
Delivery
General experience