- TOSIZE.ie
- Do it yourself
- DIY Projects
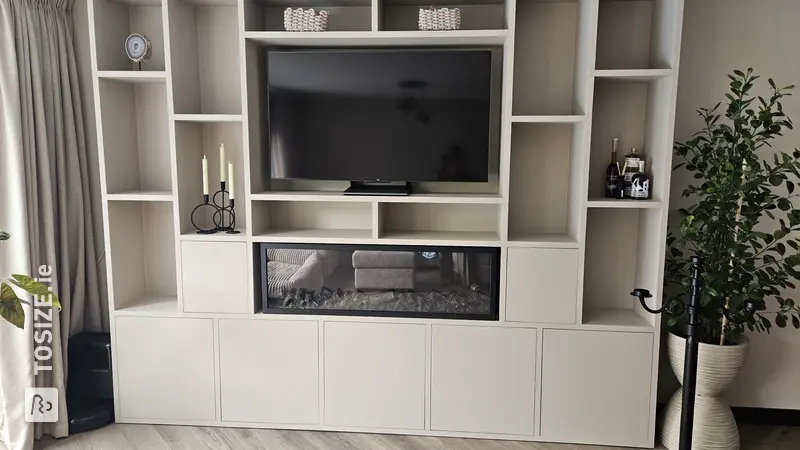
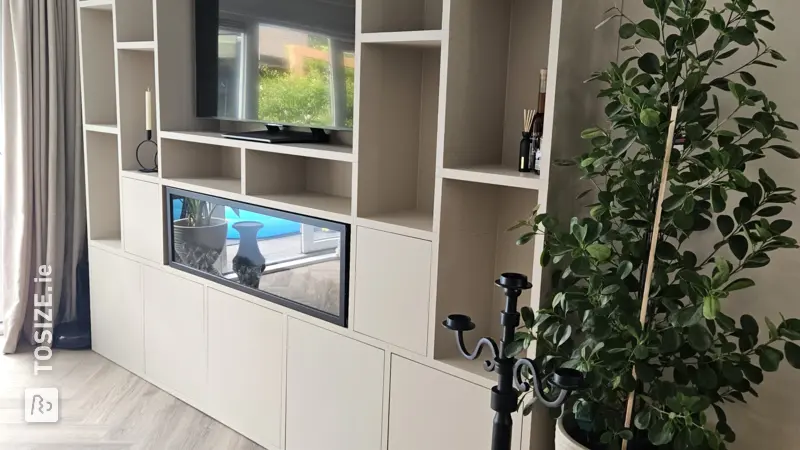
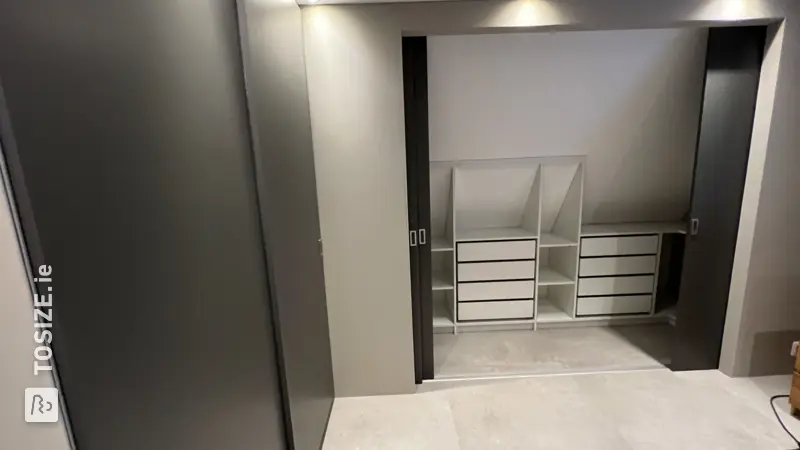
A stylish purchasing cupboard by placing it as a room divider in the bedroom, by Wendy
A stylish purchasing cupboard by placing it as a room divider in the bedroom, by Wendy

Create this project yourself with sheet material cut to size by TOSIZE.ie!
Wendy
Above average
4 minutes
Description by Wendy
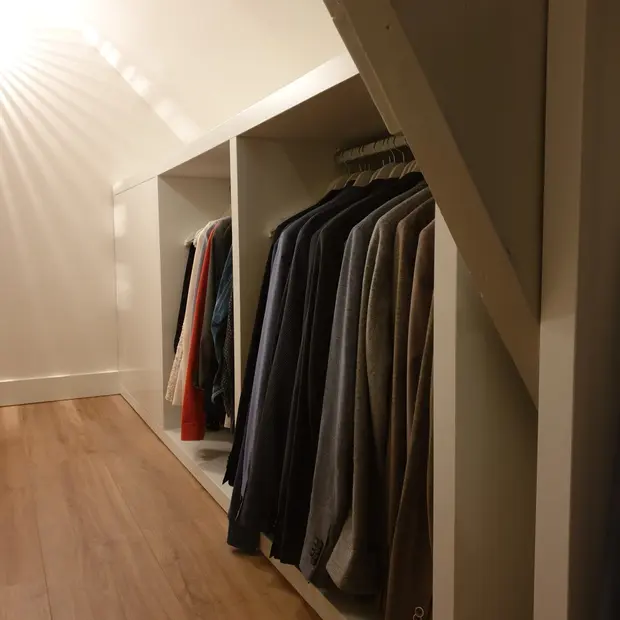
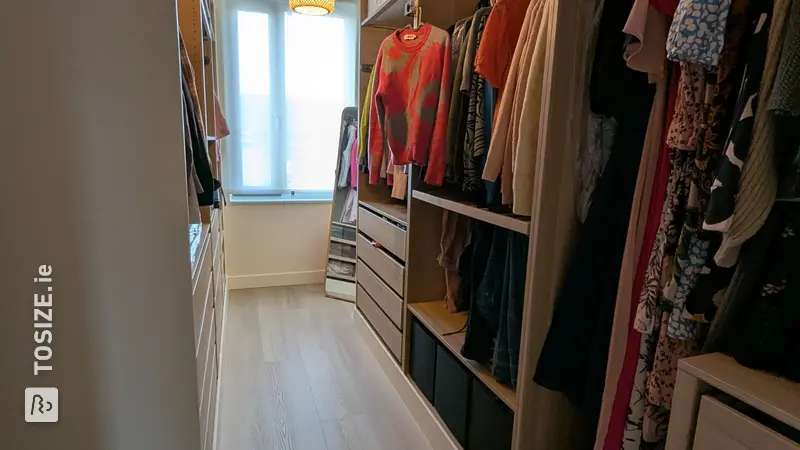
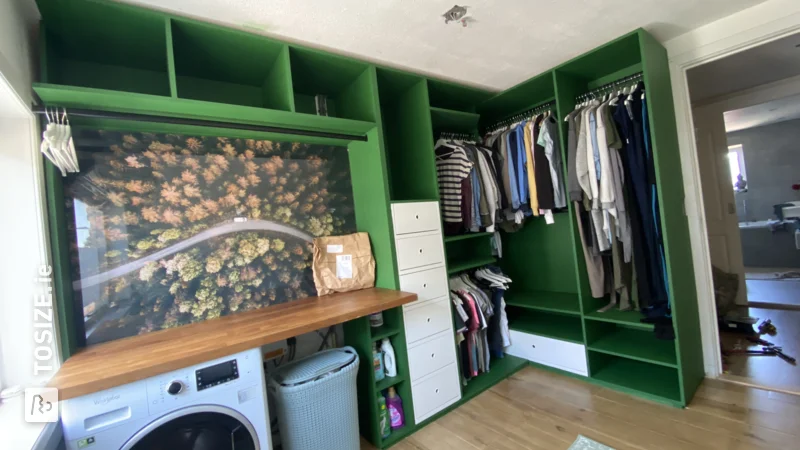
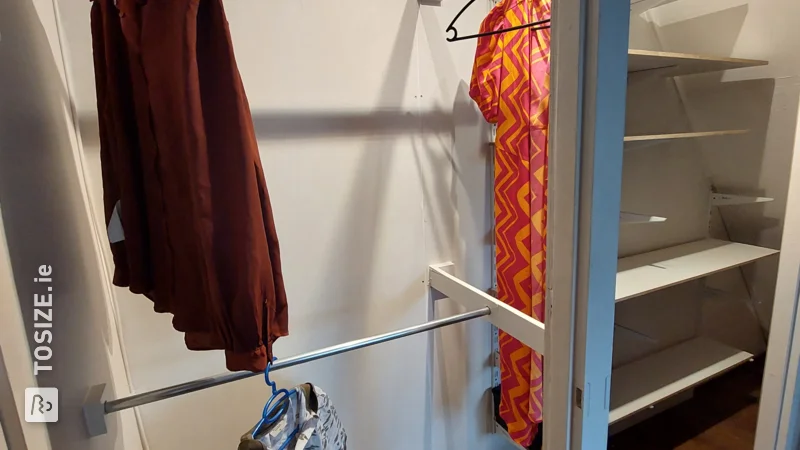
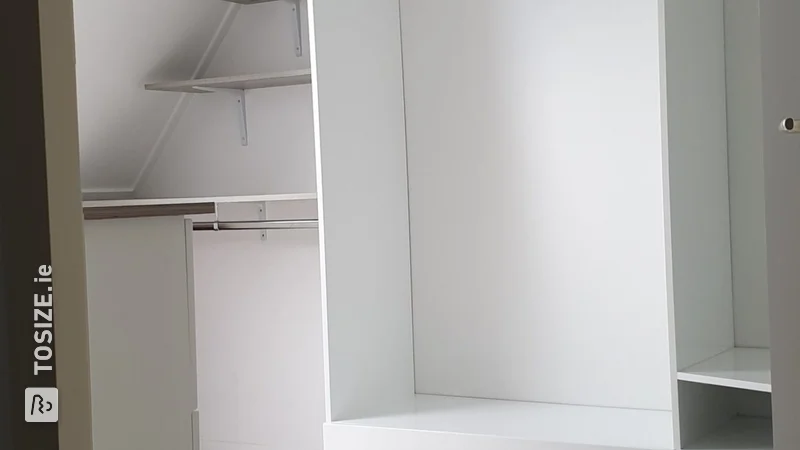
In the bedroom we wanted to create a walk-in closet that was not only functional, but would also make a statement. That is why we decided to place the wardrobe as a room divider in the room. We wanted the room divider to look like a wall, so we required it to blend seamlessly into the wall and ceiling. Before we started, we checked whether the bedroom was large enough to accommodate to determine whether our idea was feasible. Creating a walk-in closet in your bedroom takes up quite a bit of space. Luckily we had plenty of room! We chose to use the Ikea Pax cabinets as a basis and then fully install them.
How I created this project
What steps did we go through to realize this?
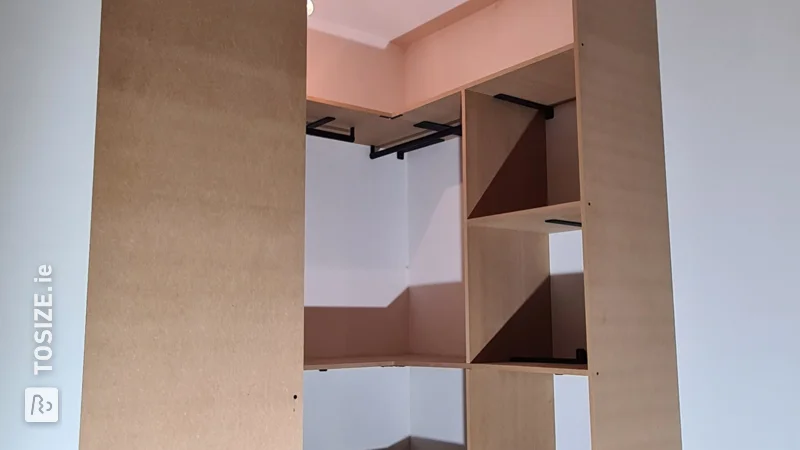
- We started by attaching two slats to the wall of the same thickness as the skirting board, to close the gap that would otherwise appear between the cupboard and the wall. The great thing about this was that we immediately had mounting points to securely attach the cabinet.
- We put the Ikea Pax cabinets together, pushed them against the wall and attached them to each other as well as to the slats on the attached to the wall.
- To create the illusion that the cabinet is between two walls, we have made a wooden frame on the side of the cabinet from pine beams (32x50mm). We made this frame wider than the side of the cabinet, so that the frame protrudes at both the front and the back. This makes the cabinet appear to be slightly deeper and we were able to attach the frame, which should be at the back of the cabinet, to this frame.
- We did the same at the back, but this frame is exactly the width of the back of the cabinet. This frame is attached to the side frame on one side and on the other side we attached it to the wall with impact plugs. This ensures that the cabinet is firmly fixed, so there is no risk of it falling over.
- We then made the frame that had to go on top of the cabinet at the front. We attached this to the cupboard, the wall and the previously placed side frame. Perhaps not unimportant to mention, but we attached all the frames together, the cabinet and the wall, which meant we didn't have to drill holes in the ceiling.
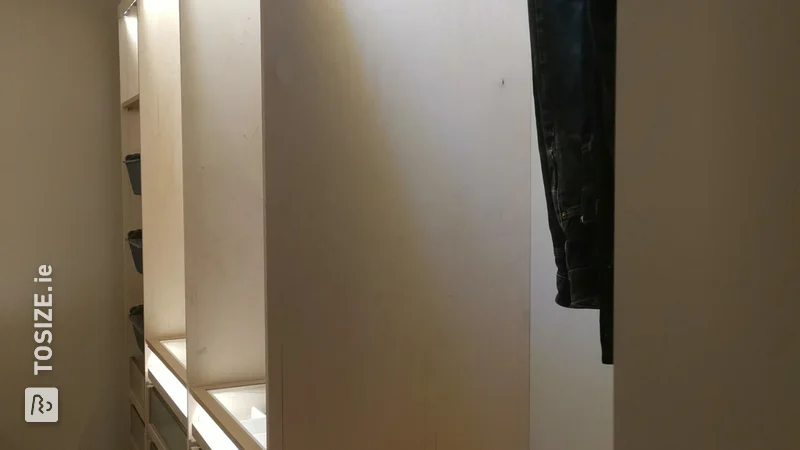
- Now the fun work began! Installing the cut-to-size sheet material from TOSIZE.ie. We opted for MDF panels with a thickness of 22 mm, which are nice and sturdy and, thanks to their maximum length of 302 cm, perfectly suitable for covering the entire height up to the ceiling. Because everything was cut to size, mounting these panels went smoothly.
- To get a perfectly smooth surface, we filled the screw holes with MDF filler, sanded and then filled and sanded again. We then degreased the panels with ammonia to create a clean base for applying the renovation fleece.
- Before we started applying the renovation fleece, we pre-treated the MDF panels with primer. This is to reduce the absorbent effect of the panels, which is important for good adhesion of the wallpaper adhesive.
- After the primed panels were dry, we attached the MDF panels to the side and back of the cabinet. covered with renovation fleece. We then sealed the seams, so that the cupboard fits nicely with the walls and ceiling. We painted the walls we created in the same color as the other walls.
- We also wanted to have the visible side of the cabinet neatly finished and we used MDF panels with a thickness of 12 mm for this. These plates, like the other plates, were cut to size by TOSIZE.ie and attached to the front of the cabinet as a frame. We then painted it white (the same color as the Ikea Pax cabinets), so that it forms a beautiful whole.
- As a finishing touch, we attached skirting boards to the side and back of the cabinet, so that it really looks looks like it's a wall. Now if you stand on the other side of the bedroom, you won't even notice that you are looking at the back of a wardrobe. Mission accomplished! 🙌✨
This blog was written by Wendy. Follow @wonen_in_de_wittewaik on Instagram for more inspiration.
Dimensions of my DIY projectDimensions of the walk-in closet: 184 x 69 x 260 cm.
Tip! Also check out our handy DIY tips!
What now?
Want to make this DIY project? Check out Wendy's saw list and complete your order easily.
€586.08
View all sheet materials