- TOSIZE.ie
- Do it yourself
- DIY Projects
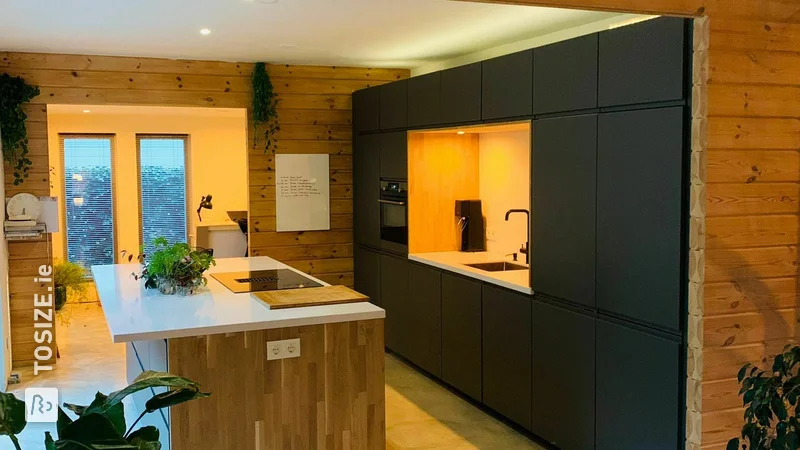
Kitchen renovation: replacing doors/fronts yourself, by Ilse
Kitchen renovation: replacing doors/fronts yourself, by Ilse

Create this project yourself with sheet material cut to size by TOSIZE.ie!
Ilse
Average
3 minutes
Description by Ilse
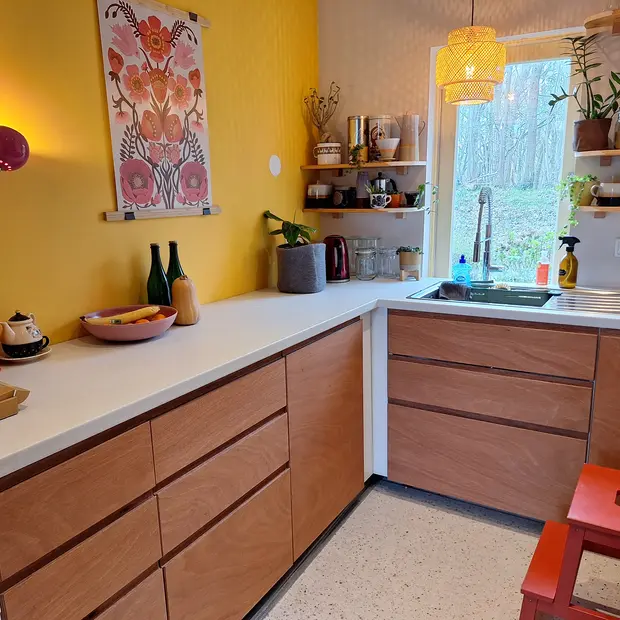
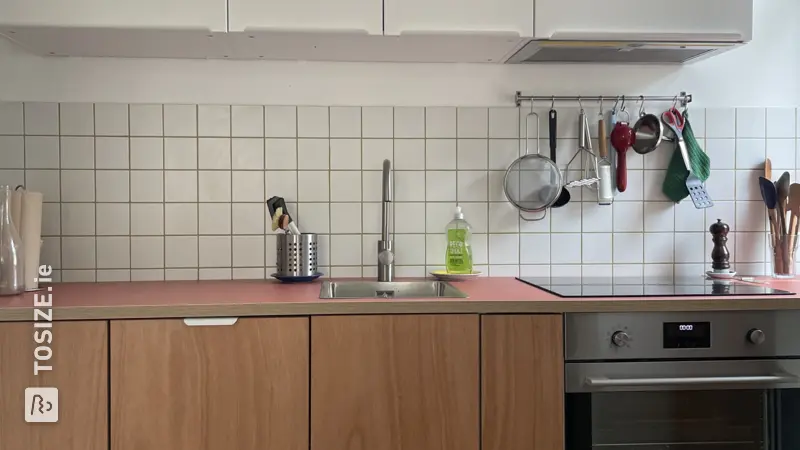
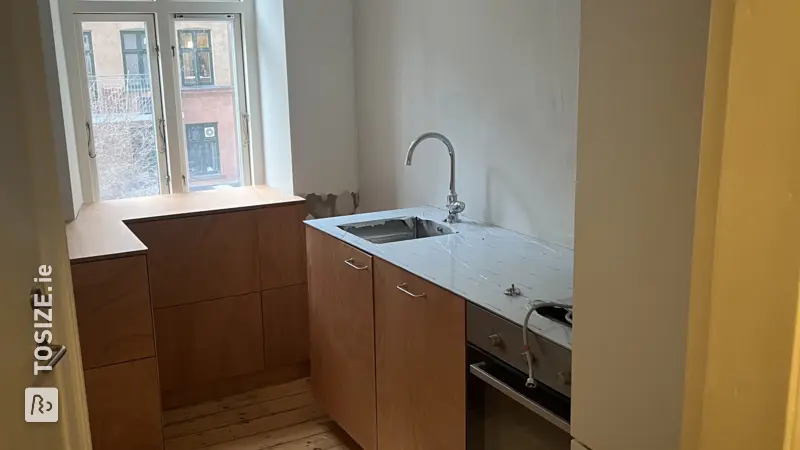
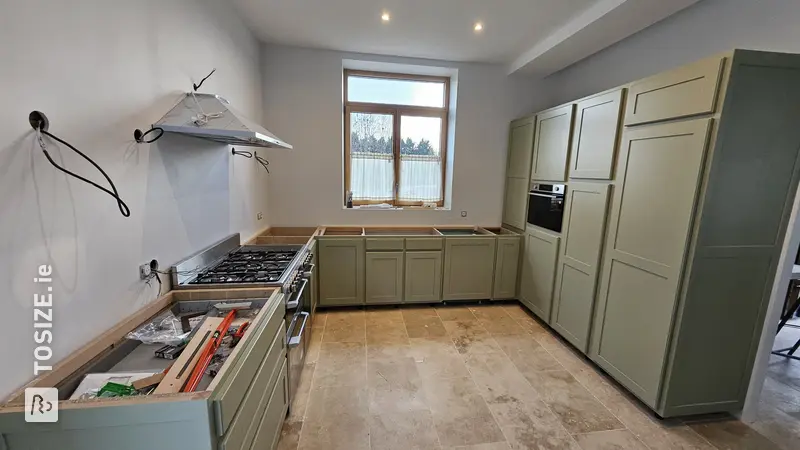
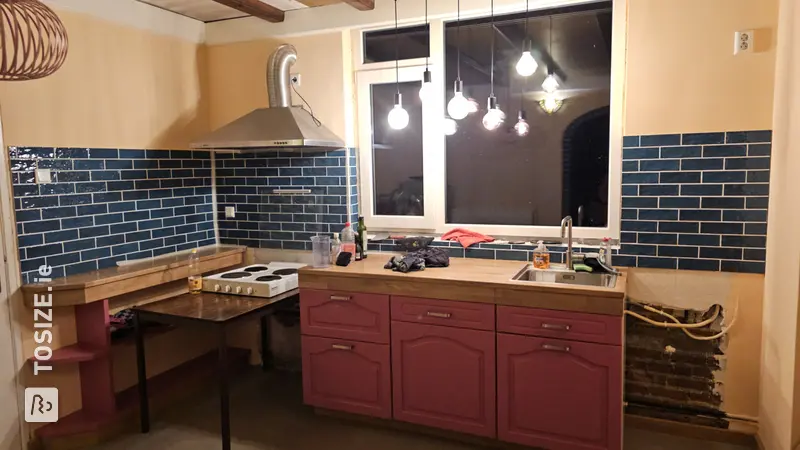
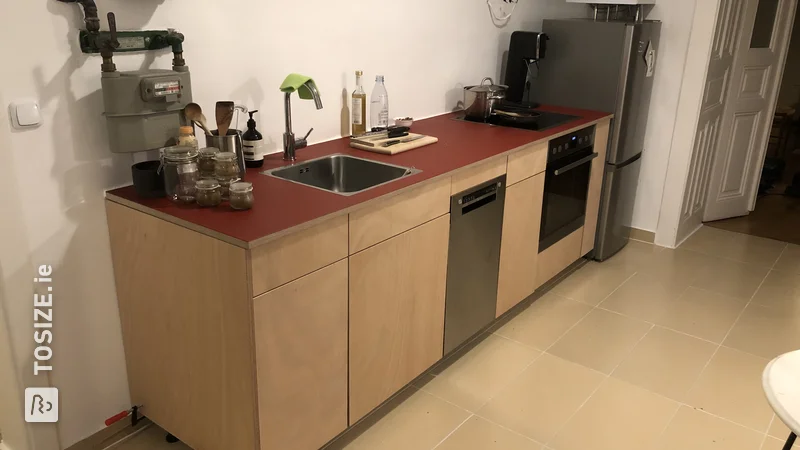
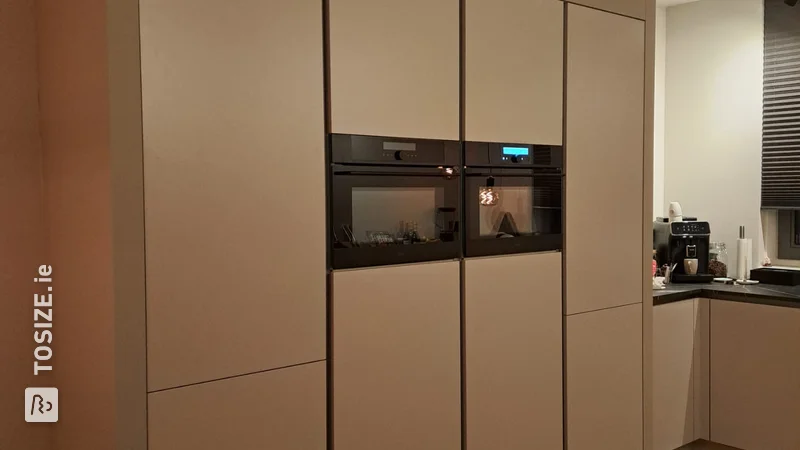
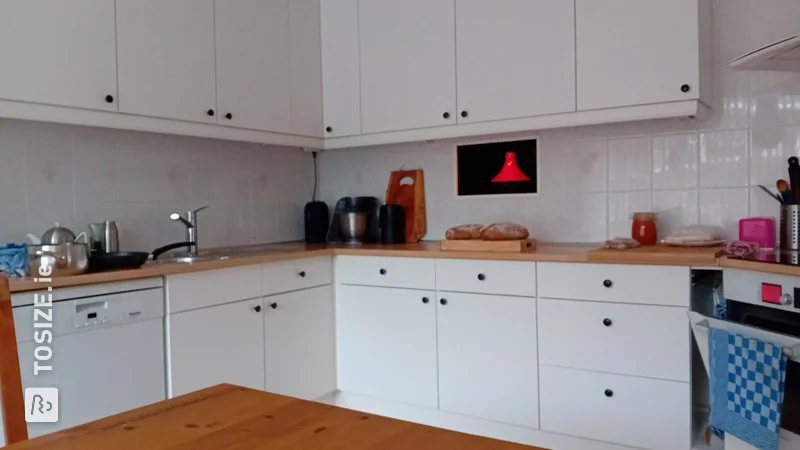
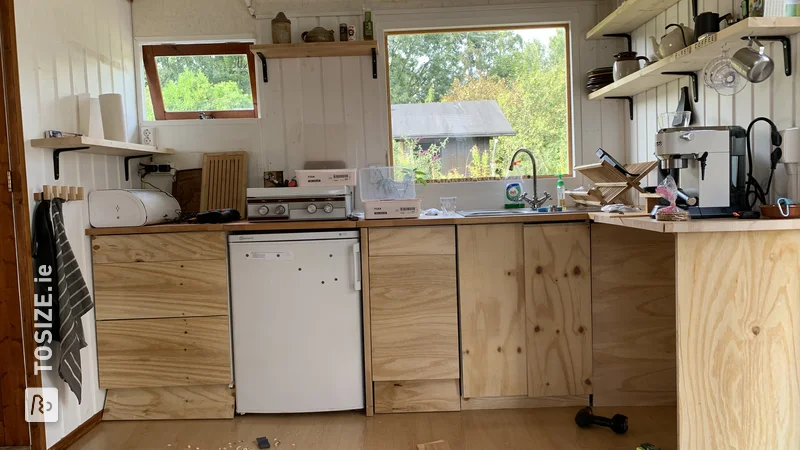
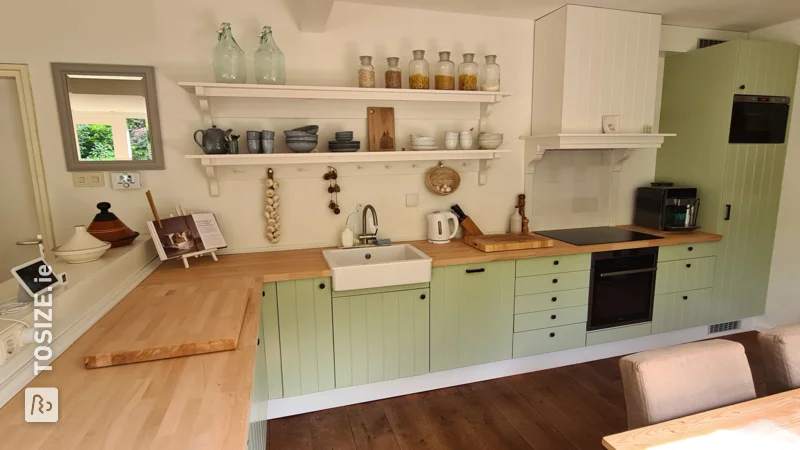
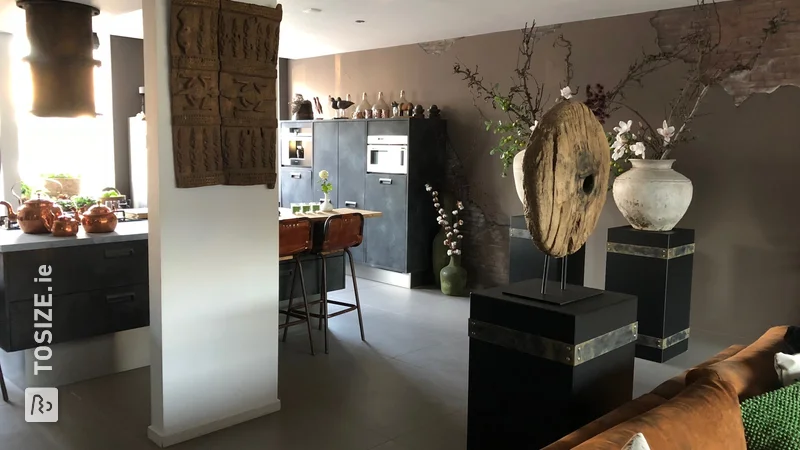
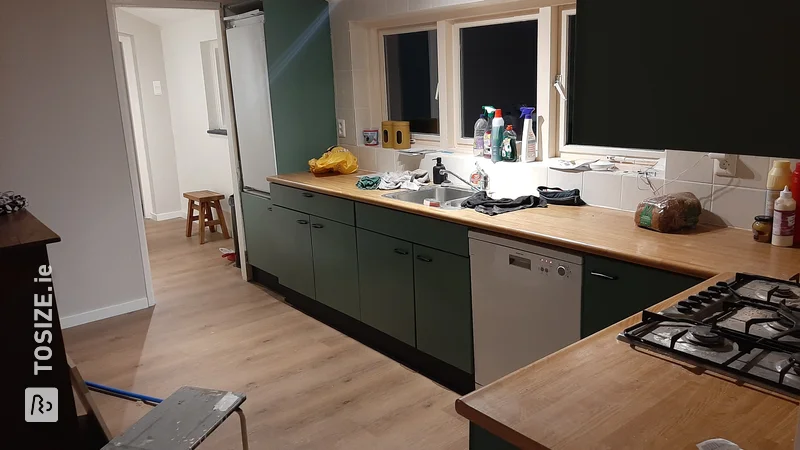
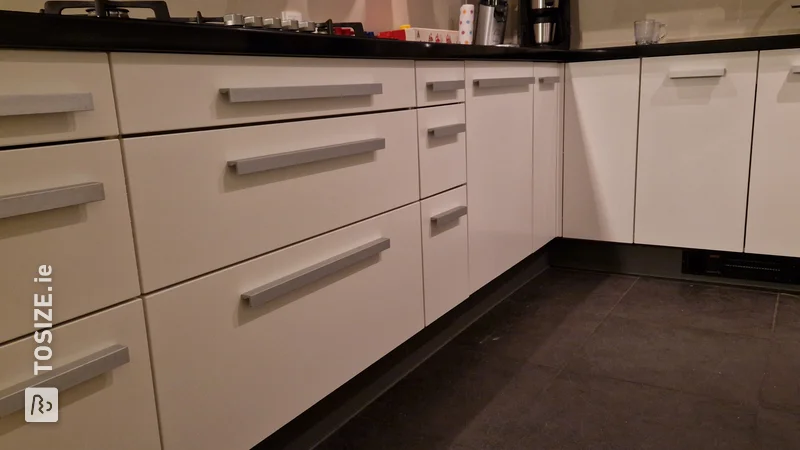
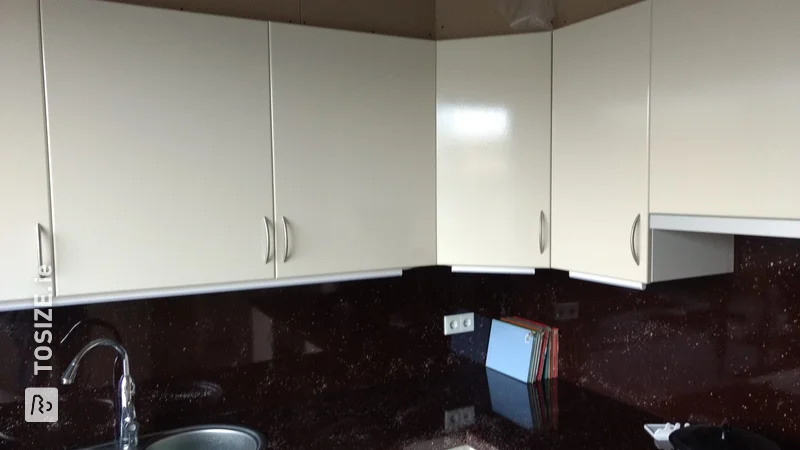
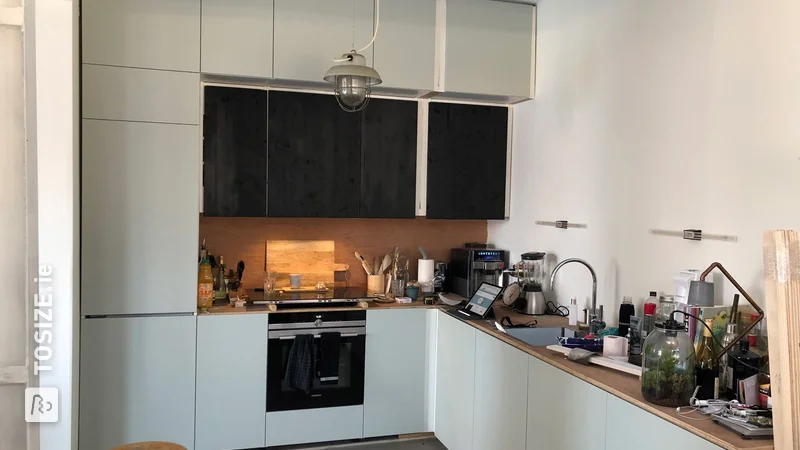
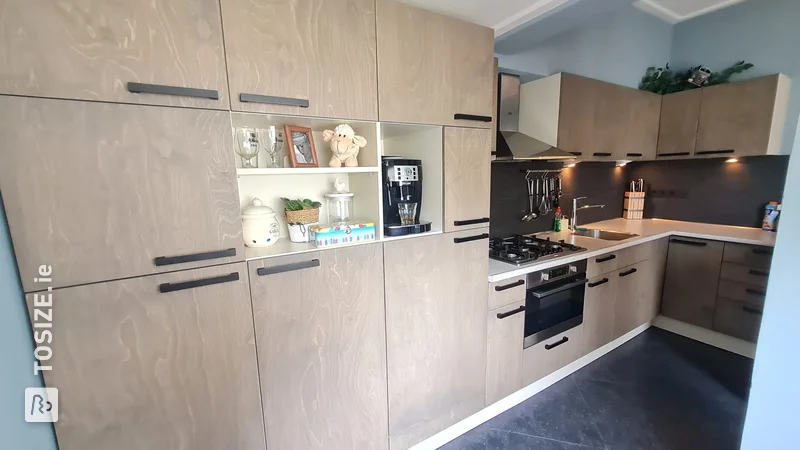
We 'stripped' the old kitchen, 25 years old. This means that we removed the doors and kept the hinges (numbered). We dismantled the tap, removed the oven and ceramic hob and the worktop. We have refurbished the base and the cabinets by repairing the damage and painting the brown ends. We also painted a tall brown side panel of the refrigerator. We have removed all fronts and replaced them with new custom sawn and milled waterproof MDF fronts. The countertop has also been replaced with a new sink, tap and hob. The dishwasher and fridge/freezer combination were only a few years old, so we left them in place.
How I made this project
The kitchen renovation project in 7 steps:
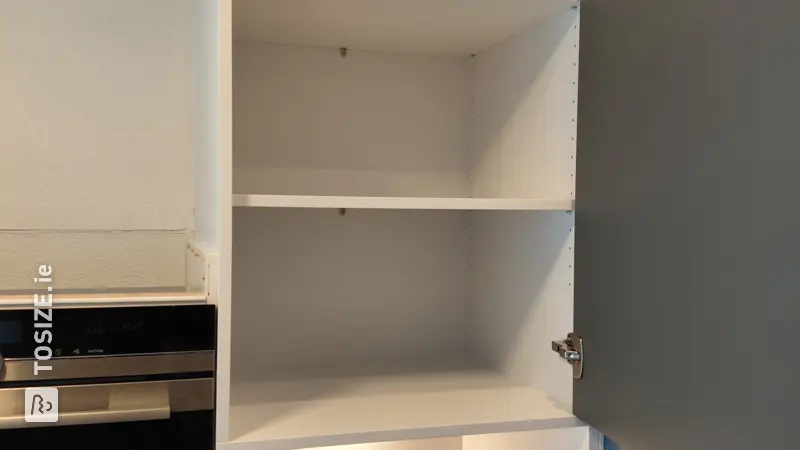
STEP 1: Strip old kitchen. Remove the doors from the cabinets. Leave the hinges on the old doors and the other half on the cabinets. So that the correct half of the hinge will soon come together again. Number the doors (1 to 12).
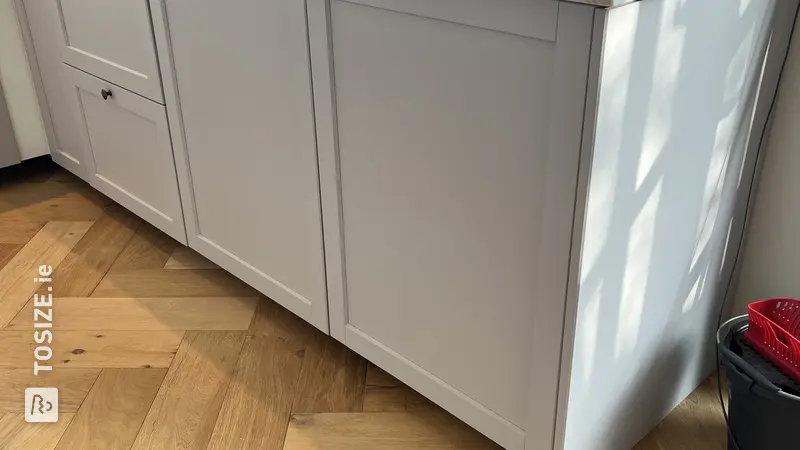
STEP 2: Paint the side cabinets white with kitchen front paint. First, of course, lightly sand it and then remove dust with a tack cloth. The side panels that were brown will also be painted white. Two cabinets are brown on the inside and we will also make them white.
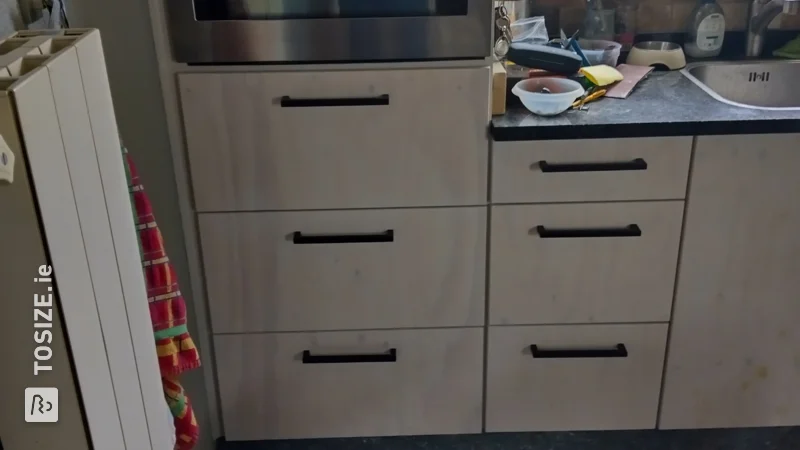
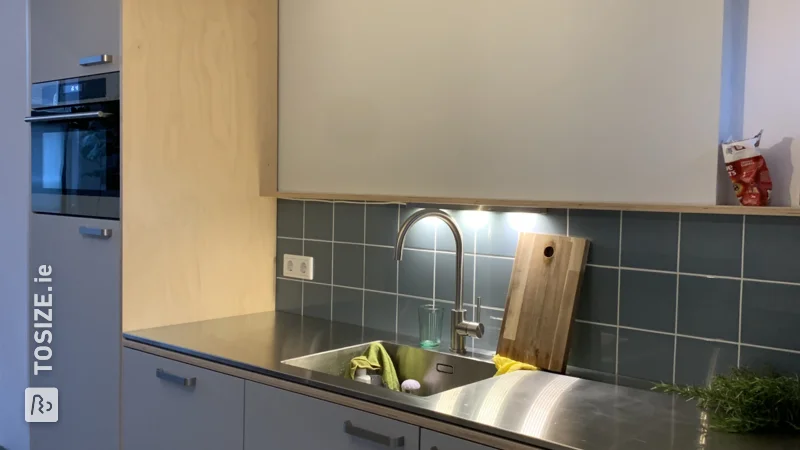
STEP 3: Order new faceplates from TOSIZE.ie. Old dimensions were taken over (2 mm wider, because we want to get a tighter look). 4 mm the side with TOSIZE.ie and it is waterproof primed MDF. We have had stickers on the panels so that we can easily recognize them.
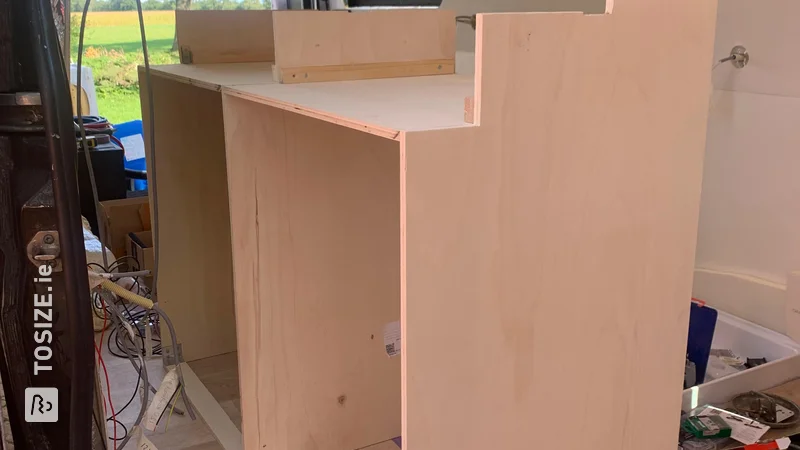
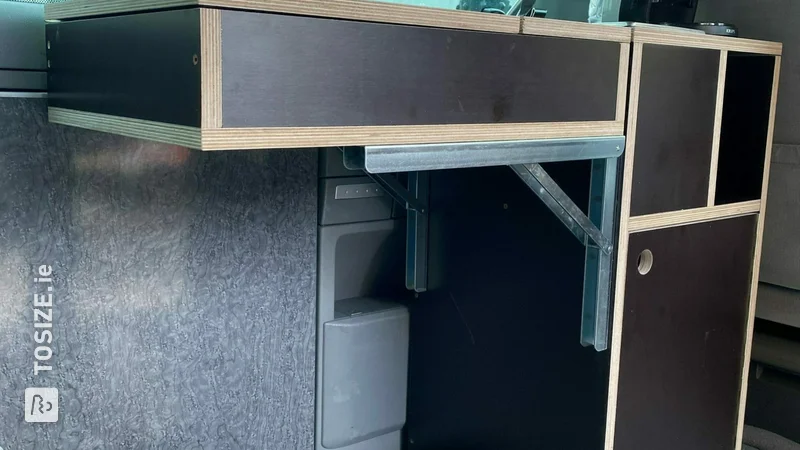
STEP 4: Treat the ends of the panels with a sealer, so that the paint does not absorb too much during the finishing process. This in series of 4 to 5 plates on a workmate with spacers, see photo.
STEP 5: Measure where the hinge holes should be, drill the hinge holes (35mm) with a phrase attachment for my hand drill. Drilled the side holes (10 mm) by hand with a wood drill. The drill is covered with tape, so you don't go too deep...! This contains the plug + screw M10. The concealed hinges can be attached to the new fronts.
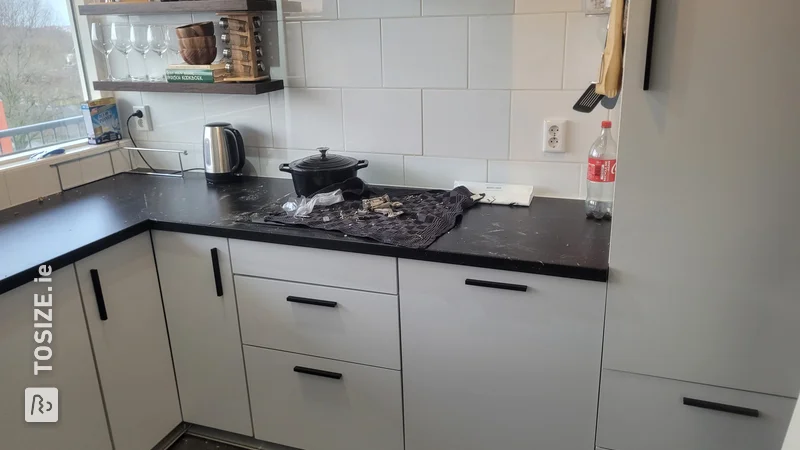
STEP 6: Install the new worktop and connect the tap and hob. Then attach the new fronts to the cabinets.
STEP7: Select and attach beautiful handles. Also paint the doors in the desired color.
Dimensions of my DIY project
The kitchen is 320.0 cm.
Tip! Also check out our handy DIY tips!
What now?
Want to make this DIY project? Check out Ilse's saw list and complete your order easily.
€524.20
All materials used
View all sheet materials