- TOSIZE.ie
- Do it yourself
- DIY Projects
A self-made radiator conversion with MDF windowsill, by Marco
A self-made radiator conversion with MDF windowsill, by Marco


Create this project yourself with sheet material cut to size by TOSIZE.ie!
Marco
Easy
2 minutes
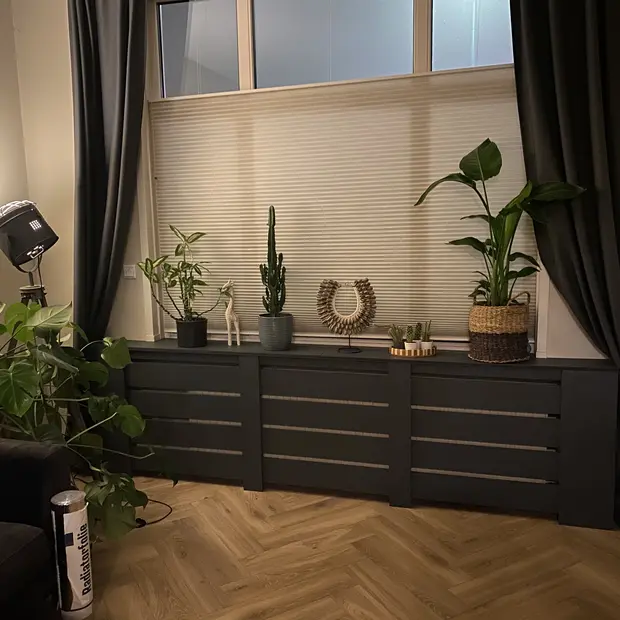
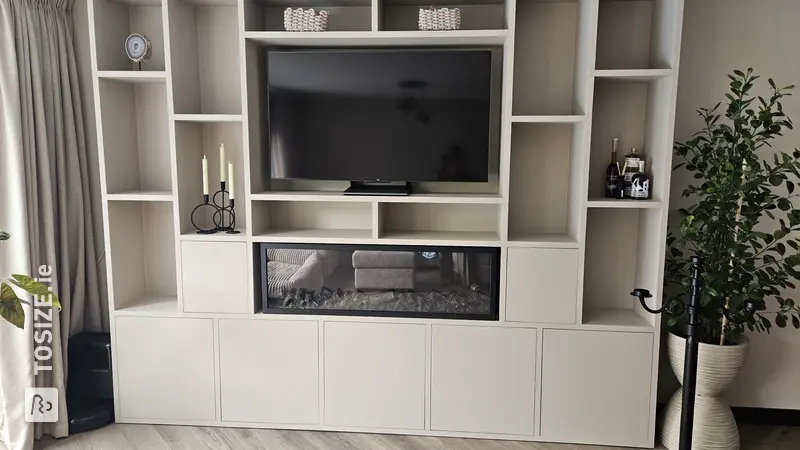
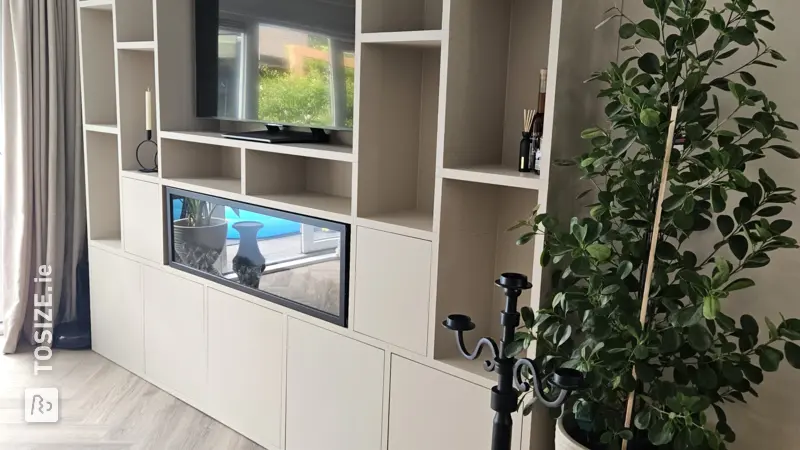
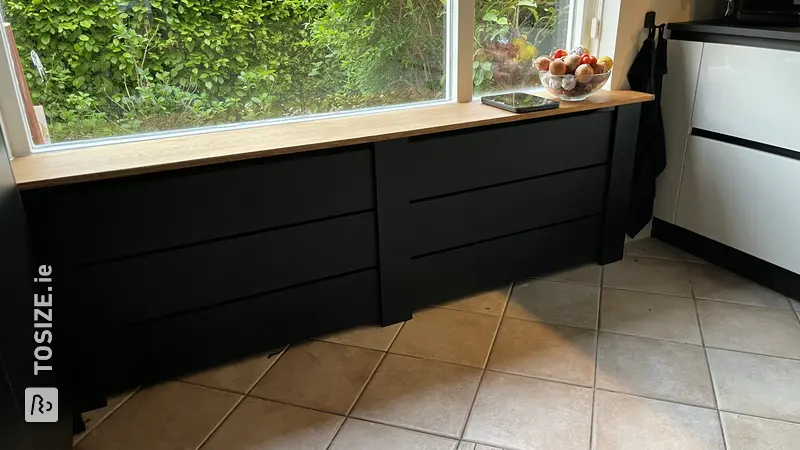
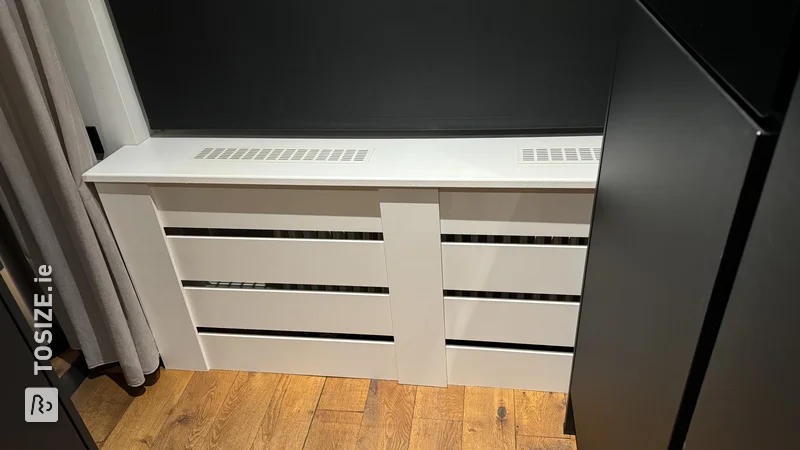
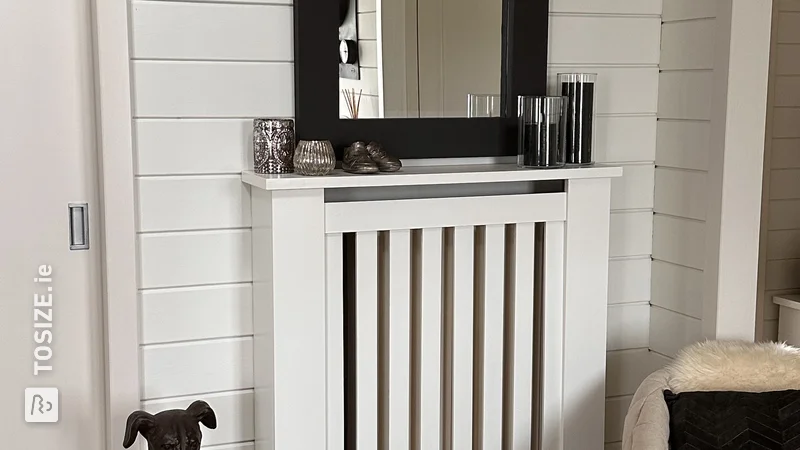
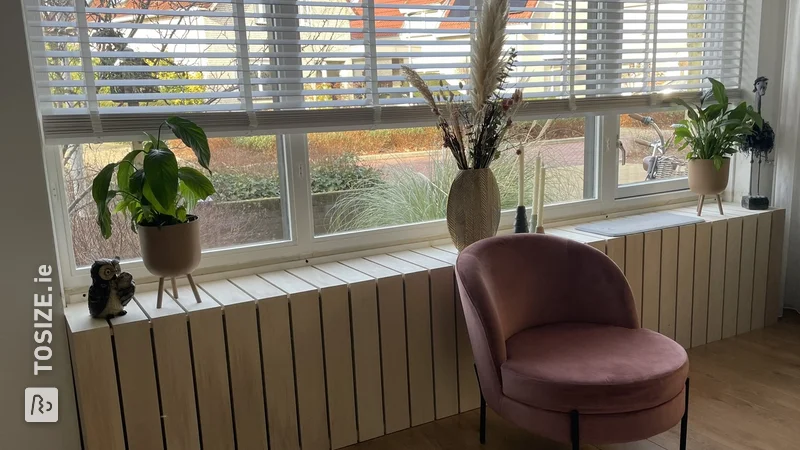
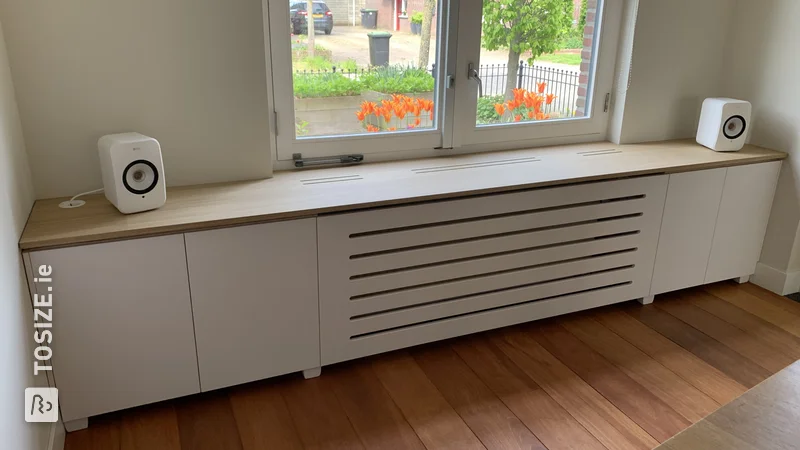
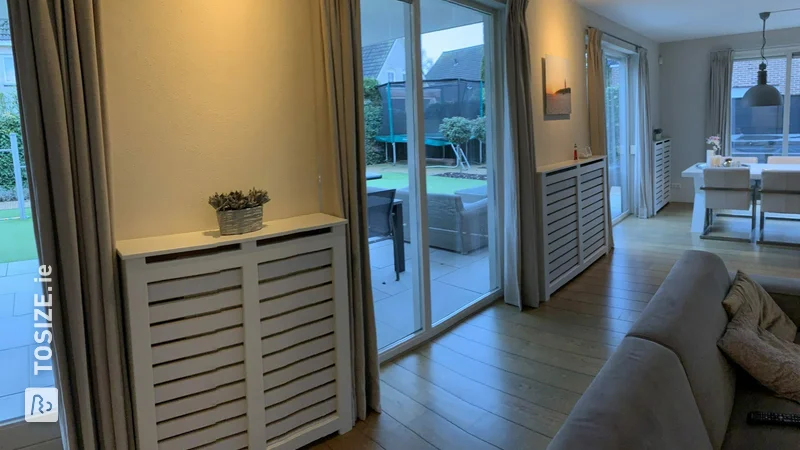
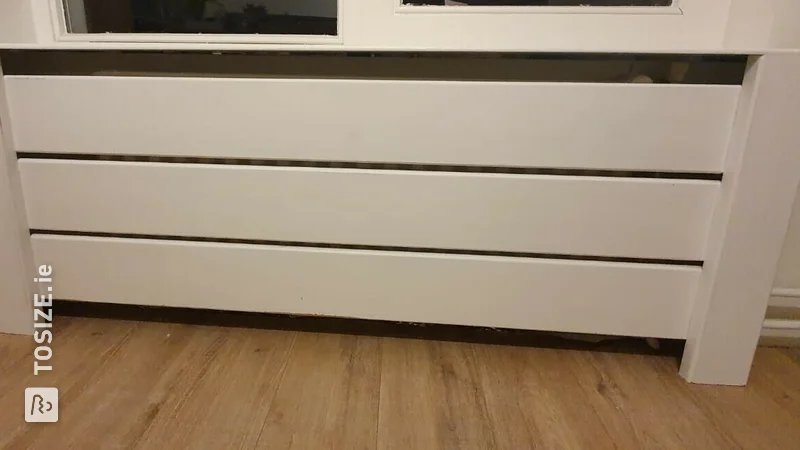
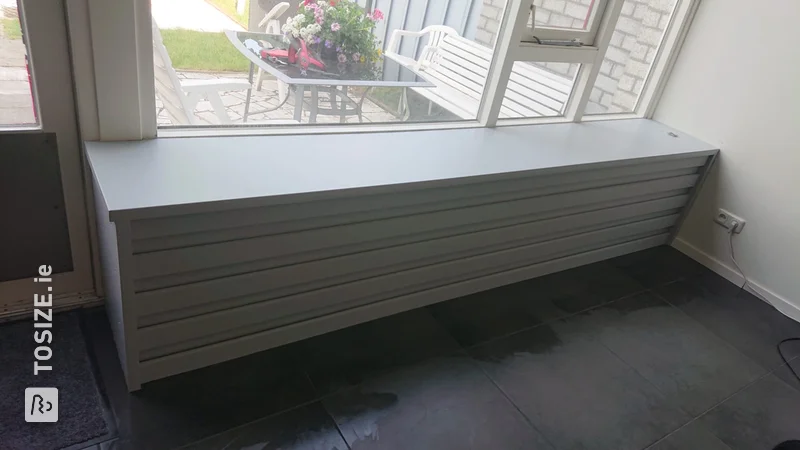
In this DIY project, Marco shows how he made a radiator conversion including a windowsill. For this job he ordered MDF blank 12 and 18 mm to size so that he could start immediately. Read more about his approach and experience on the blog.
Description of Marco
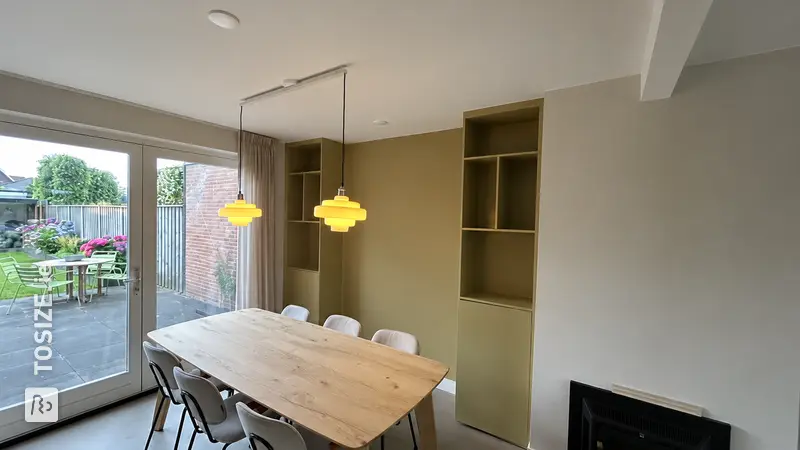
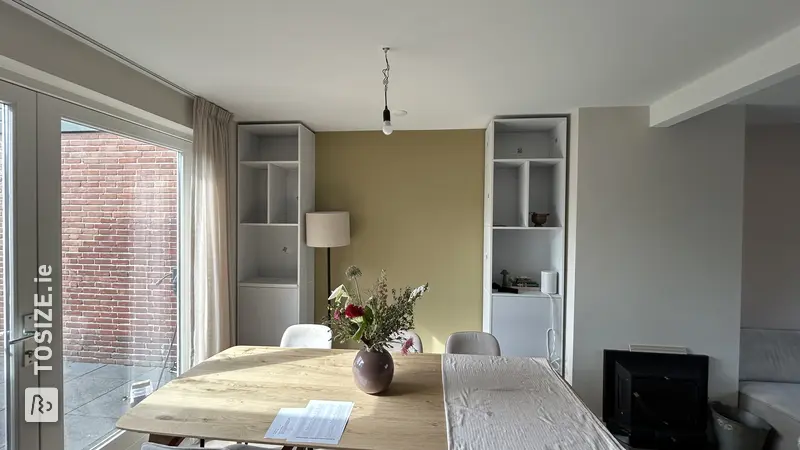
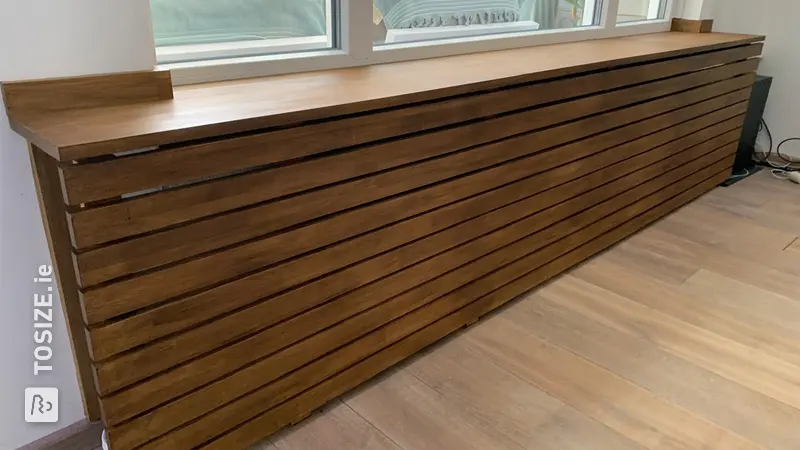
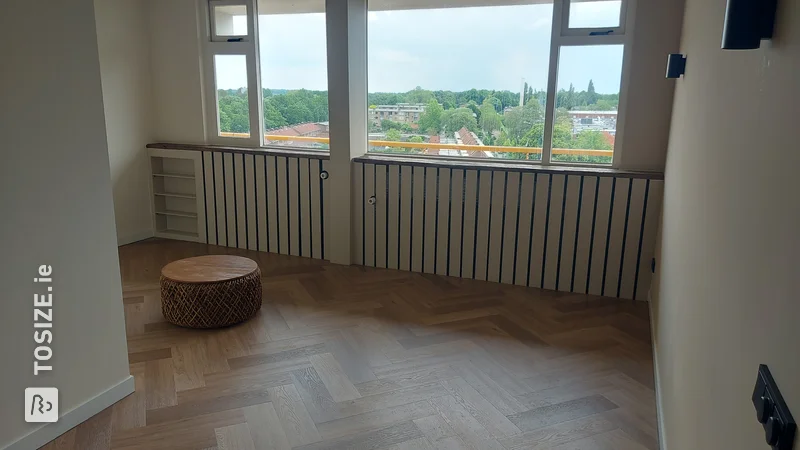
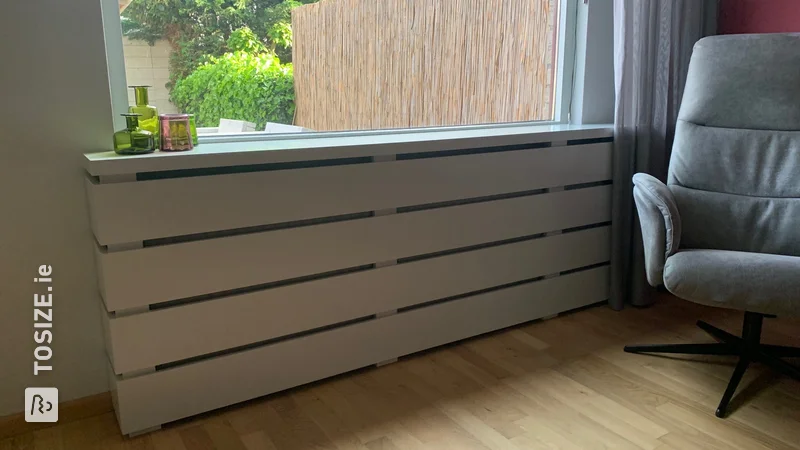
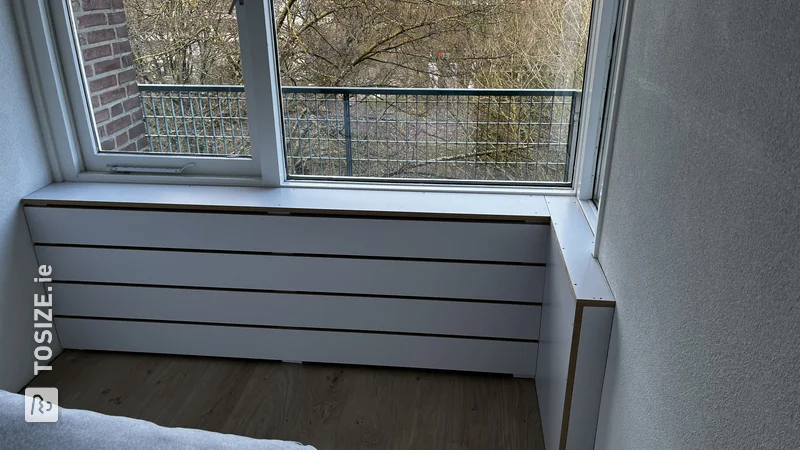
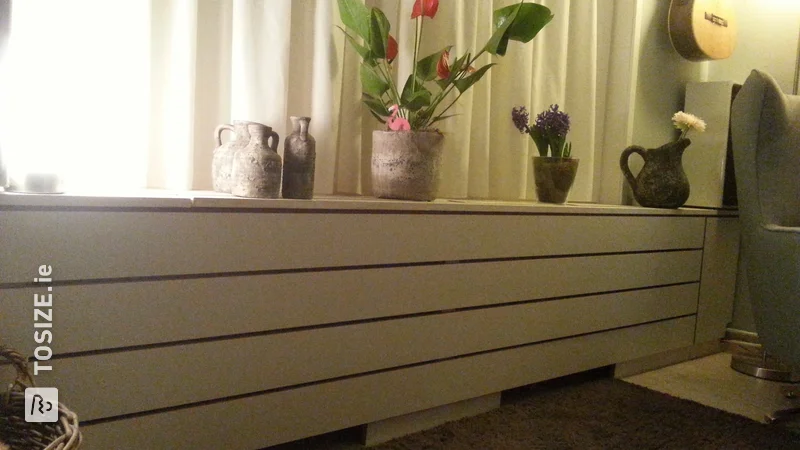
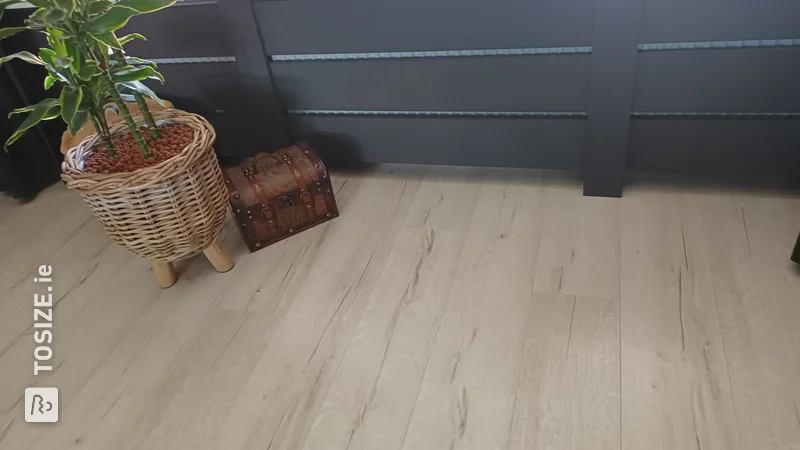
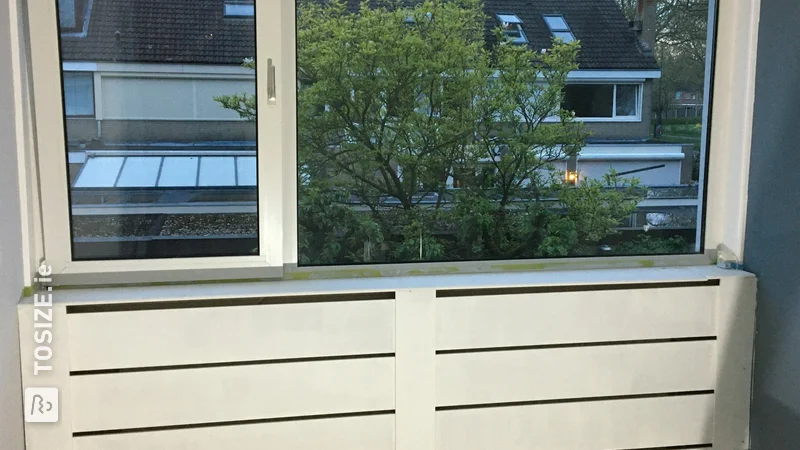
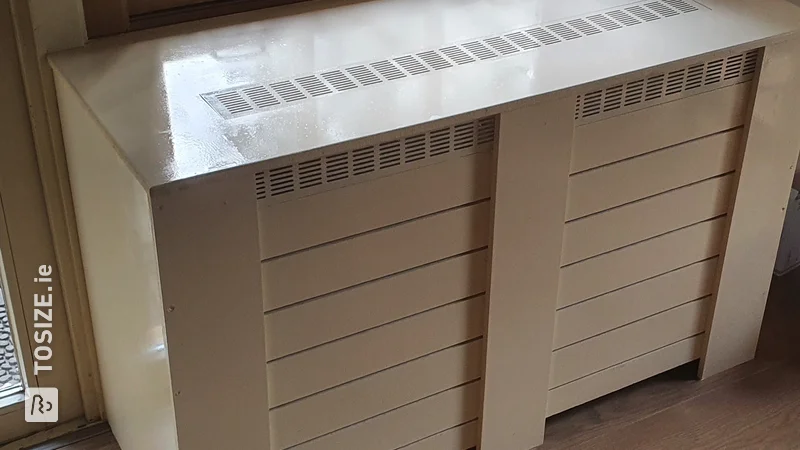
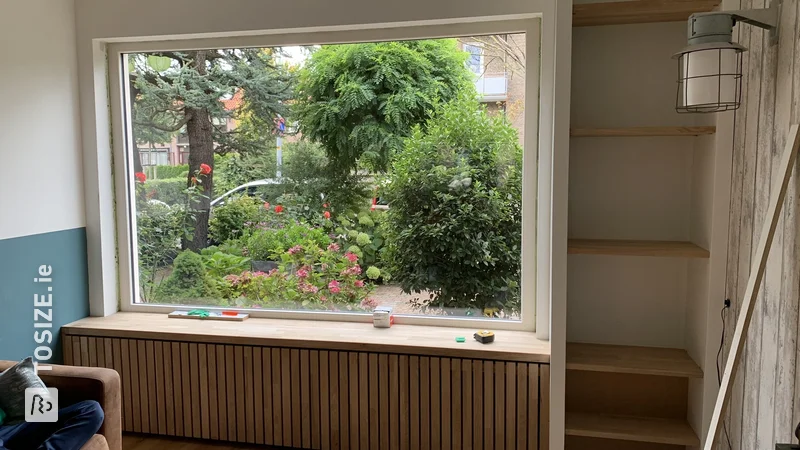
A radiator conversion around an old and ugly radiator. Location of the radiator is in the living room. Because the radiator is located under a window, it was decided to replace the existing windowsill, so that the radiator casing and windowsill now consist of one piece. To prevent the conversion from retaining too much heat, it was decided to immediately cover the wall behind the radiator with radiator foil so that the heat can flow out of the open slots.
How I made this project
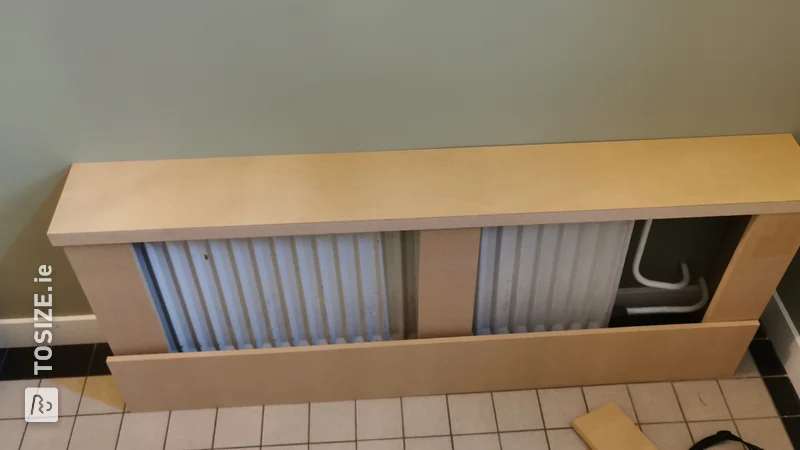
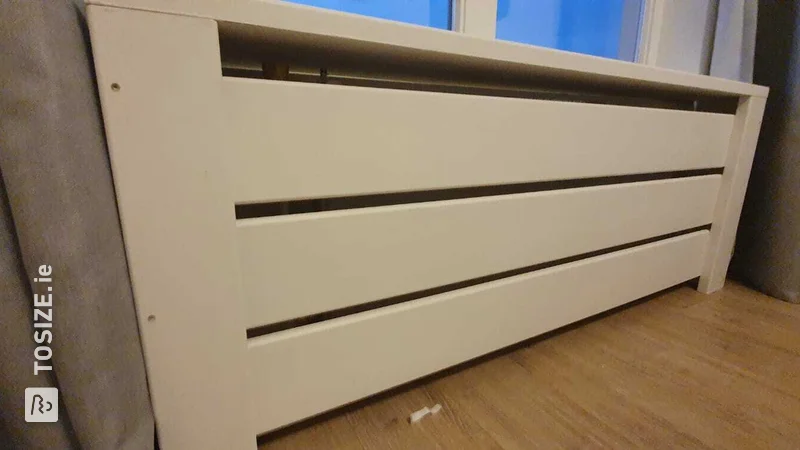
1. First of all, the corners and therefore the outer uprights of the frame were screwed together. Then the visible screw holes were filled with wood filler and sanded smooth.
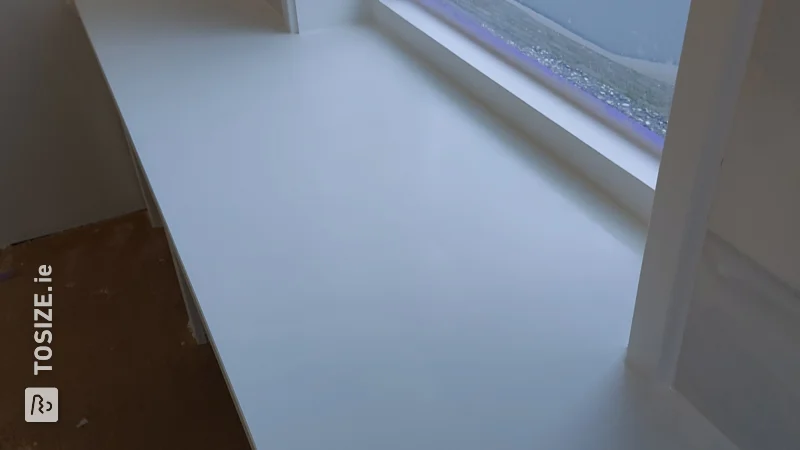
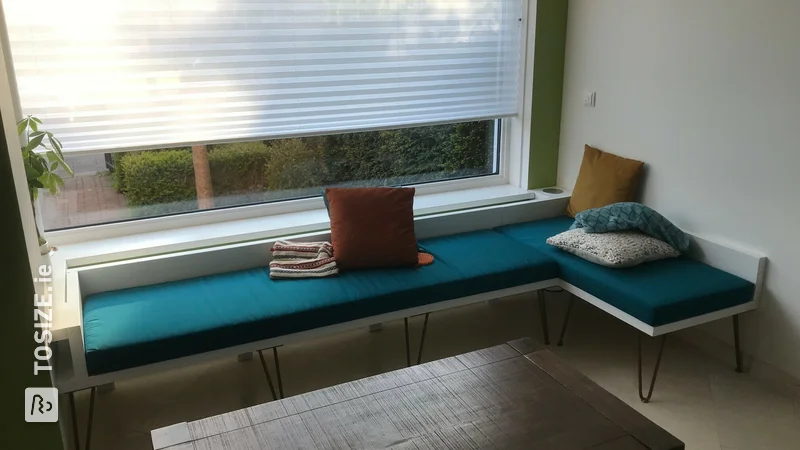
2. The two separate planks of the windowsill were further tailored so that they fit around the frame.
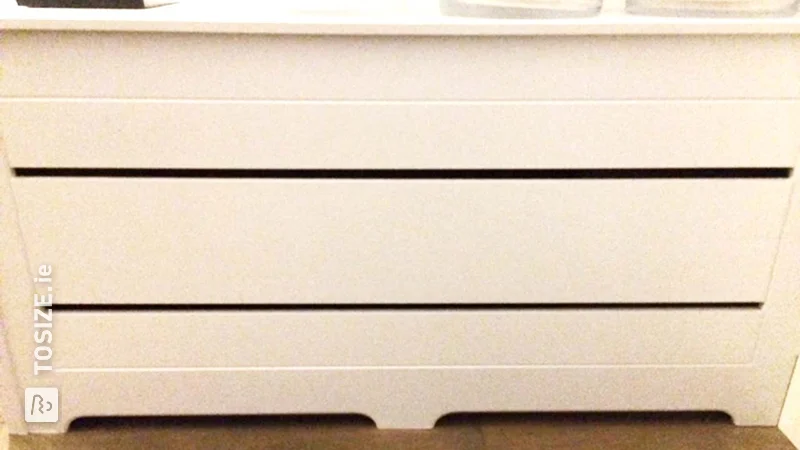
3. All loose parts were painted with 3 layers.
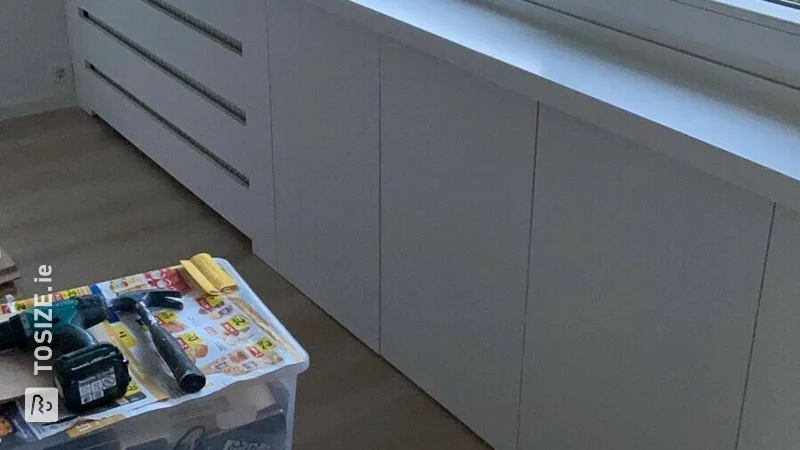
4. The assembly is screwed together from the inside with the front lying on the ground so that as few screw holes as possible need to be filled.
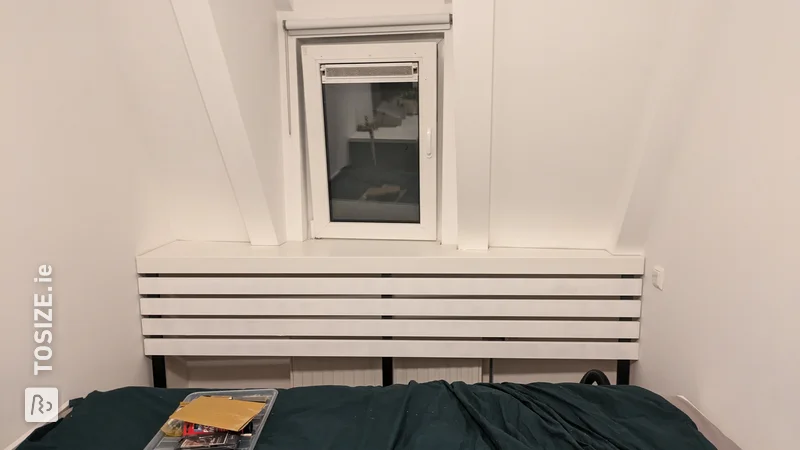
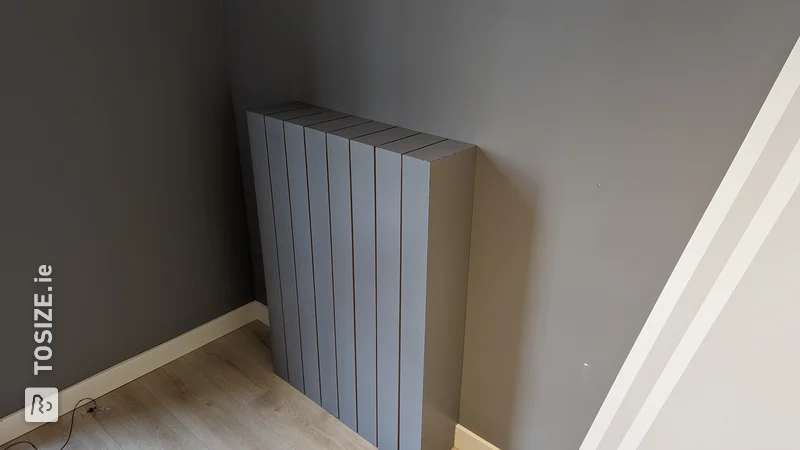
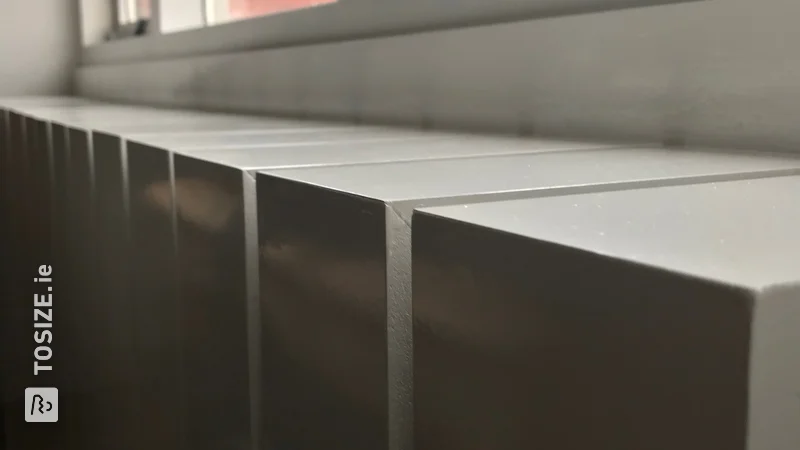
5. To maintain an equal distance between the beams, use a block of wood between each beam before it is screwed onto the uprights.
6. After assembling all loose parts, move the conversion to the right place with 2 men to prevent the length of the construction from exerting too much pressure.
Dimensions of my DIY project
280 .0 by 76.0 cm
Tip! Also check out our handy DIY tips!
What now?
Want to make this DIY project? Check out Marco's saw list and complete your order easily.
€138.21
View all sheet materials