- TOSIZE.ie
- Do it yourself
- DIY Projects
Kitchen cabinet doors from Underlayment, by Marijn
Kitchen cabinet doors from Underlayment, by Marijn
Create this project yourself with sheet material cut to size by TOSIZE.ie!
Marijn
Average
2 minutes
Description
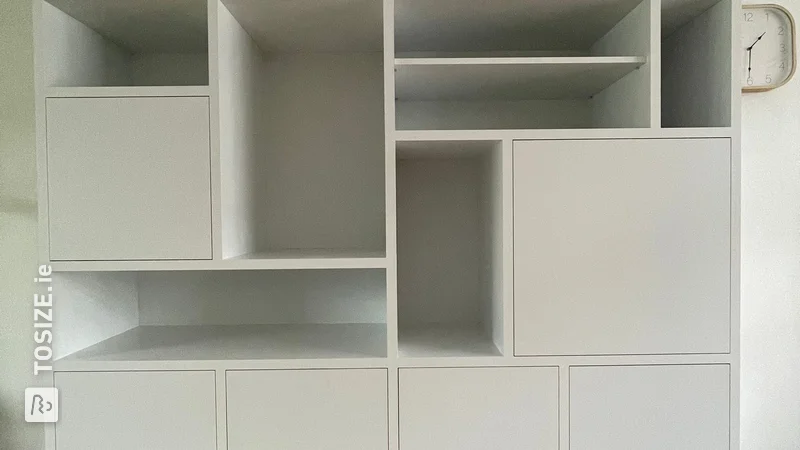
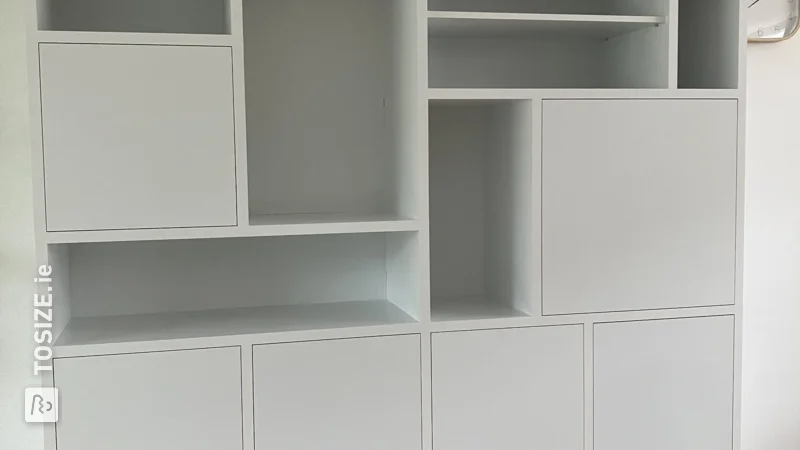
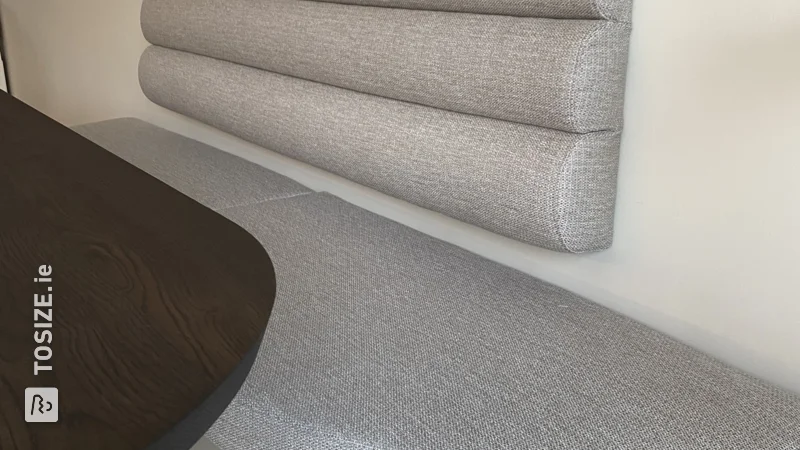
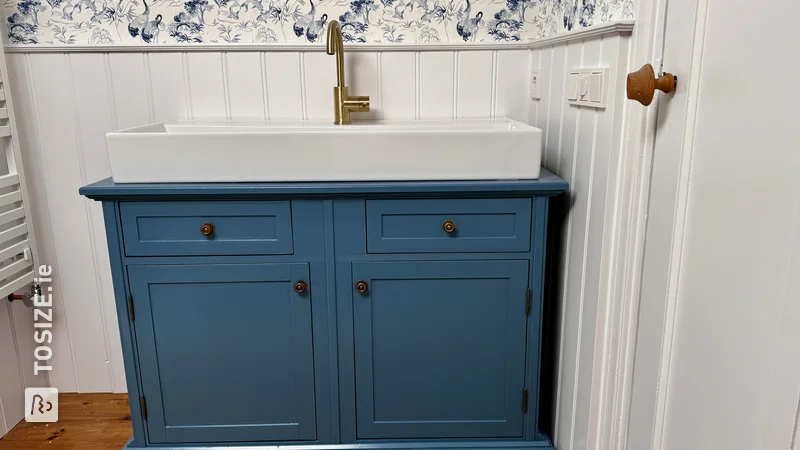
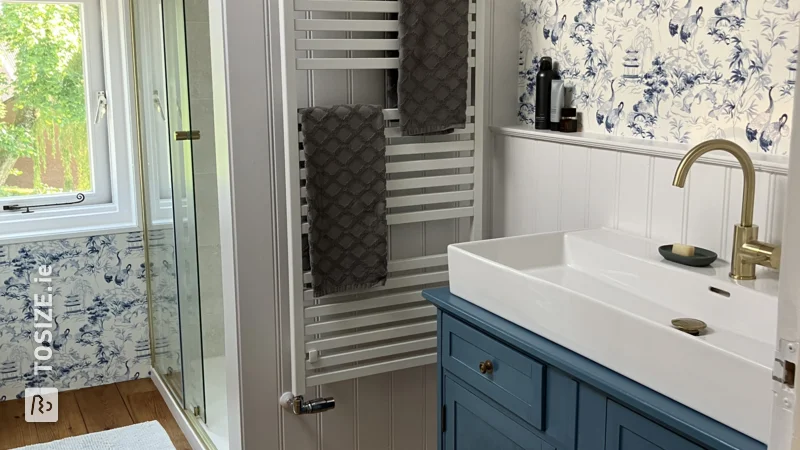
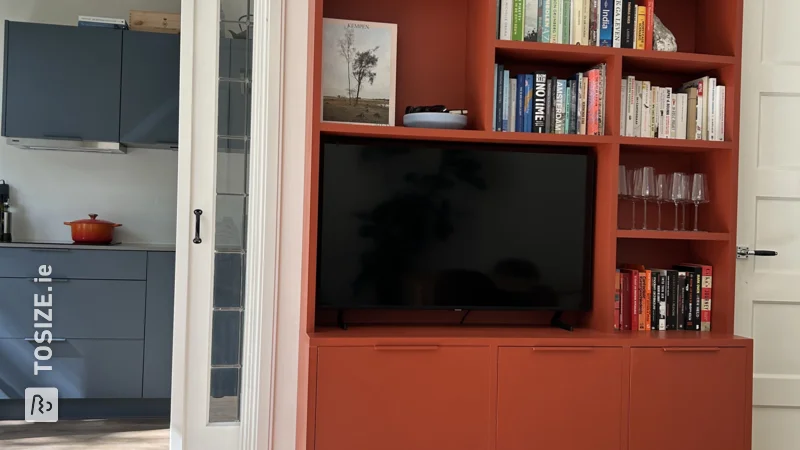
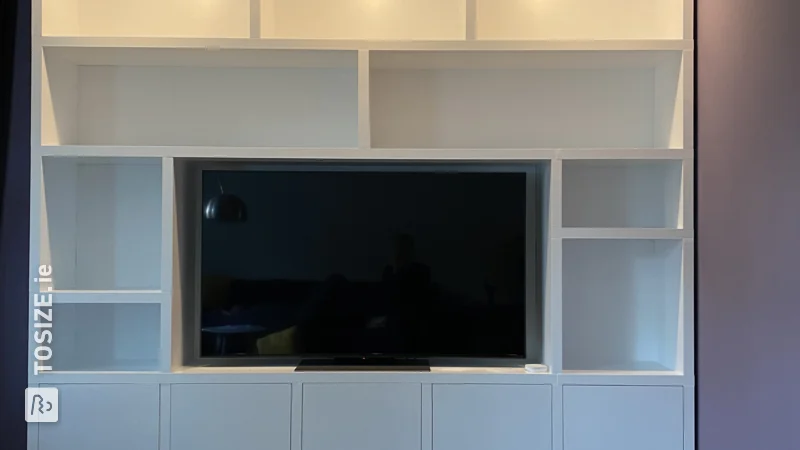
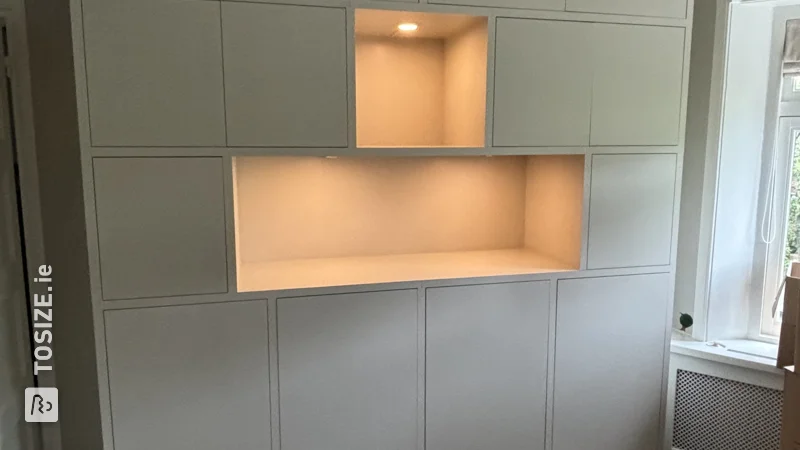
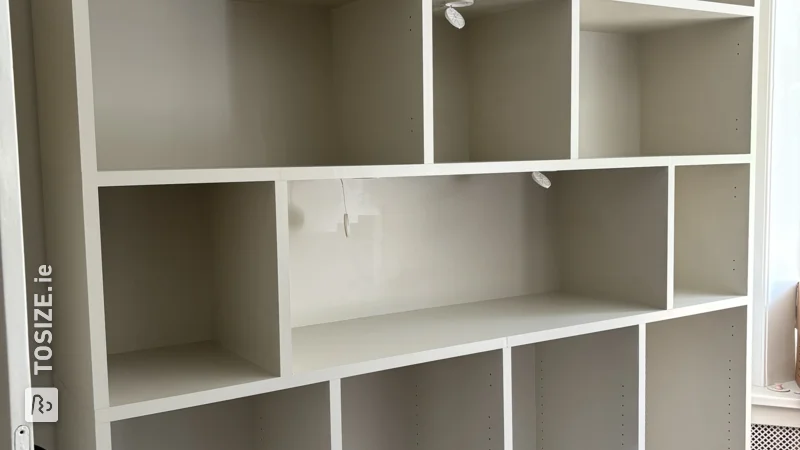
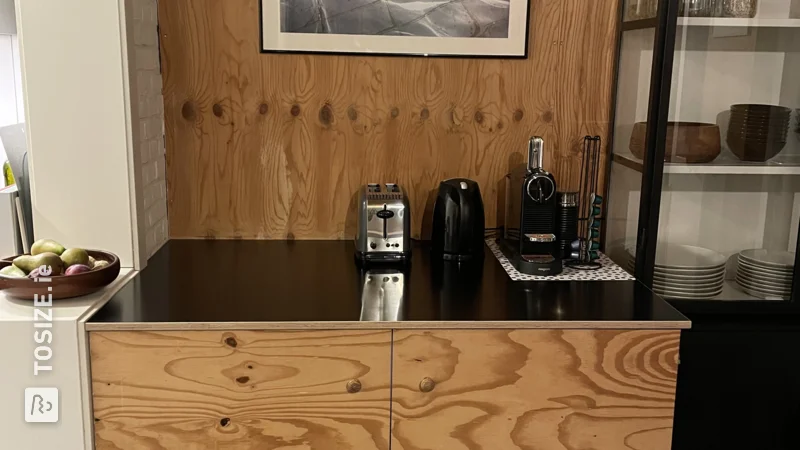
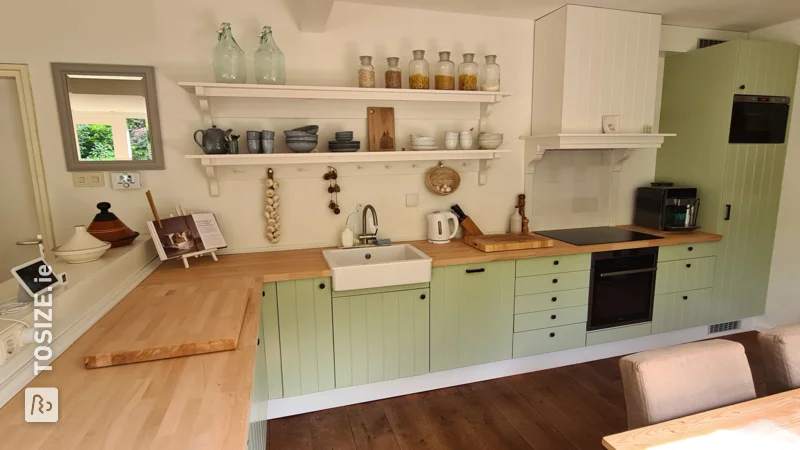
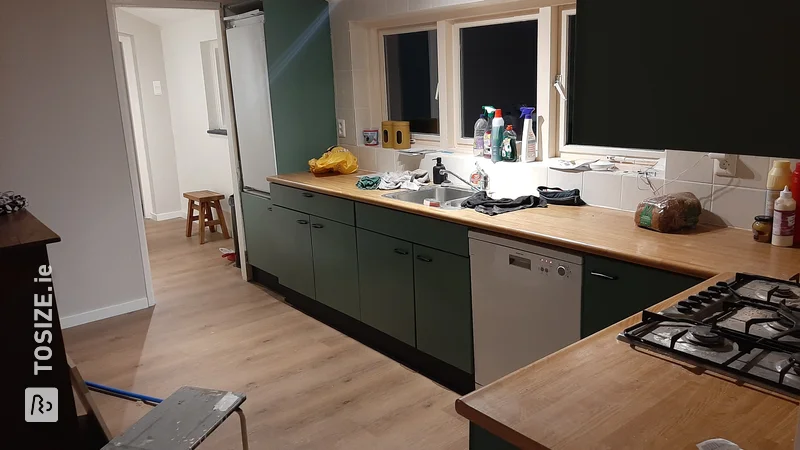
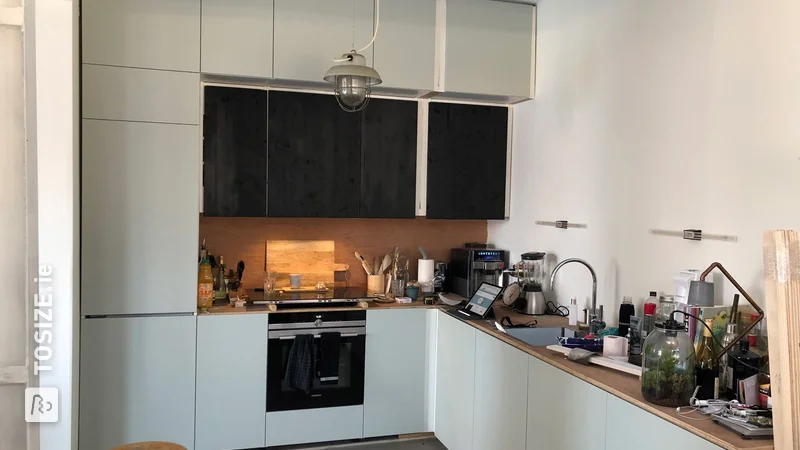
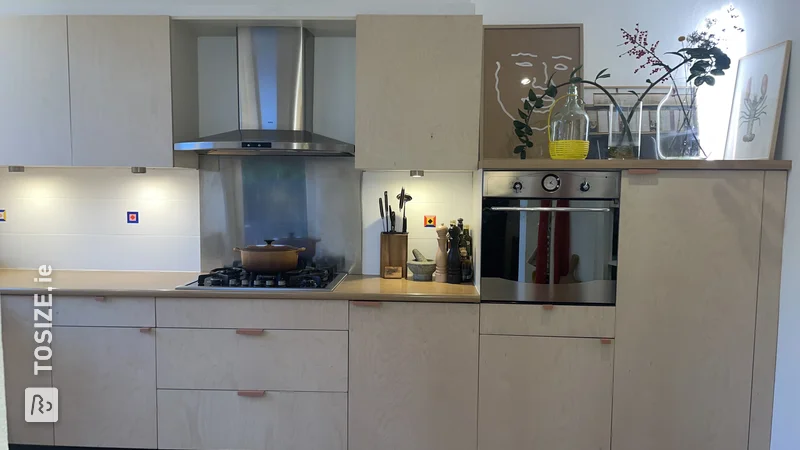
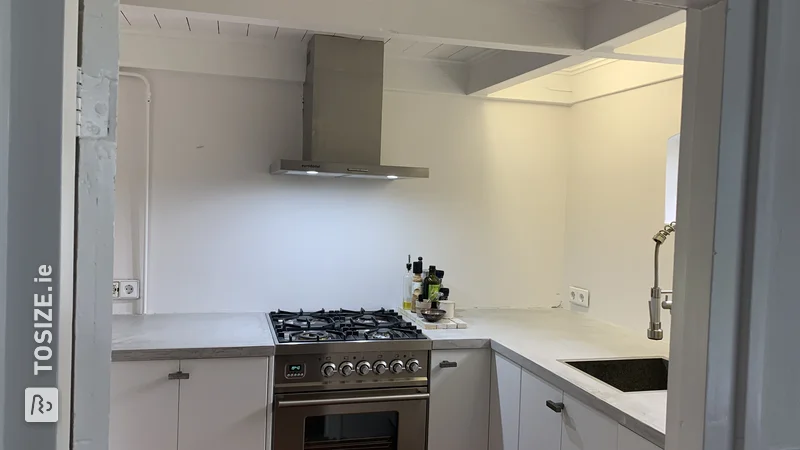
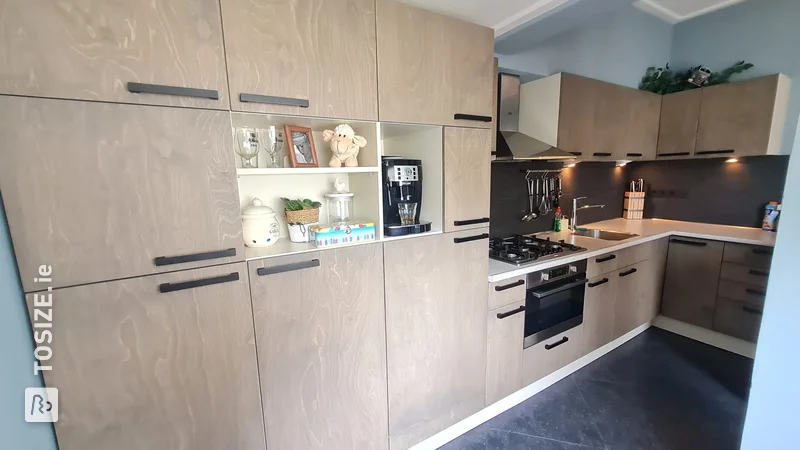
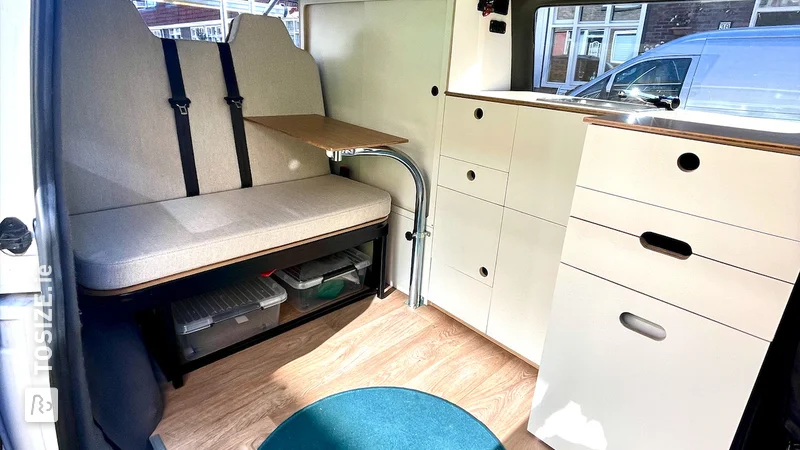
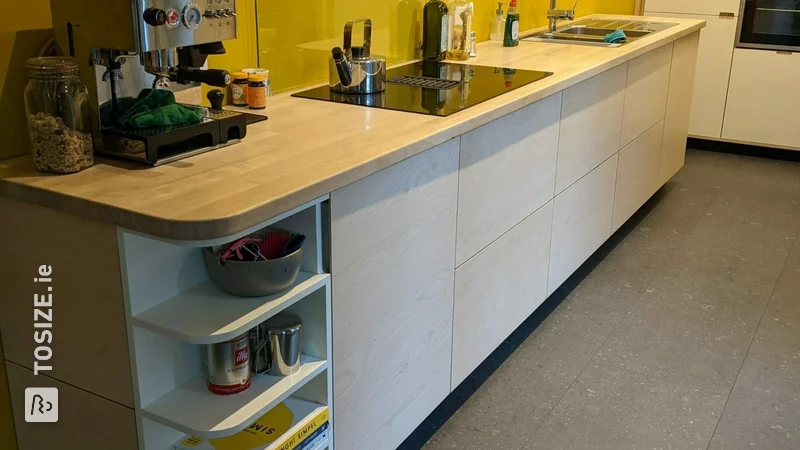
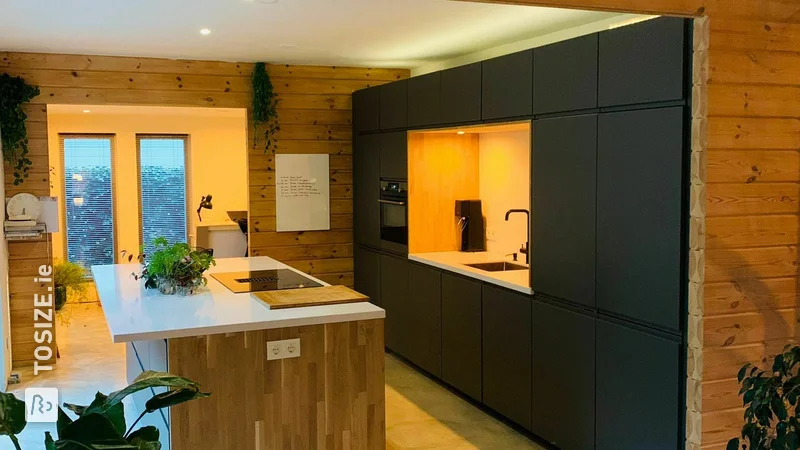
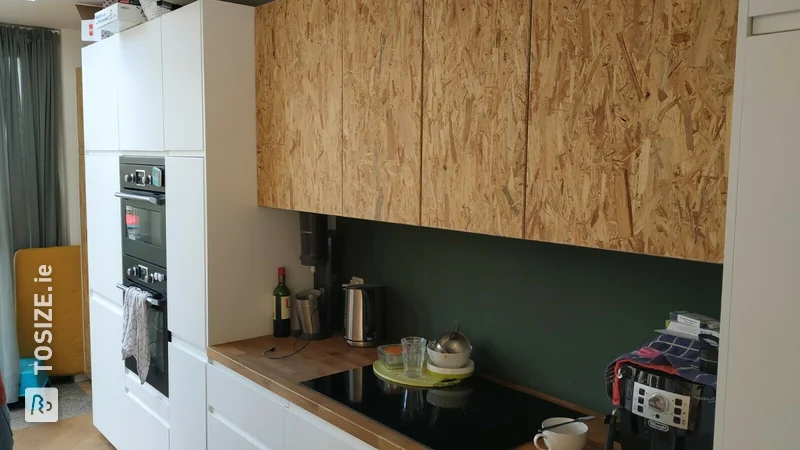
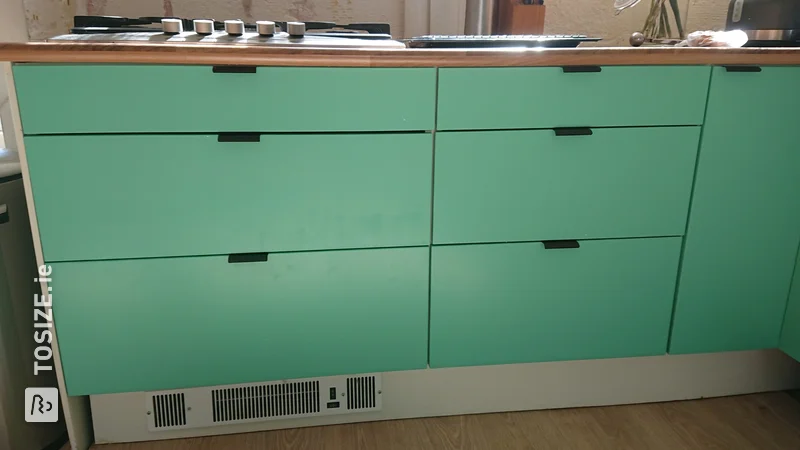
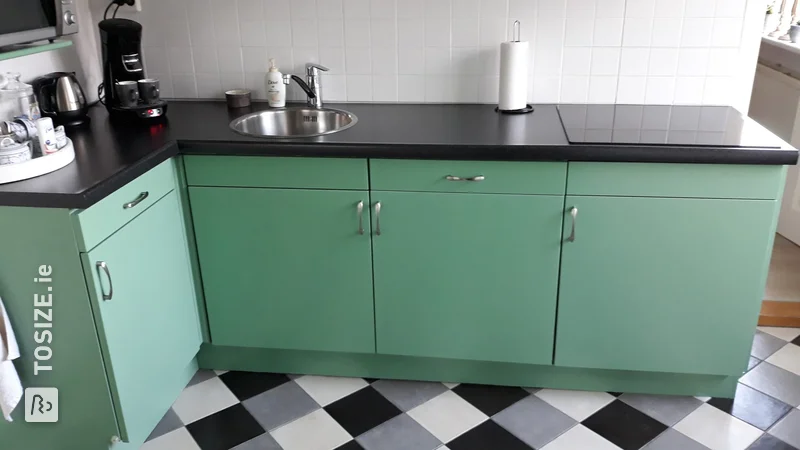
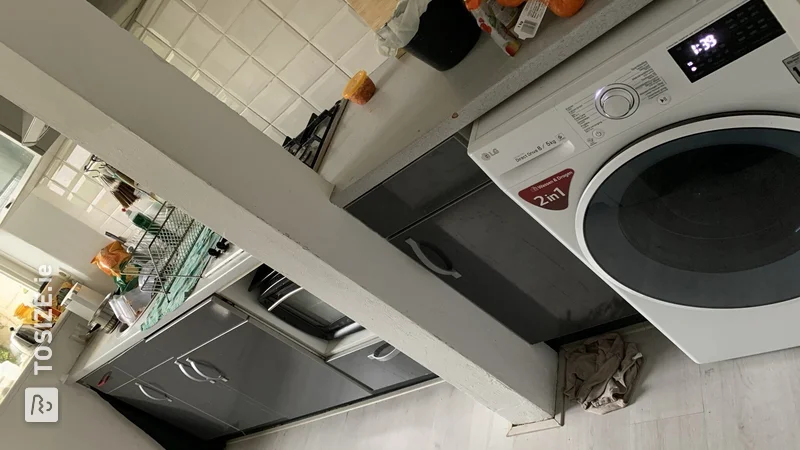
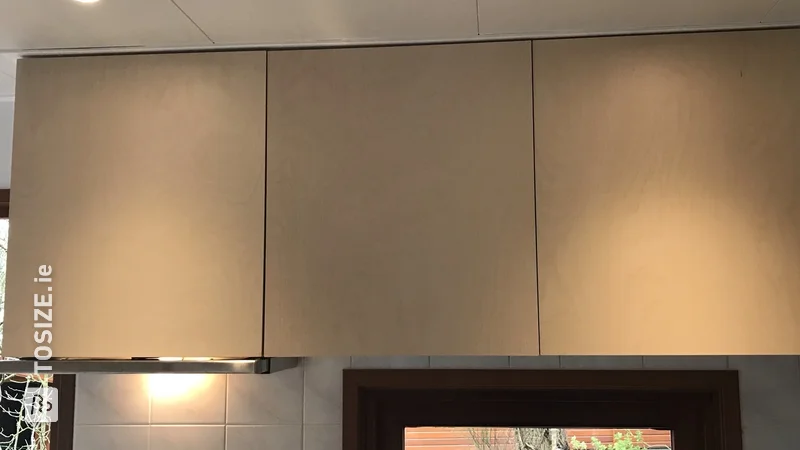
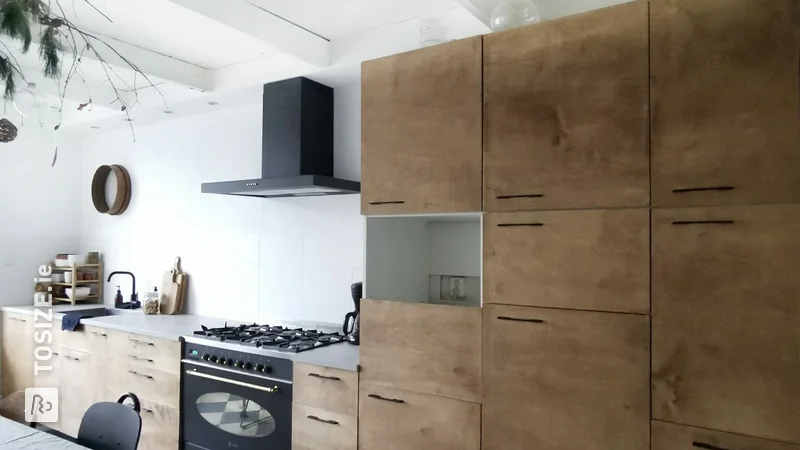
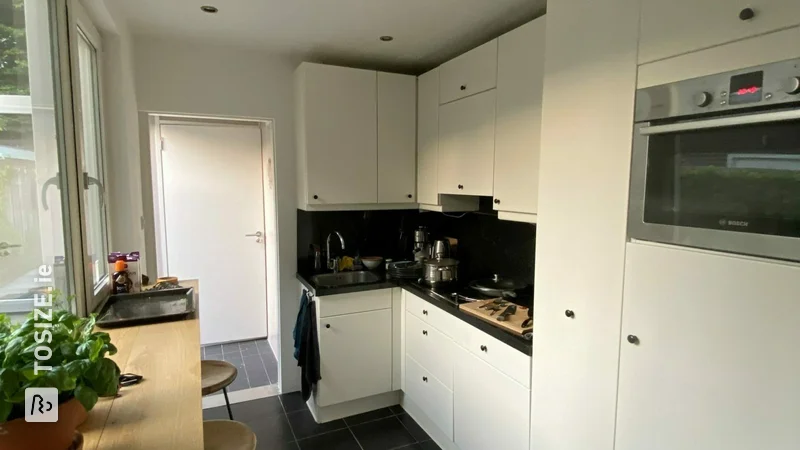
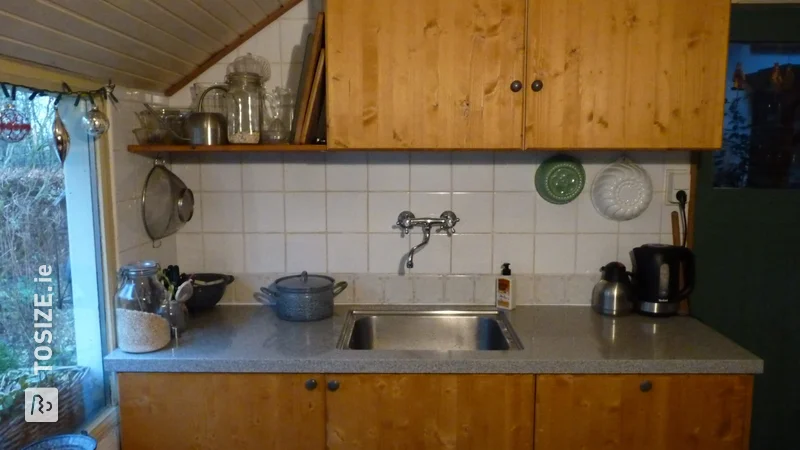
Because we didn't like the standard cupboard doors, we made the cupboard doors, the side panel and the bottom plinth from Underlayment for our kitchen unit in the utility room. This is entirely according to your own taste.
Replacing kitchen cabinets
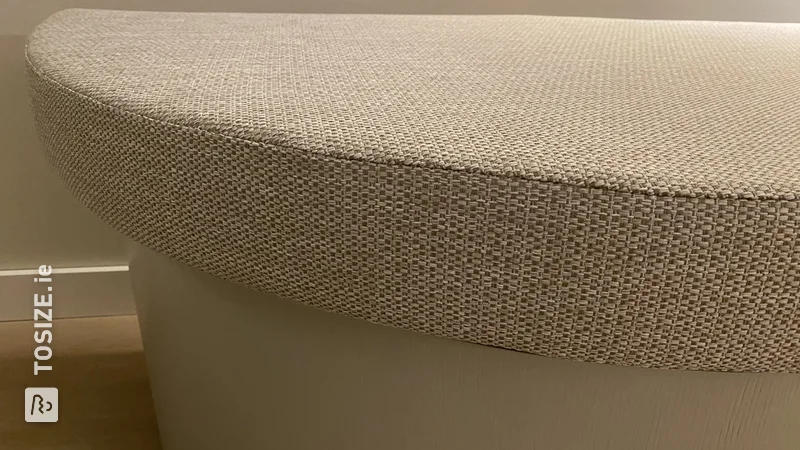
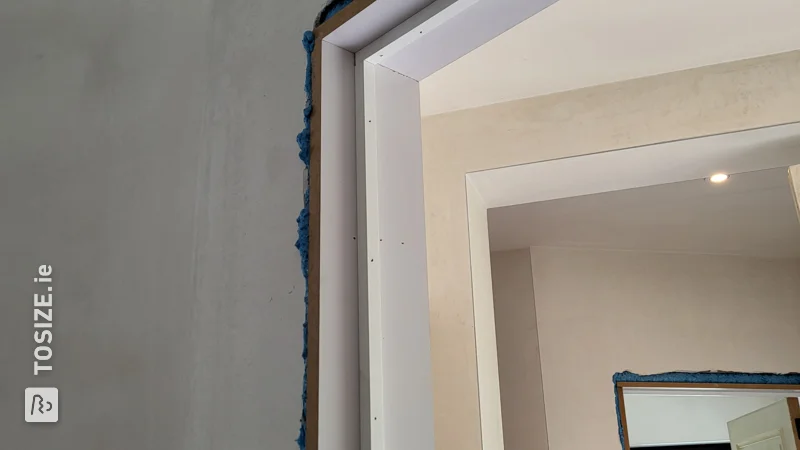
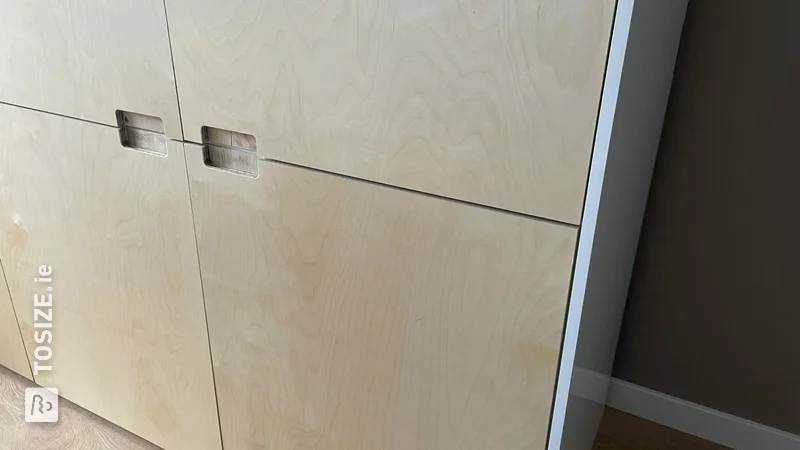
After we had installed the (standard) kitchen elements, I measured the dimensions of the cabinet doors, the side panel and plinth and worked out with a certain tolerance. The sizes given on the website and the finish of the corners are determined. In our case, the corners are finished with a radius of 0.4 cm, so that you cannot hurt your fingers.
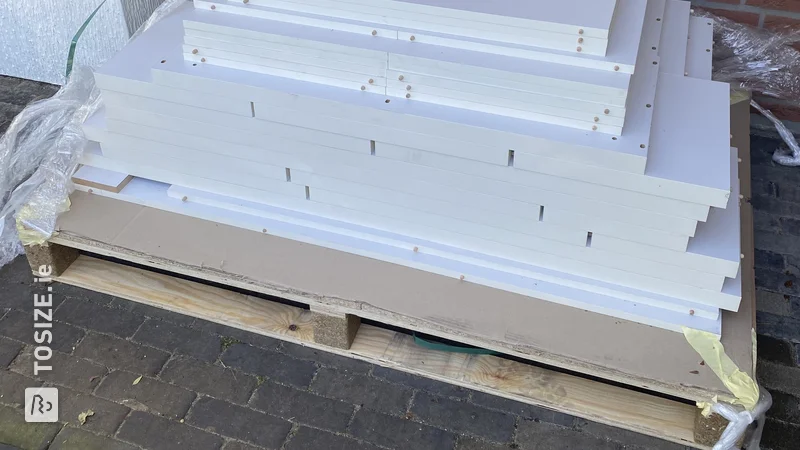
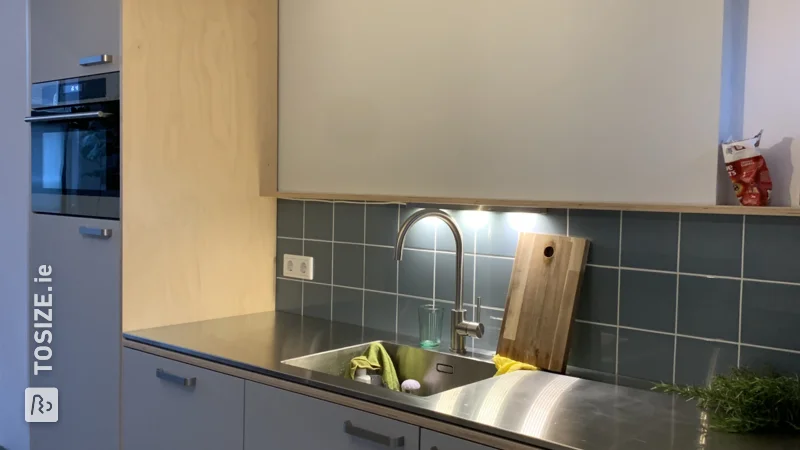
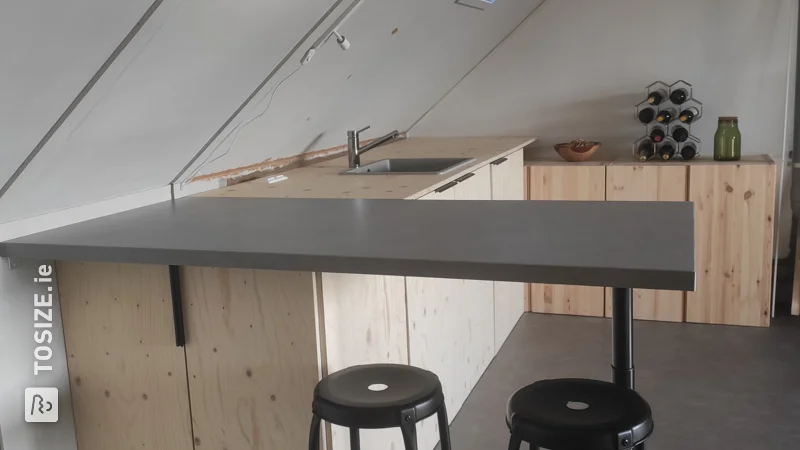
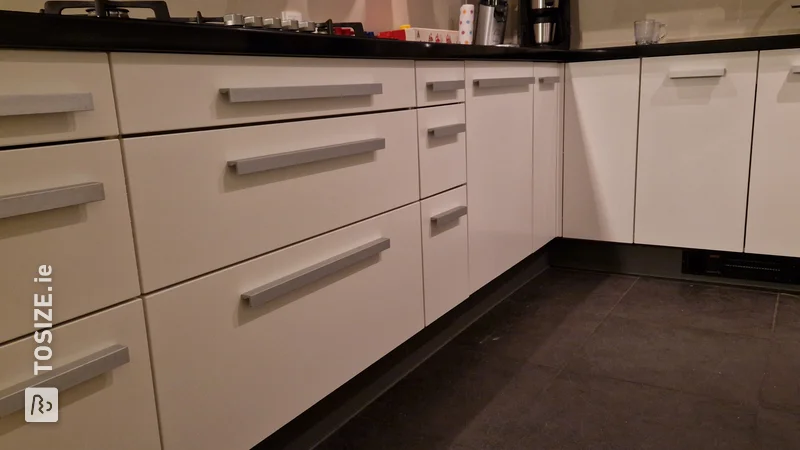
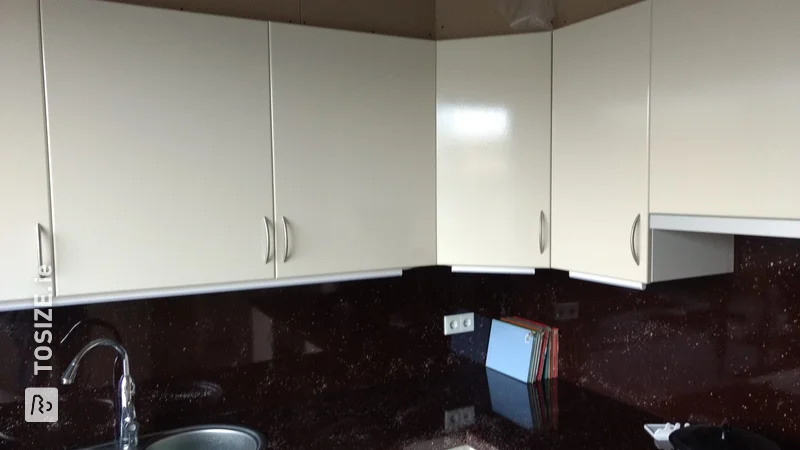
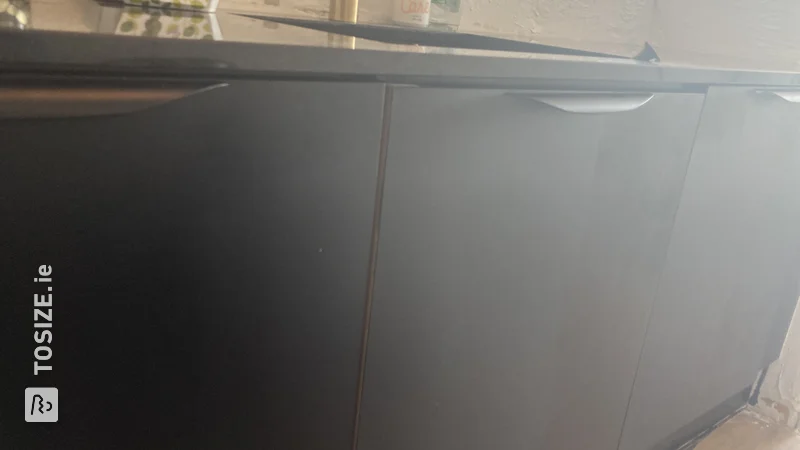
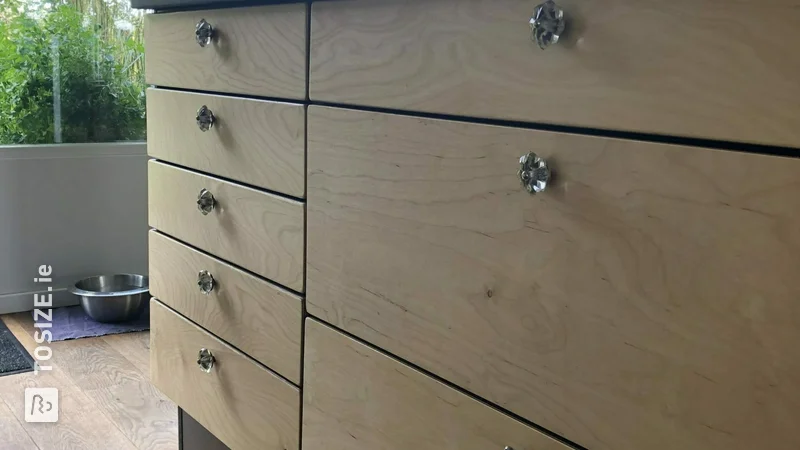
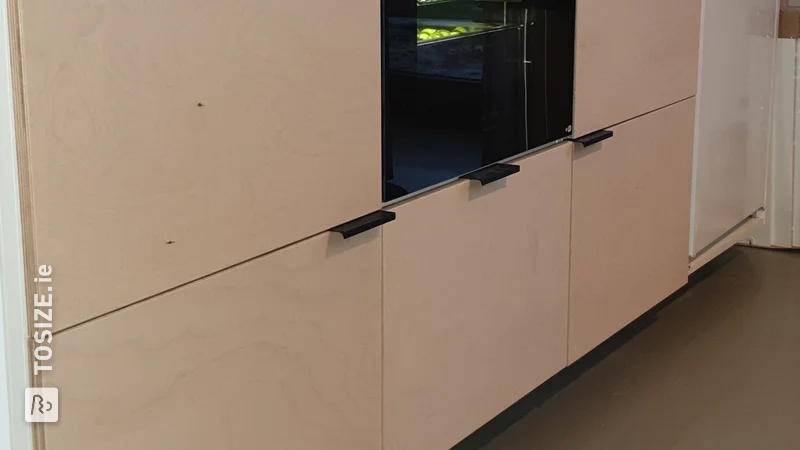
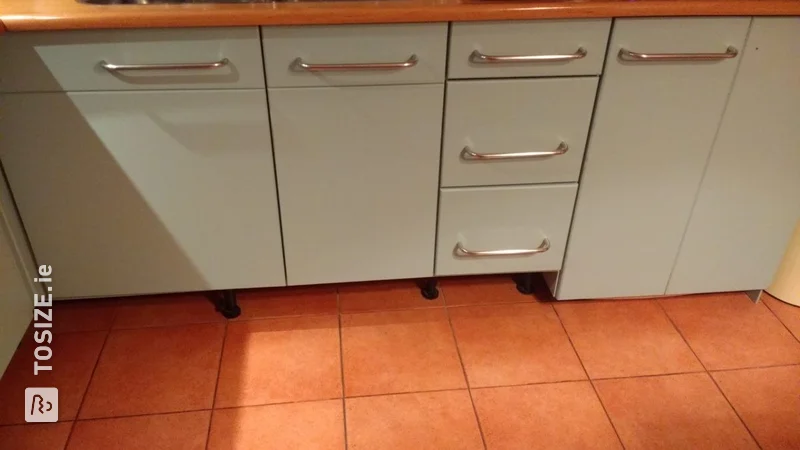
After placing the order, we received the requested Underlayment plates completely customized in no time. , so we could get started. Using a drilling template I was able to determine the holes for the hinges and drilled them in the correct position. The hinges were then mounted and the doors hung. See the photos for the end result.
We are very happy and are now moving on to the next job: sliding doors in the garage with MDF panels from OPMAATZAGEN.nl
Cupboard door high cupboard: 199.5 x 39.5 x 1.8 cm
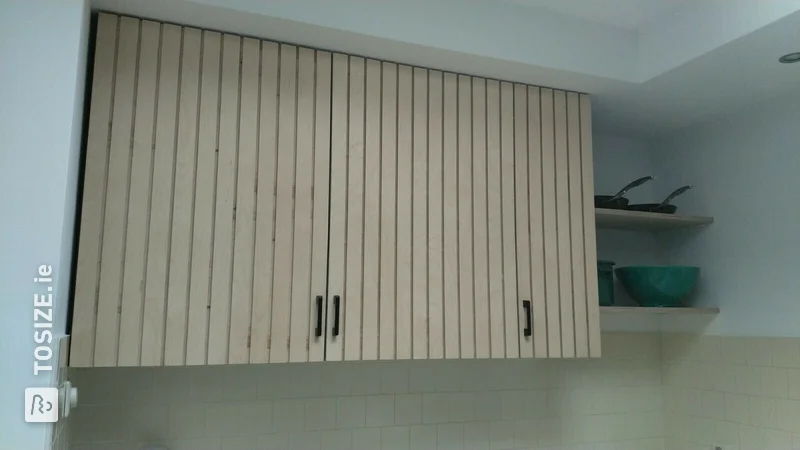
Side panel high cupboard: 208.0 x 61.8 x 1.8 cm br />Cupboard door above cupboard: 79.5 x 39.5 x 1.8 cm
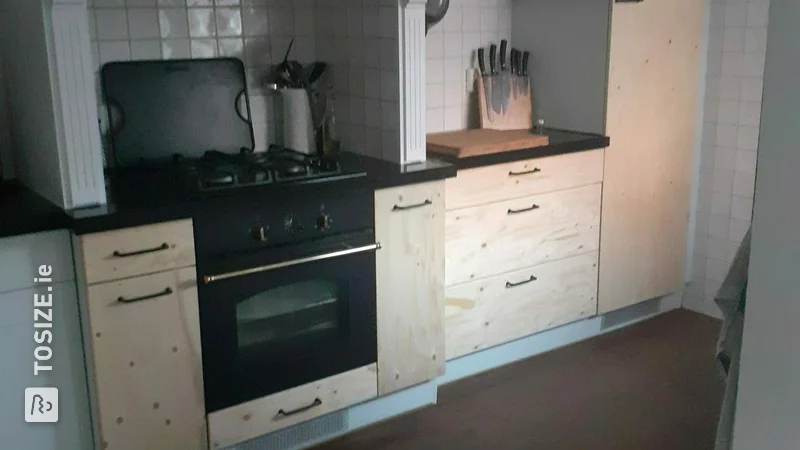
Cupboard doors under cupboard: 79.5 x 39.5 x 1.8 cm (2x)
Plinth: 130.0 x 7.8 x 1.2 cm
Tip! Also check out our handy DIY tips!
How next?
Want to make this DIY project? Check out Marijn's saw list and complete your order easily.
€ 684,48
View all sheet materials