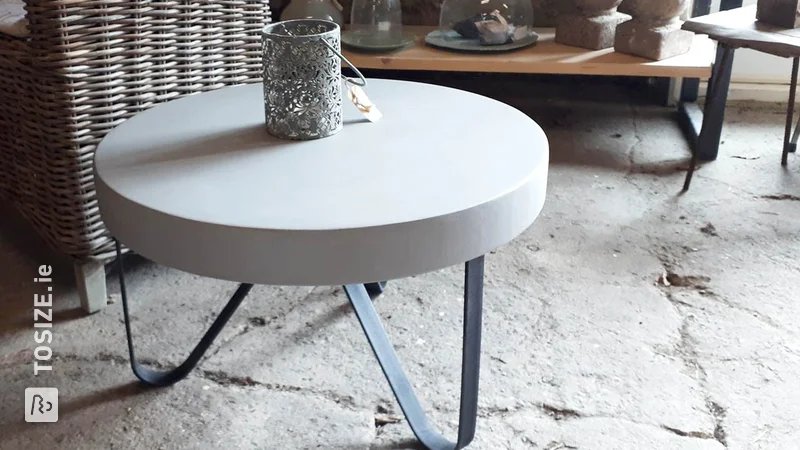
DIY: Making a photo shelf
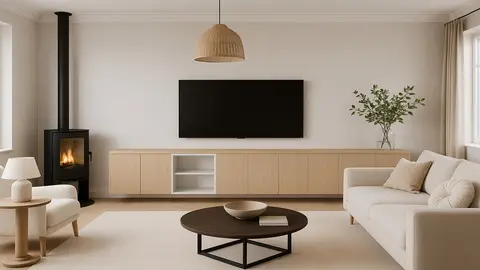
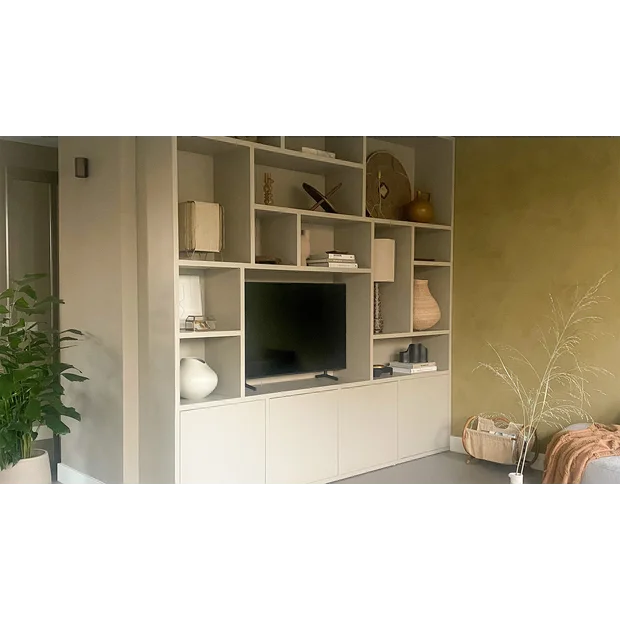
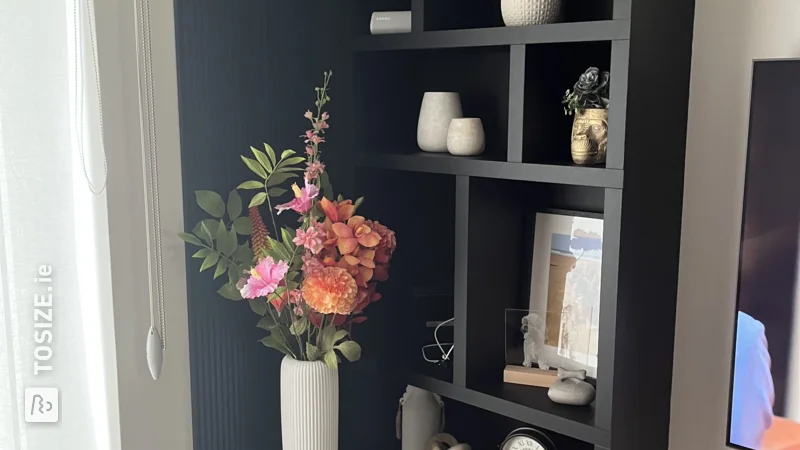
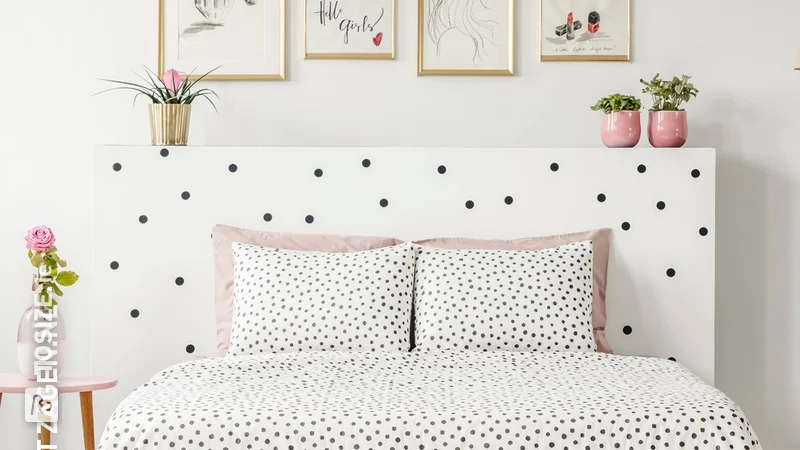
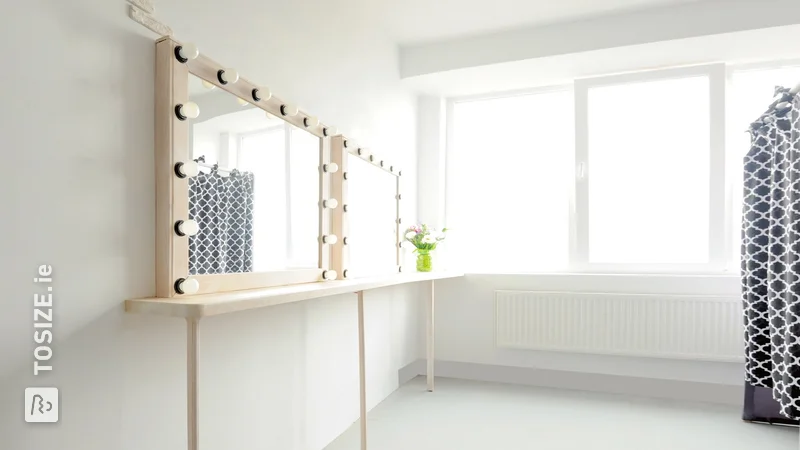
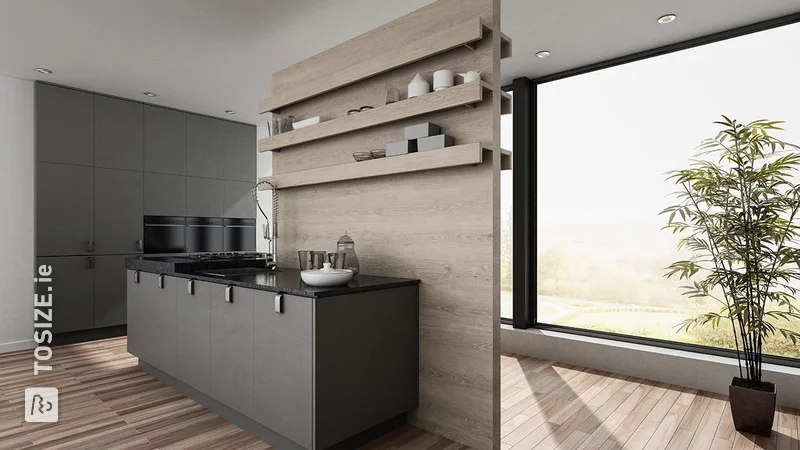
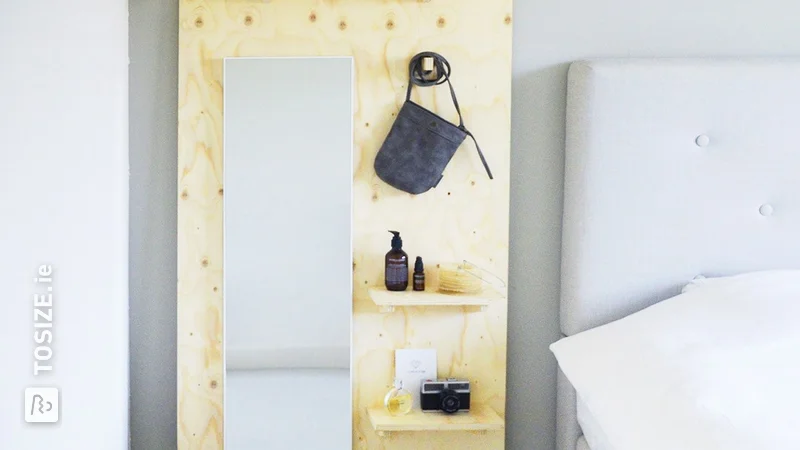
A photo shelf that you currently see a lot in home magazines and on interior design blogs is the wall photo shelf with a raised edge. A photo shelf of this kind is also mounted invisibly, which makes it seem as if it is floating on the wall. Only the most beautiful accessories get a place on the shelf, of course! Do you also want a photo shelf with a raised edge? We have made a design in MDF Black V313 and added it to a shopping basket. With a few clicks of a button you can order this photo shelf in the right size for your interior. You can easily adjust the sizes in our webshop.
View our product range on our website
Step-by-step plan for making a photo shelf
Would you like to design the photo shelf yourself and adapt it to the space in your home? Then follow the step-by-step plan below to create a unique copy.
Step 1
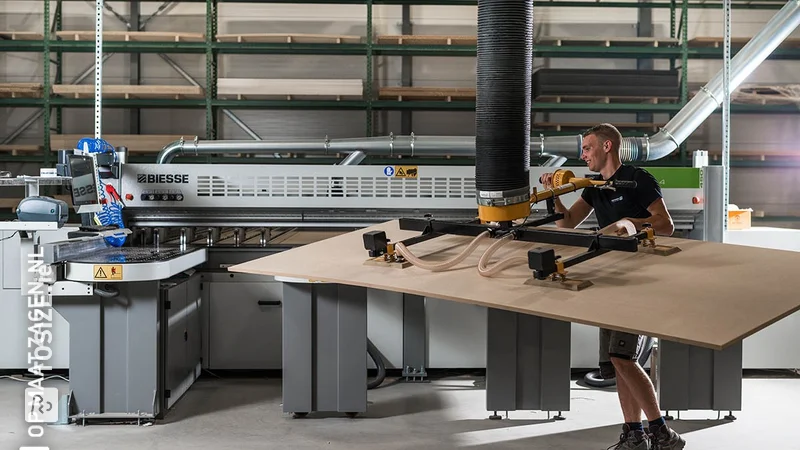
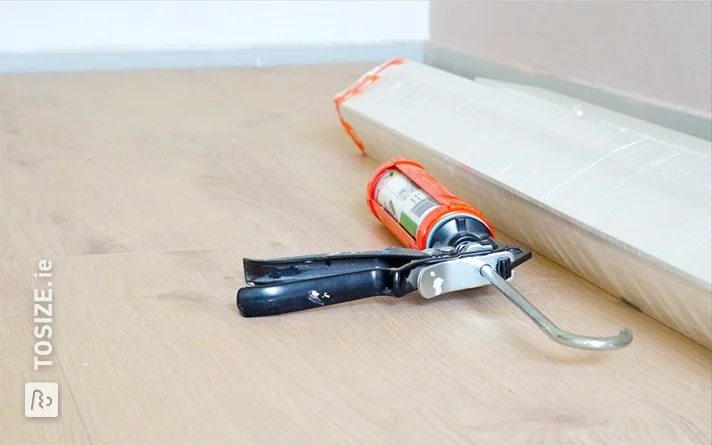
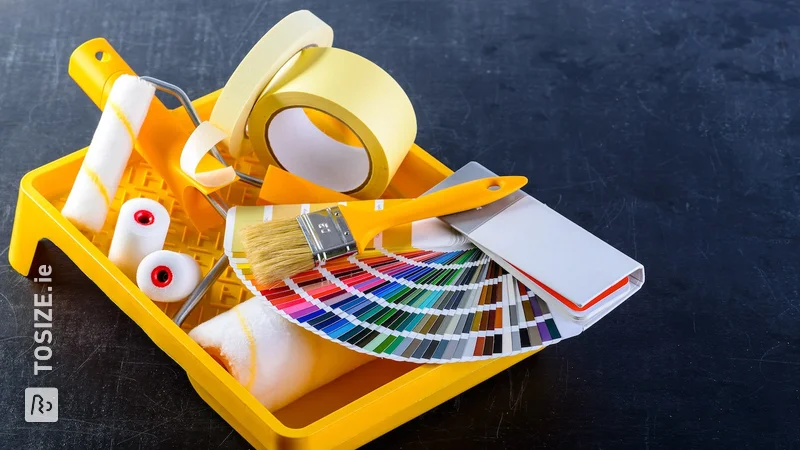
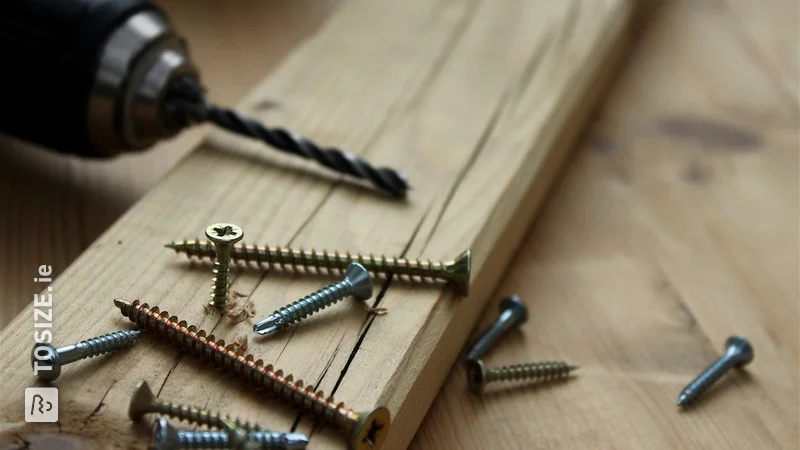
Choose the desired material for the photo shelf and determine the right size or start with the basic design. You can also complete your order with any accessories such as construction adhesive, screws, tape and a wood drill. The material will be delivered within a few days.
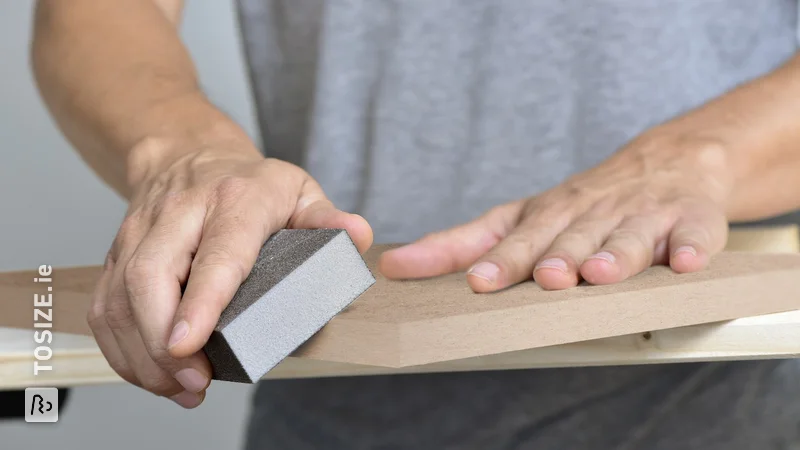
Step 2
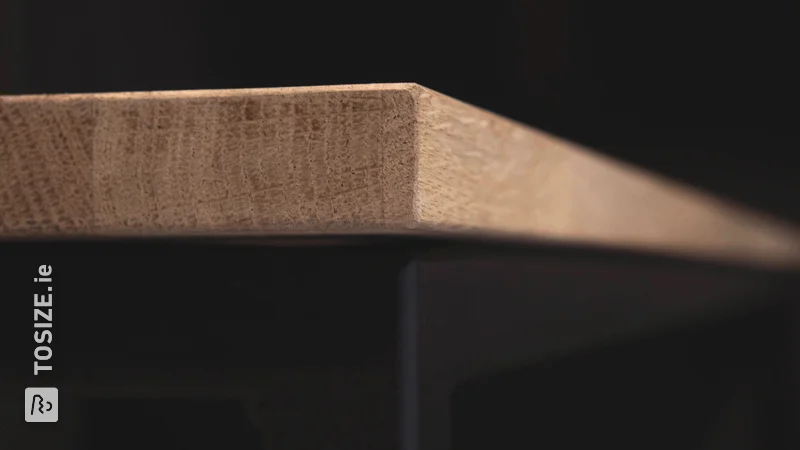
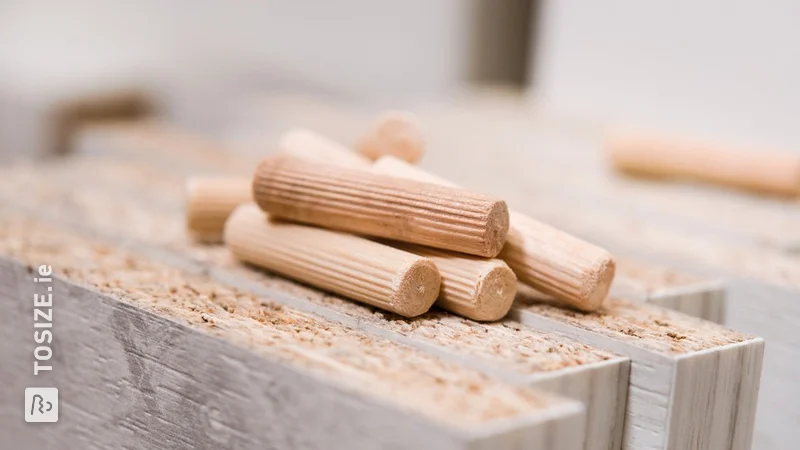
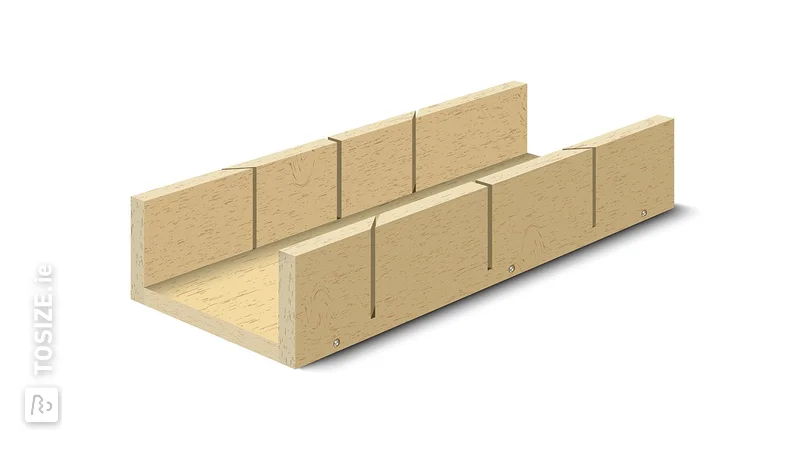
Make the boards dust and grease free and apply wood glue to the long end of the board where the accessories will later be placed. Place the narrowest plank on top, so that an upright edge appears. Stick the planks together with construction adhesive so that they can dry in the right place. If necessary, place a piece of tape to reinforce it.
Step 3
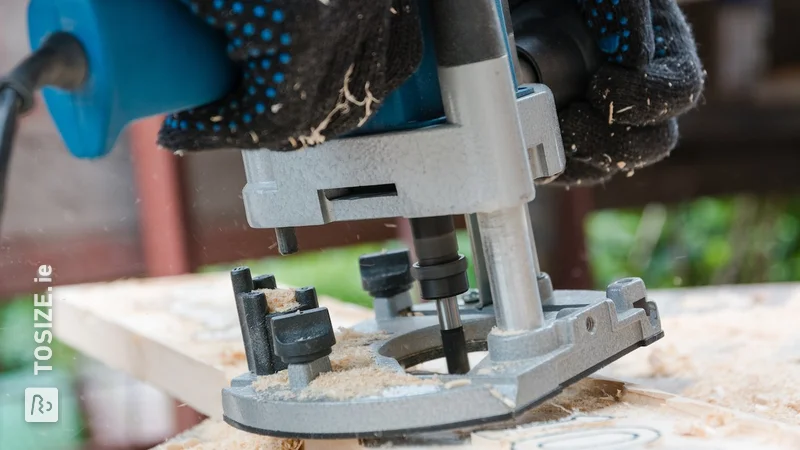
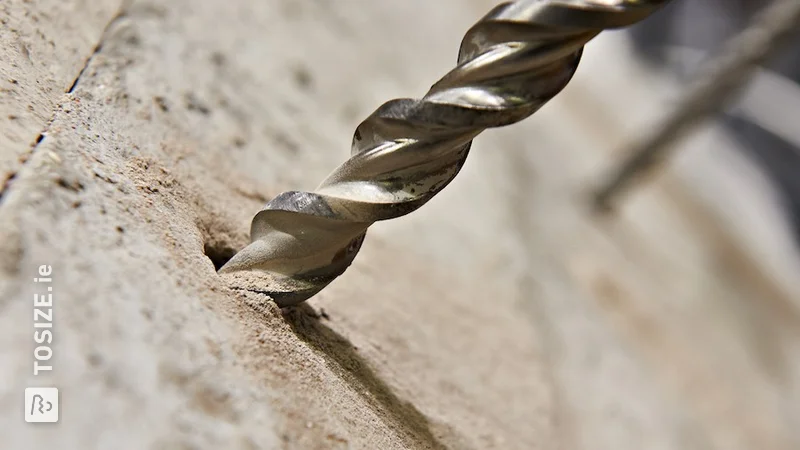
Place the backing on the wall shelf and drill it together with several screws to create a trough. We recommend that you pre-drill to prevent the ends from splitting.
Step 4
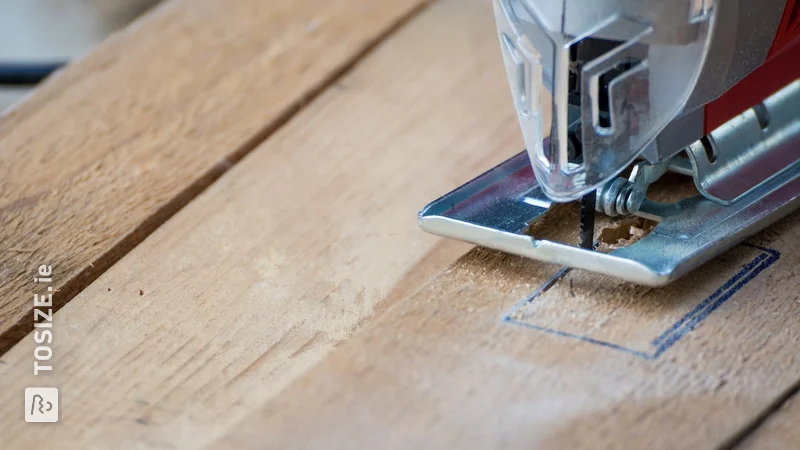
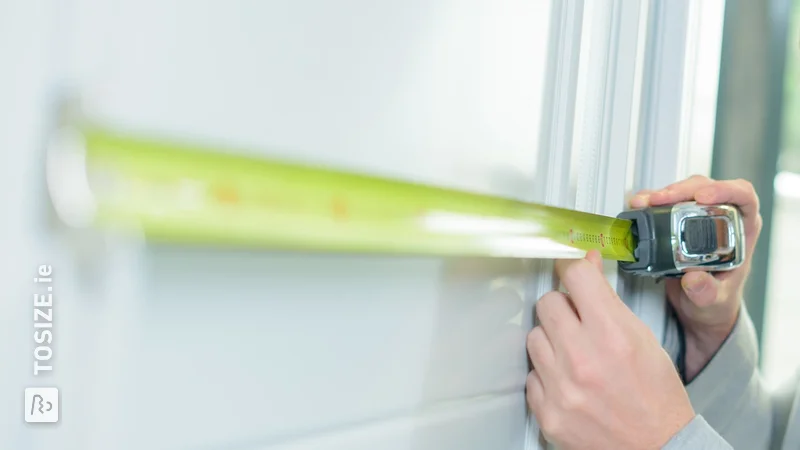
Decide how many points you want to attach the shelf to the wall and mark them. Pre-drill the holes before attaching the photo shelf with the raised edge to the wall.
Tip
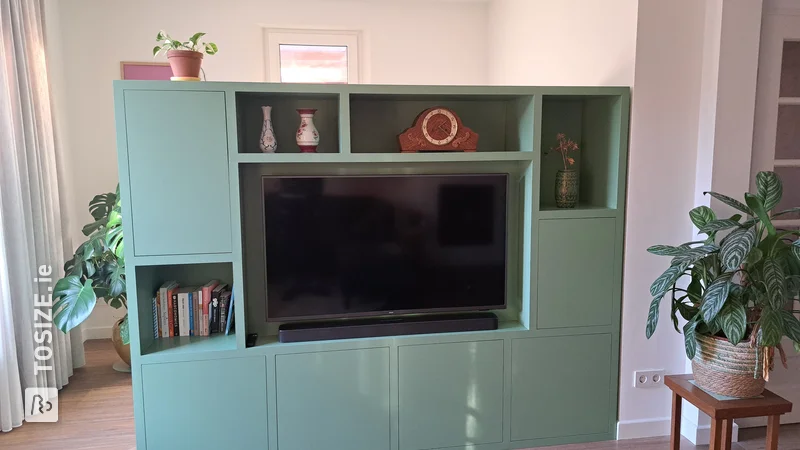
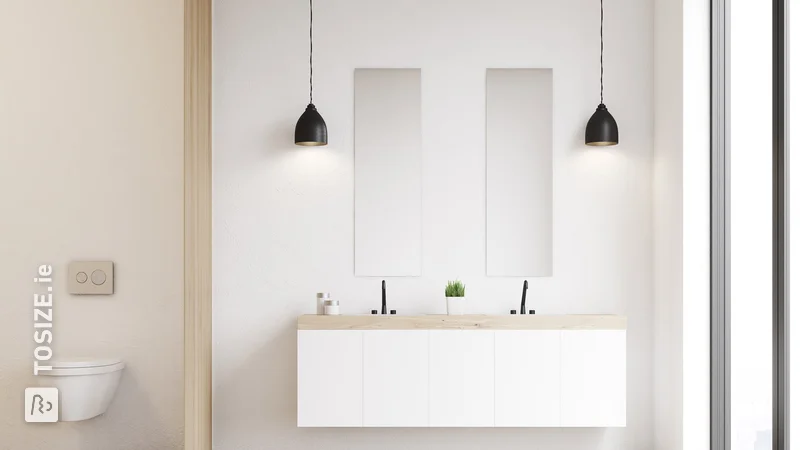
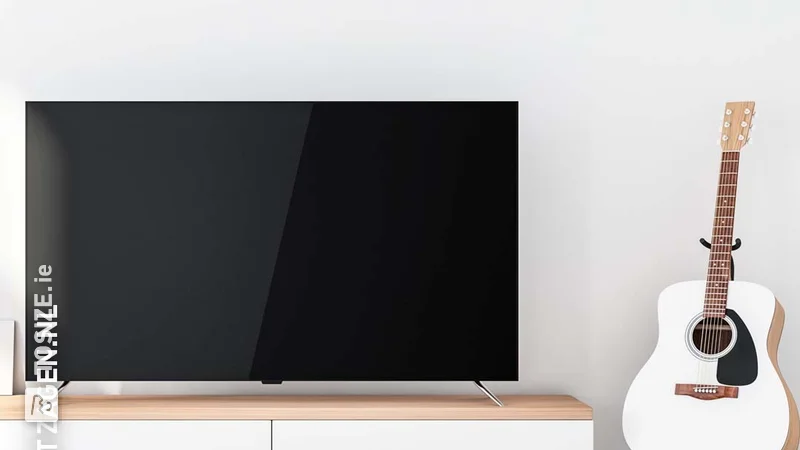
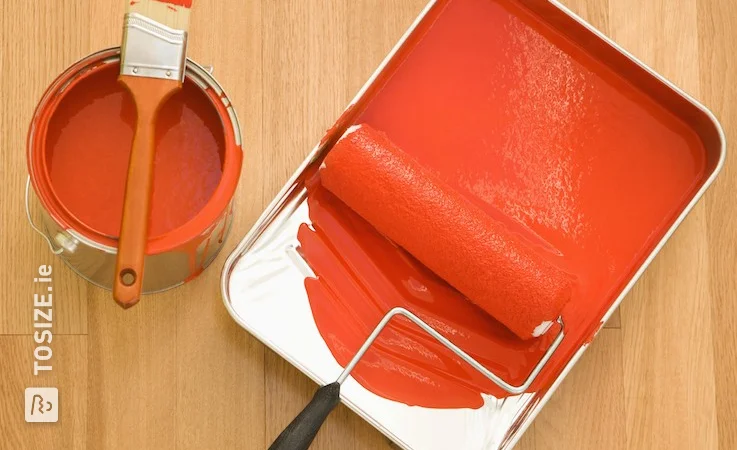
You can finish the shelf with a transparent varnish or you can paint it, for example, in the same colour as the wall. This is an attractive eye catcher in the house.
Getting started with this photo shelf on the wall?
View our product range on our website
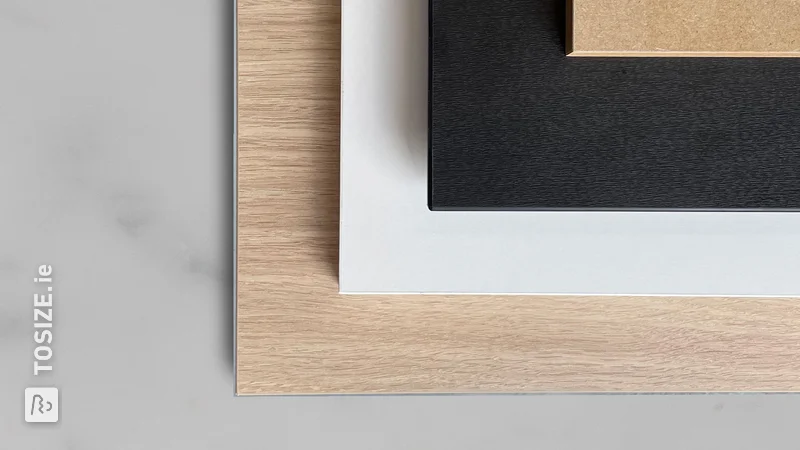
Choice of material for the photo shelf
There are several suitable materials for making a photo shelf for the wall. Are you reading this?
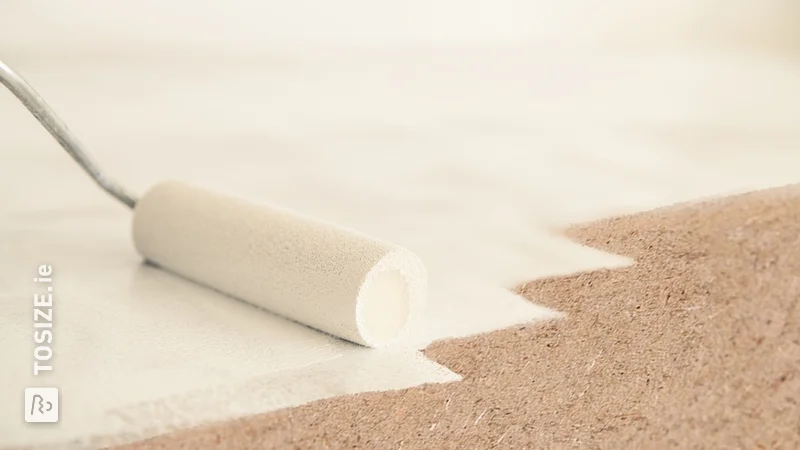
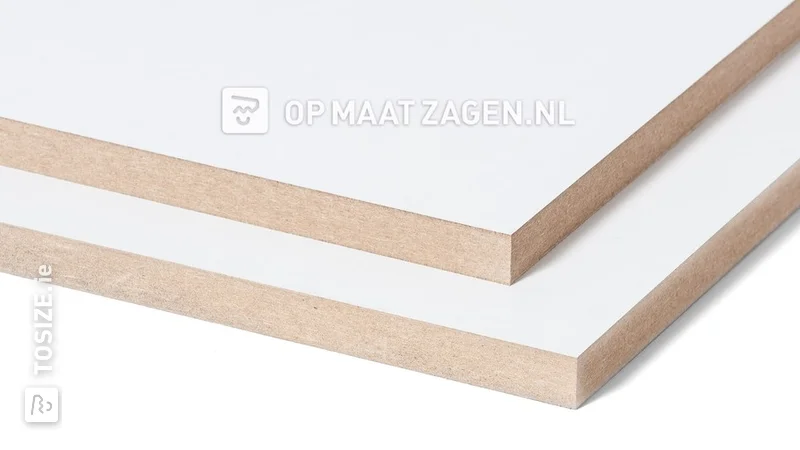
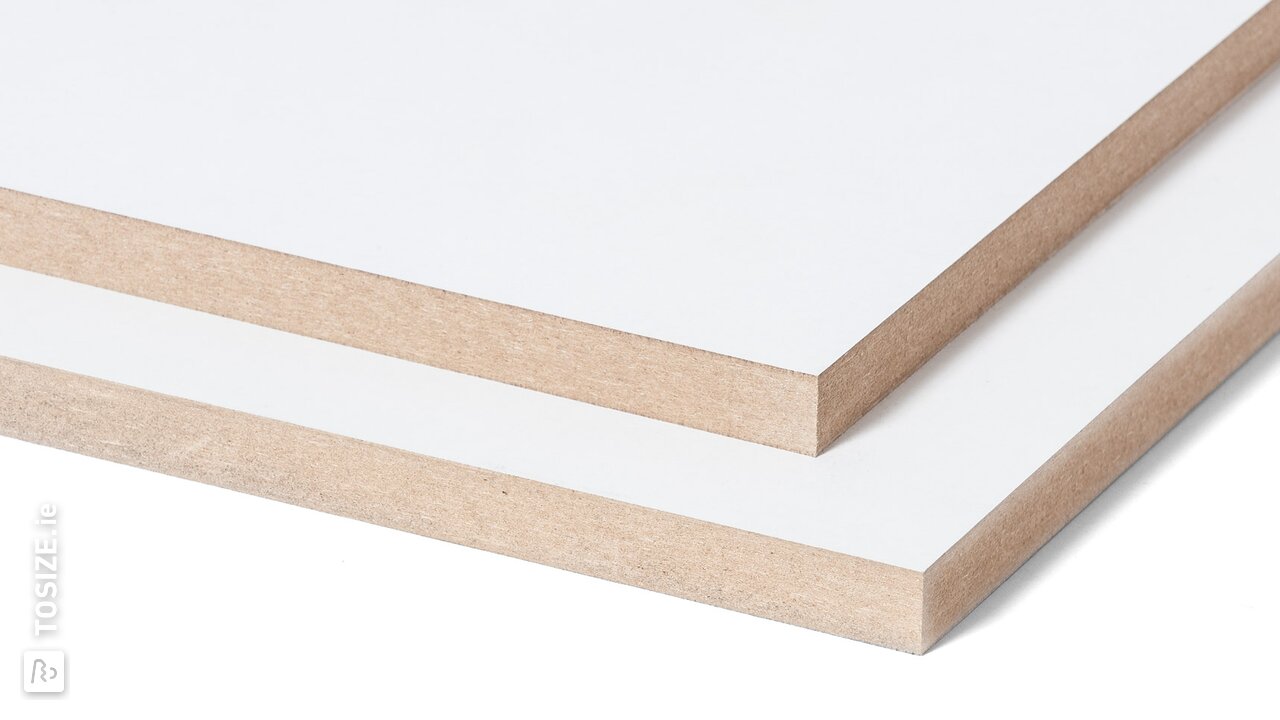
MDF Paint Carrier
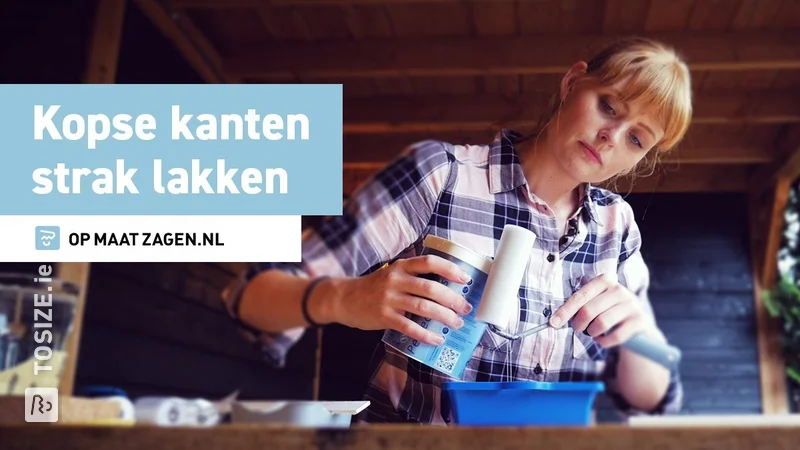
MDF Paint Carrier is already coated in the factory with a paint-carrying film. This is pressed on and serves as a primer. Do you want to paint the wall shelf? Then this is a good option. The material is strong and easy to work with. The ends of MDF paint carrier do require some extra attention. Check out our DIY tip: This is how you varnish the ends of MDF.
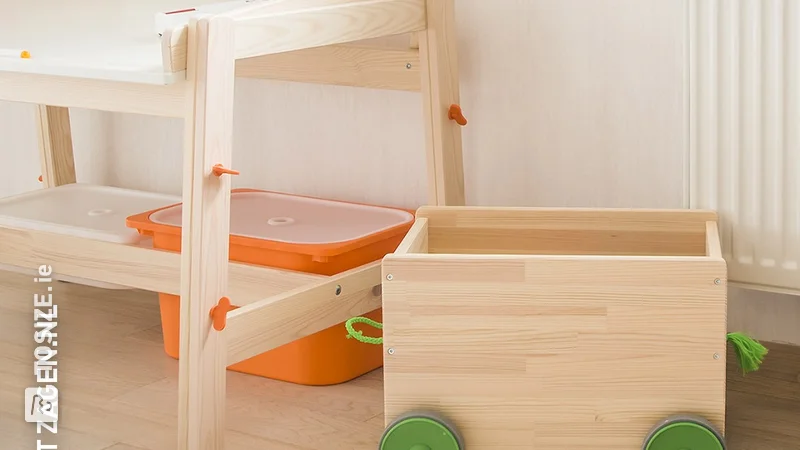
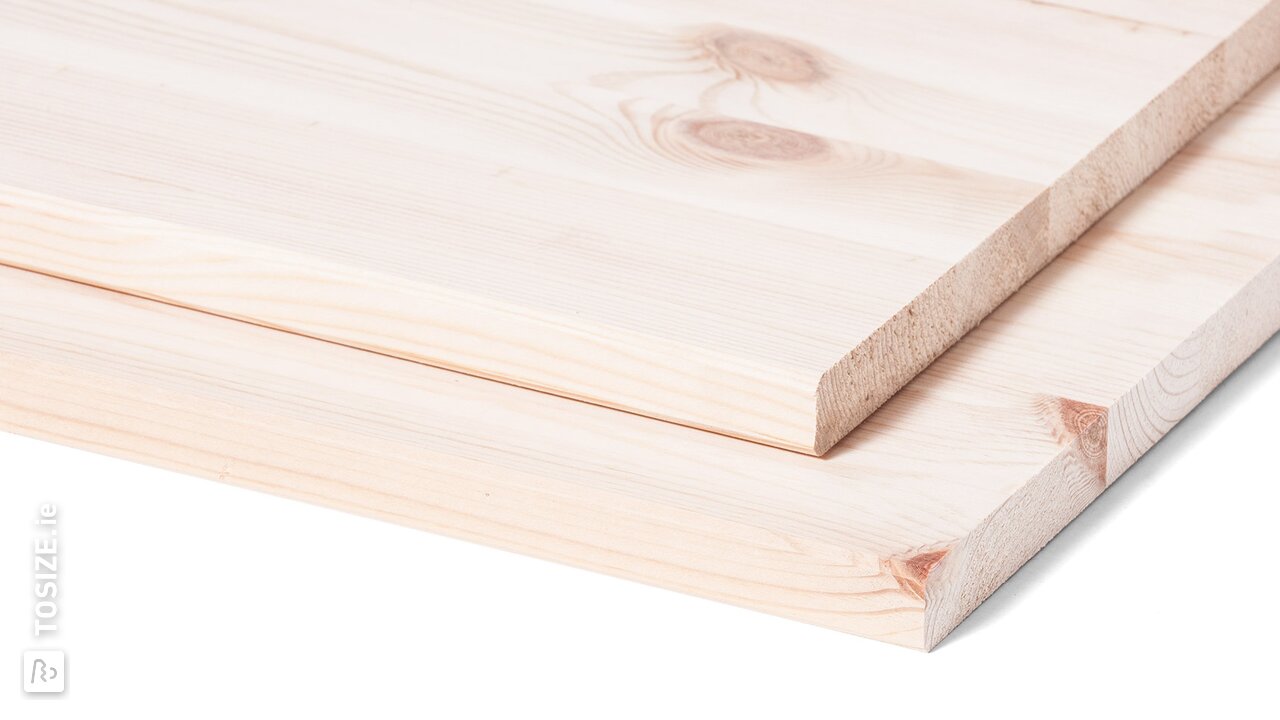
Timber panel
Carpentry panels are available in two wood types, pine and spruce. Although they look very similar, there are also visible differences. Carpentry panel Light pine and Pine are mainly used for making indoor furniture. It is a solid wood panel and both have a warm and natural look, as the wood grain is visible. Spruce wood has a light colour whereby the knots and flames are noticeable. In comparison to pine, spruce is slightly lighter in colour and weight. Spruce is a somewhat softer type of wood and odourless.
Multiplex Interior Poplar
Plywood consists of different layers of wood veneer. These layers are glued crosswise to each other, which makes the panel very strong and hardly works. These are also the advantages of plywood compared to solid wood, and therefore it is often used in constructions. Because of the layers, the ends of plywood are beautiful to see and are often kept in sight. With plywood, a wood grain is visible. Plywood panels can be used for countless different projects. Multiplex Interior Poplar is the lightweight variant of plywood. Ideal for making a photo shelf for the wall.
Order Multiplex Interior Poplar